- Within your Dashboard, click More → Templates → Email Templates.


- Click Add Template

- Create a name for your template. This is internal and will not be seen by users.

- For the type - Select the Candidate if you want the email to go to the candidate. Client if you want this email to go to the client.

- For the Trigger select Start Date Follow Up

- Select the Relationship status that you wish to set a Follow-up Email to. To learn more about matching and relationship statuses, click here.

- Enter the number of days after this Relationship status is set, that you would like the email to send. If you want it to go on their first day, enter zero.

- Click Next: Sender and Recipients

- Click to expand the menus in order to enter who the email comes from, control who receives the email, and any additional Advanced Options


- When you're finished configuring these settings, click Next: Content

- Enter the Subject for your email and Content. Note, as you enter text in each field, additional fields will open up.

- Click Create to save your work.

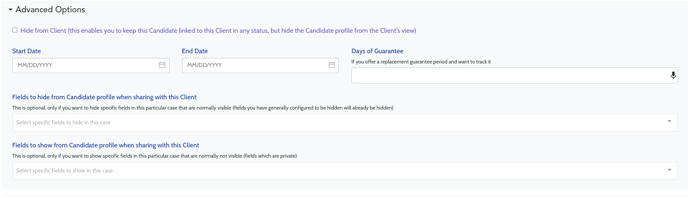
Important: Within the Admin tab of a Client profile, navigate to the Matches section, you will need to select the Candidate in question, select "Update Status" and scroll to the bottom of this pop-up to Advanced Options and enter a Start Date. Click Update to save your work.