Let’s get started 🚀
View Email Templates
View your existing email templates to check their content and configuration.
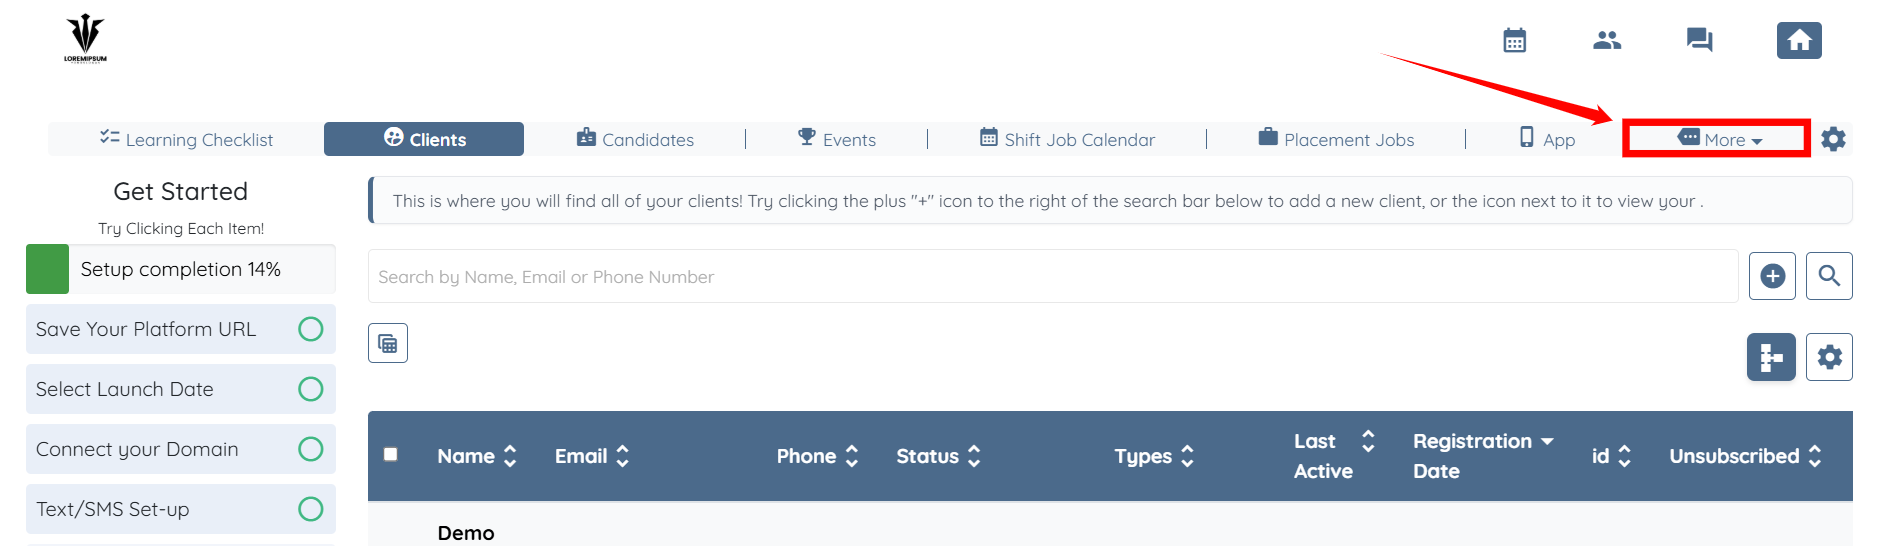
Step 1: Log in to your agent dashboard and click More in the navigation bar.
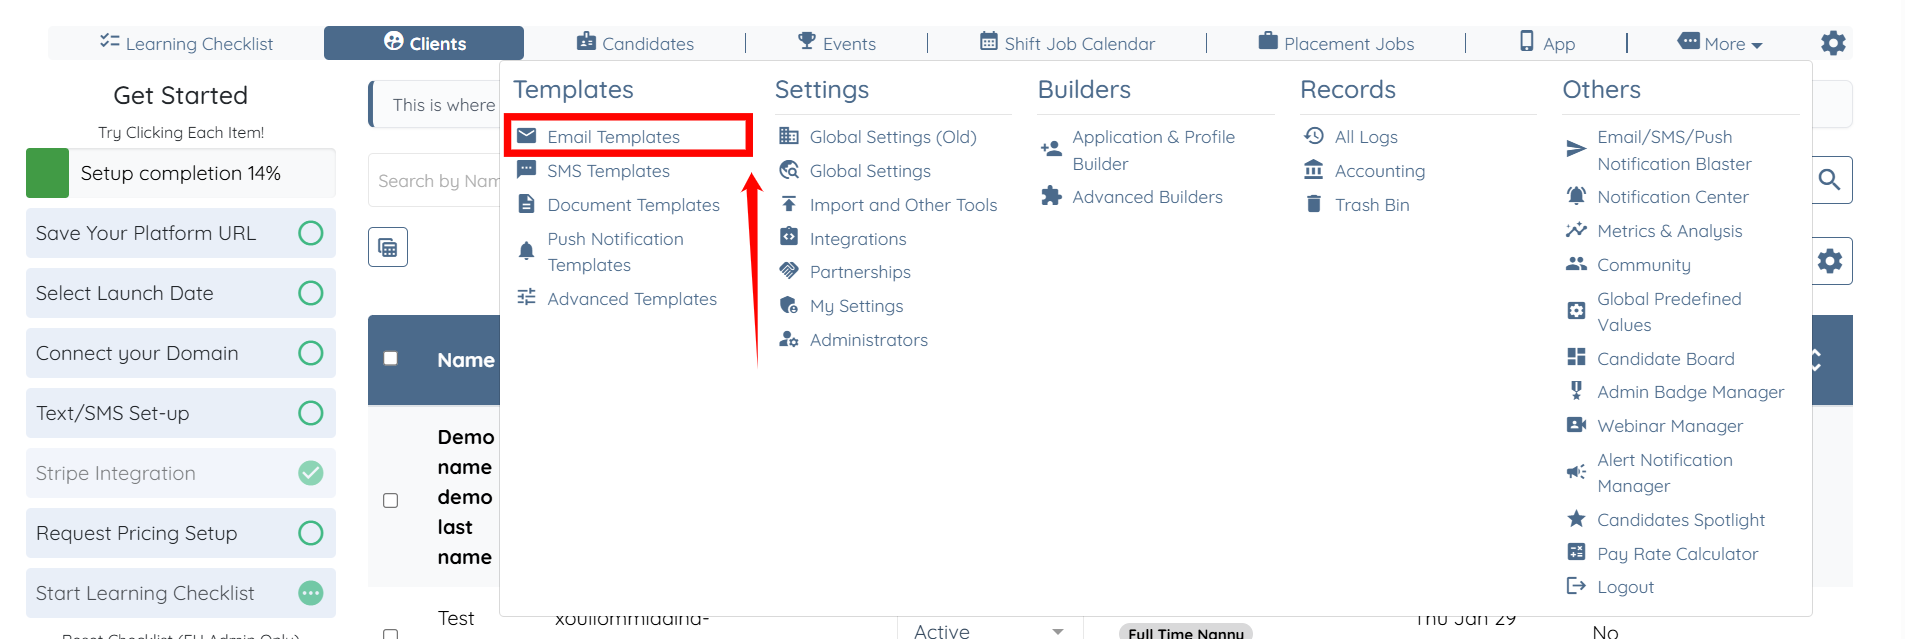
Step 2: Click the Email Templates option under the Templates heading.
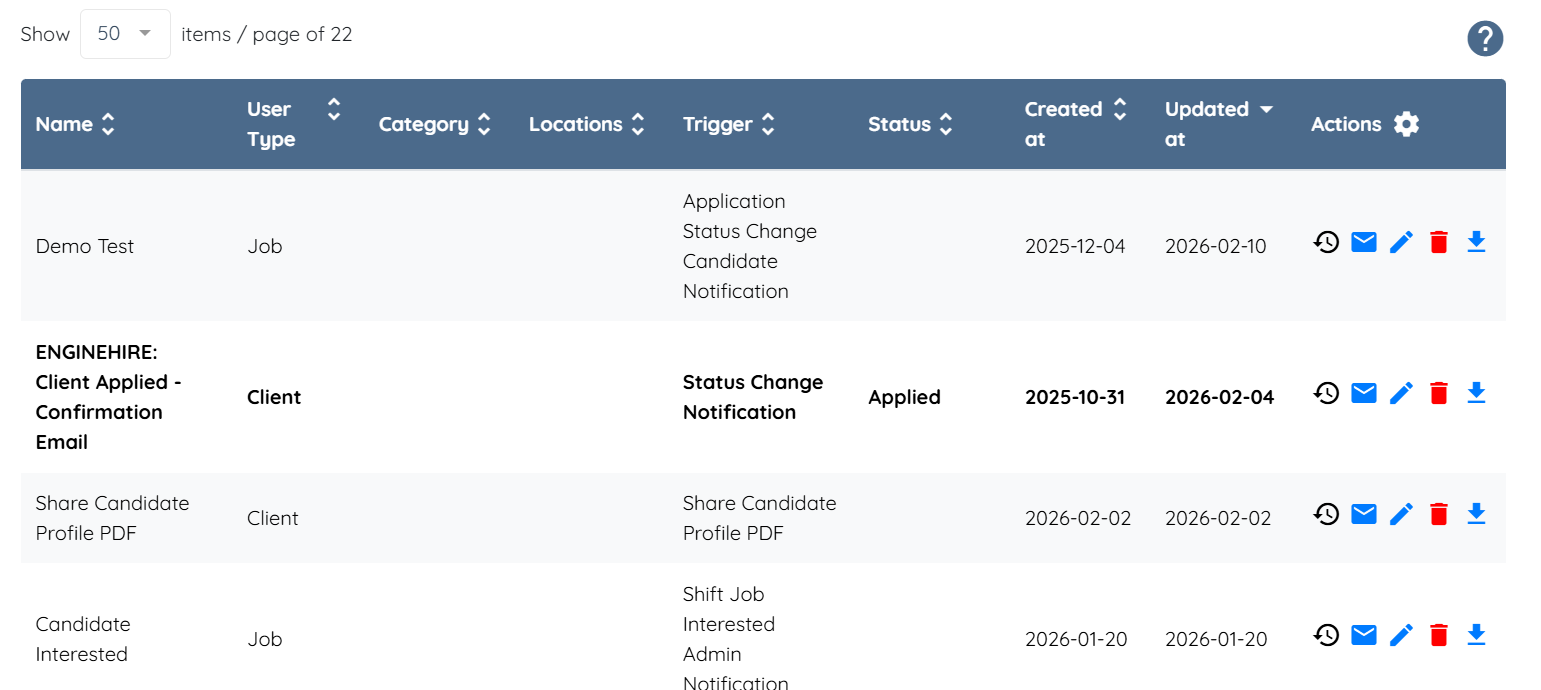
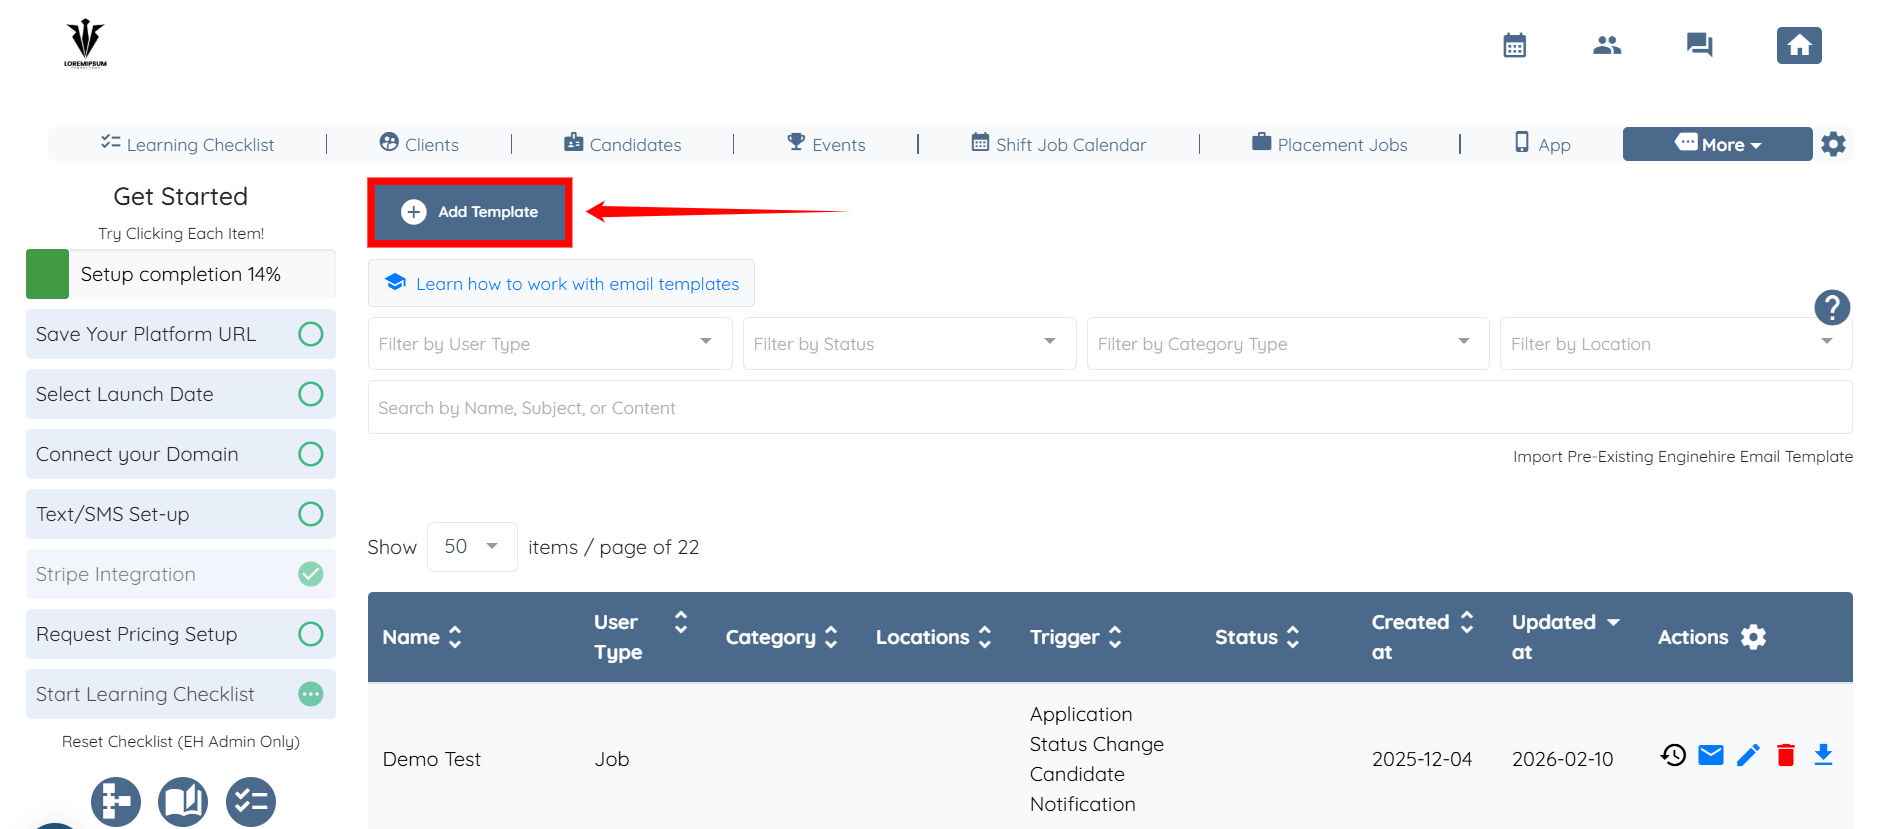
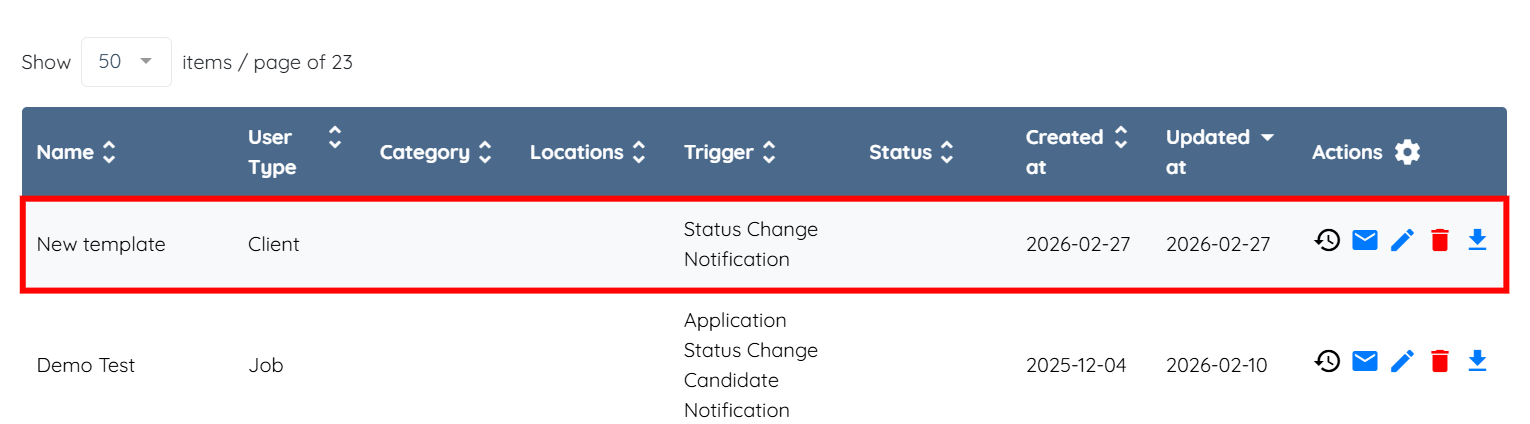
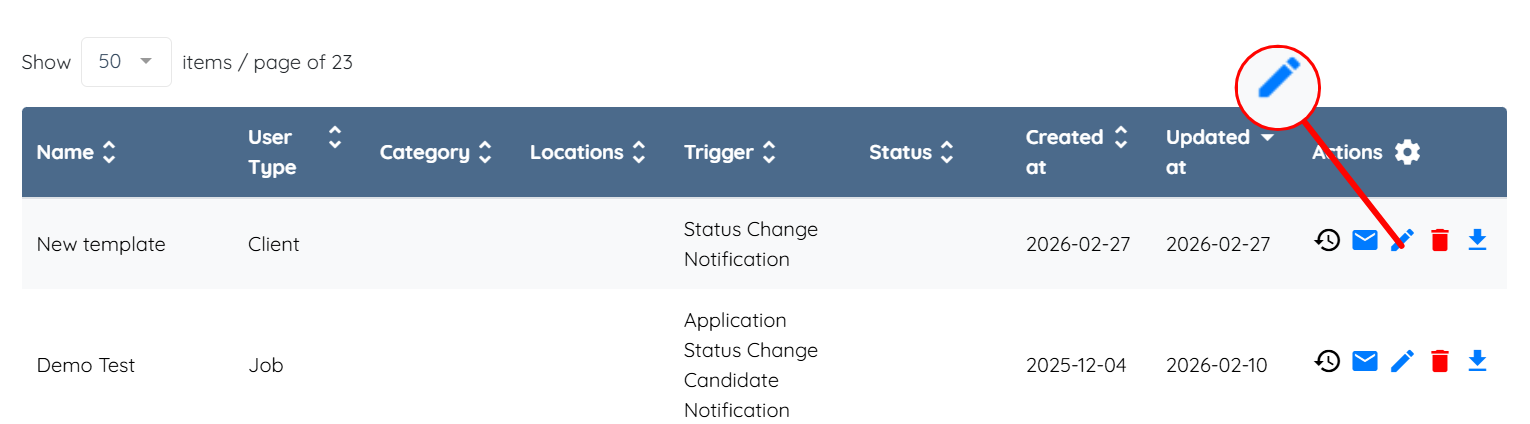
Step 3: Scroll down slightly to view all the email templates, along with the Name, User Type, Trigger used in the template, and the Status that indicates at which stage the system uses the email template to send the notification.
Create Email Template
Create a new email template to standardize recurring communication. Define the subject, message content, and any required placeholders to ensure consistent messaging.
Step 1: On the Email Templates page, click the Add Template button.
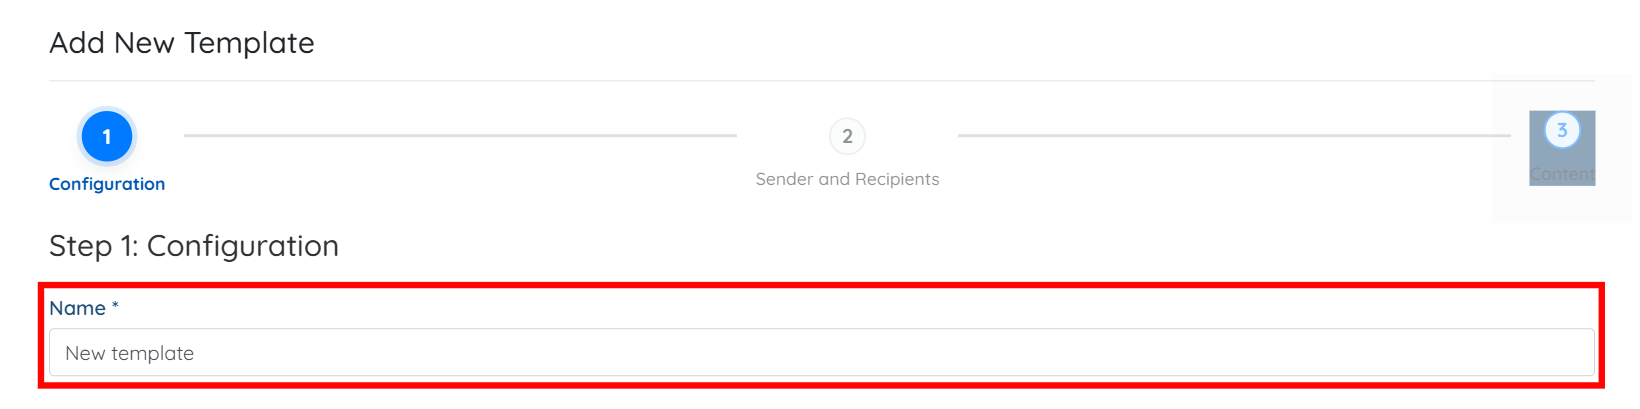
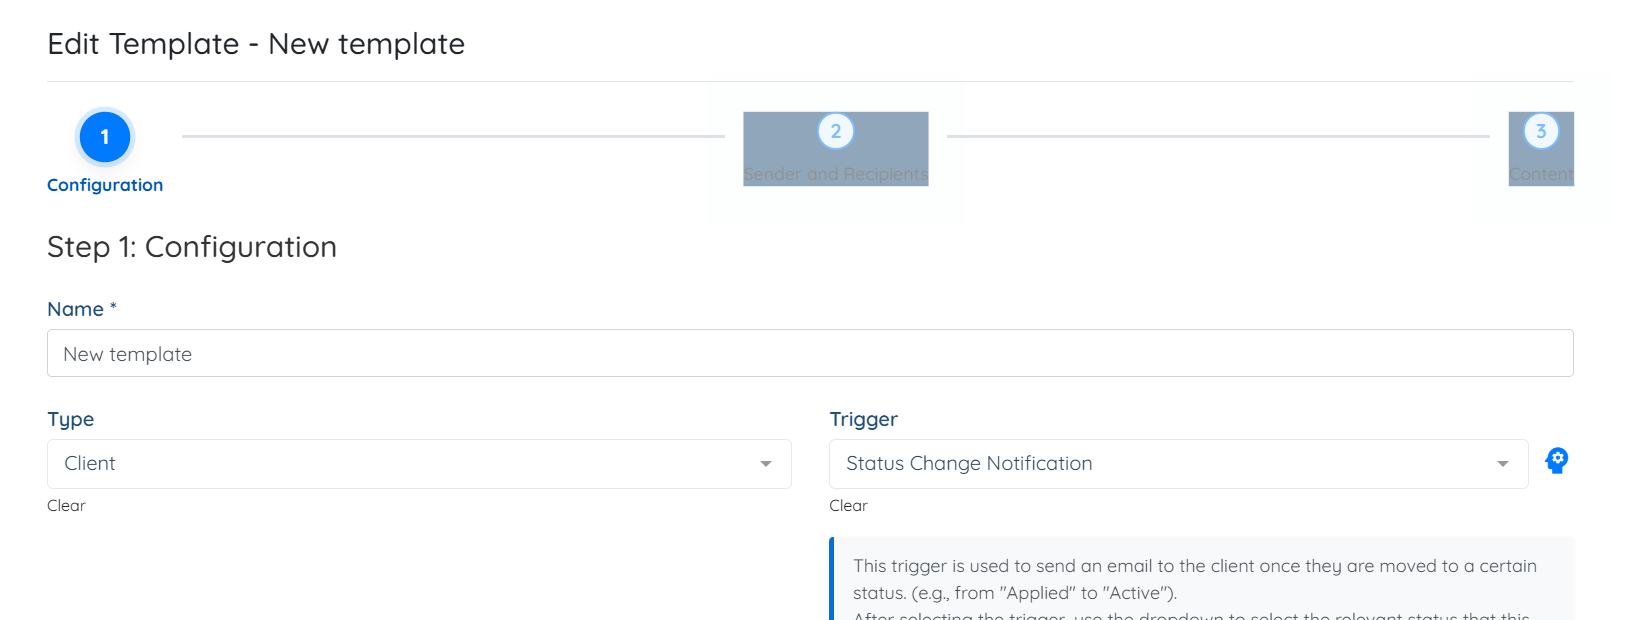
Step 2: Enter a name for your template.
Step 3: Select the Type and Trigger you want to include in your template.
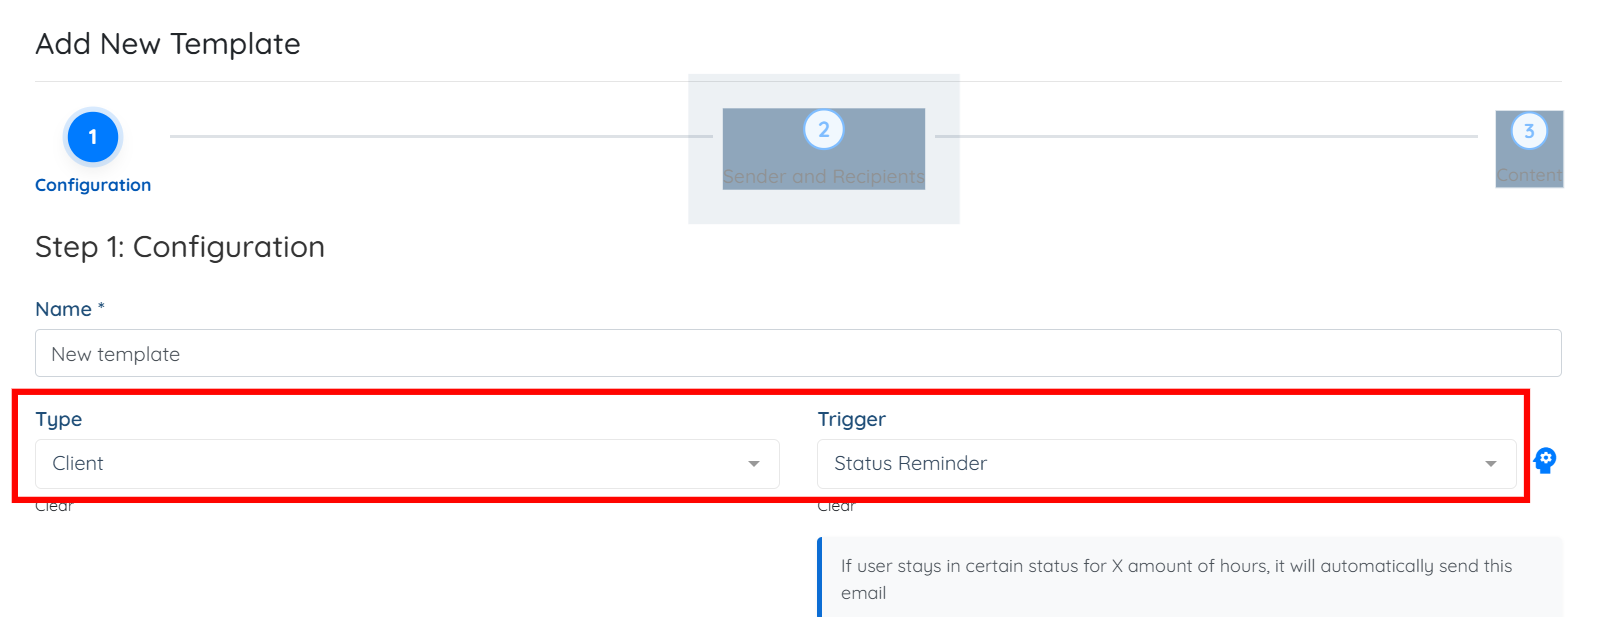
To know more about email template triggers, refer to the Understanding Email Template Triggers article.
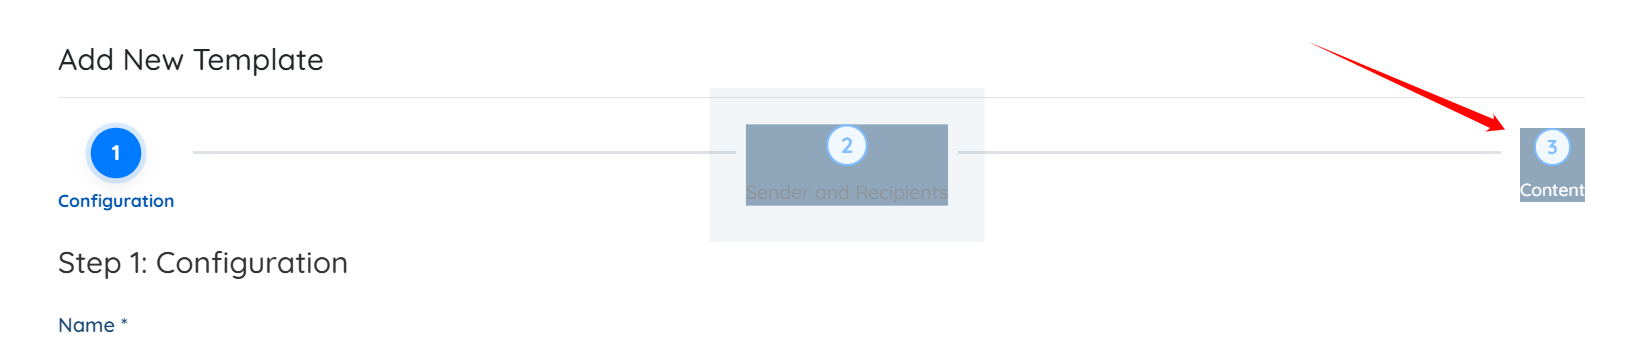
Step 4: Click the Content button to add content to your email template.
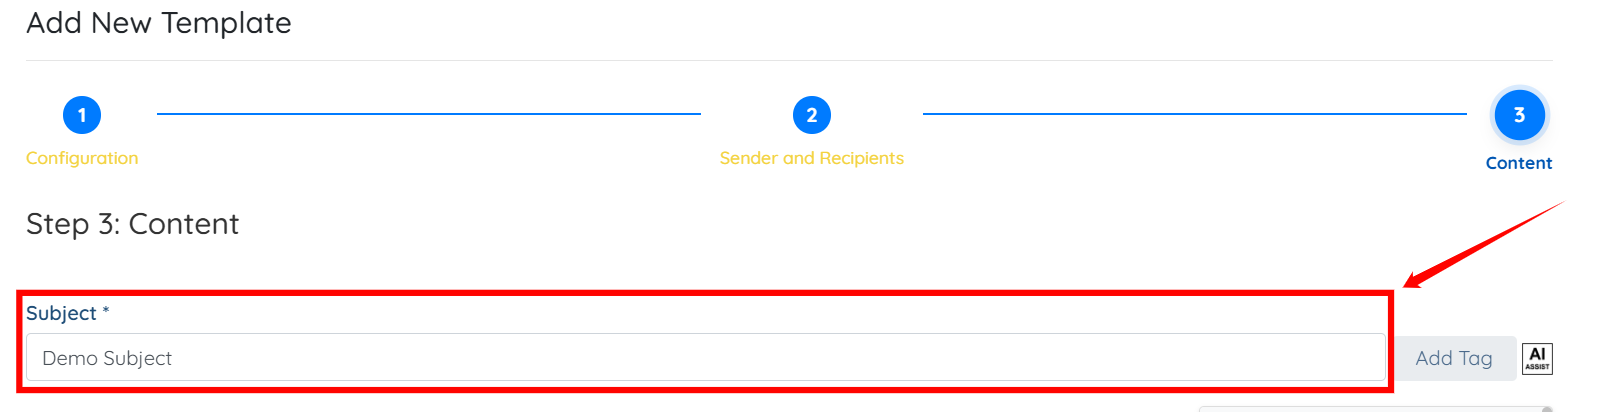
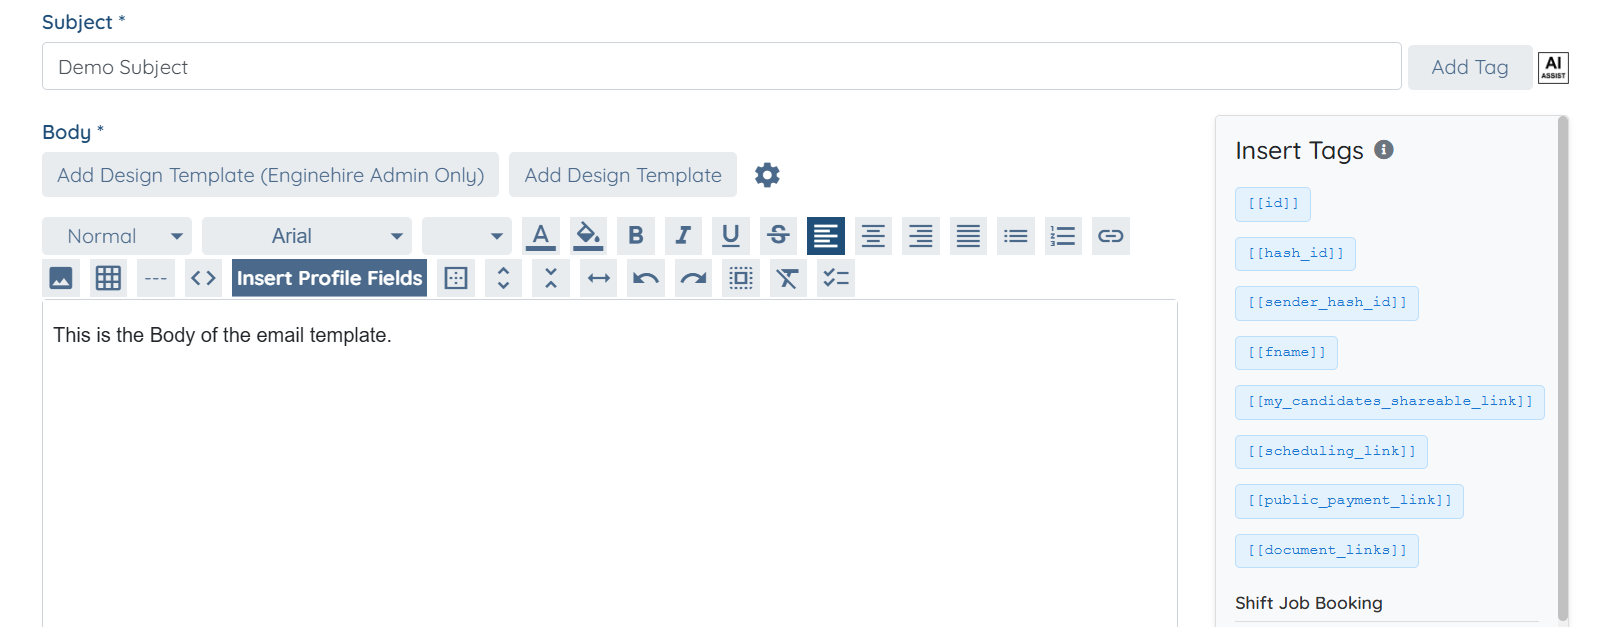
Step 5: Enter the Subject for your email template.
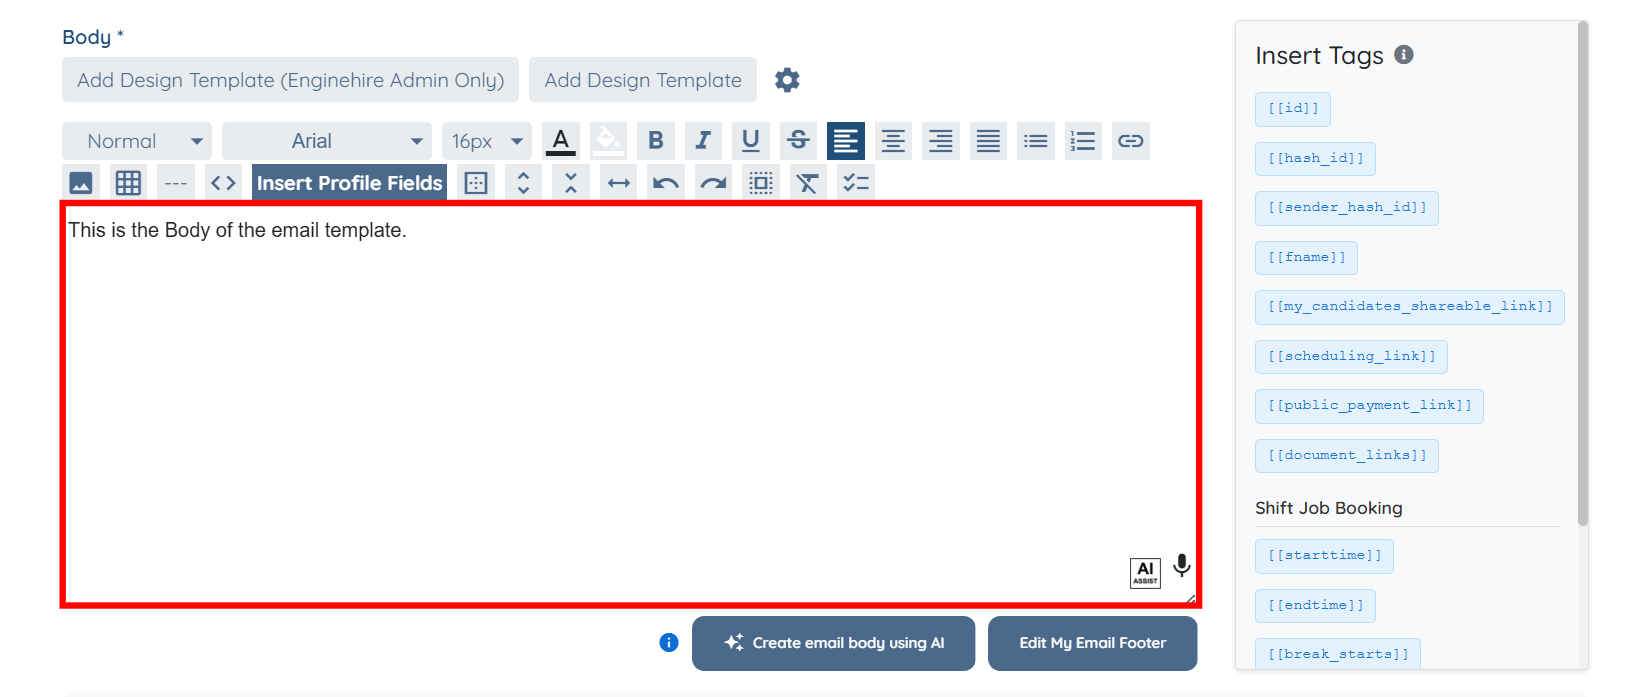
Step 6: Enter the content in the body of the email template.
You can use tags in the email body to dynamically insert information into your emails, eliminating the need to type it manually each time. To learn more about how to use tags, refer to the Email Template Tags article.
Step 7: Scroll down and click the Create button.
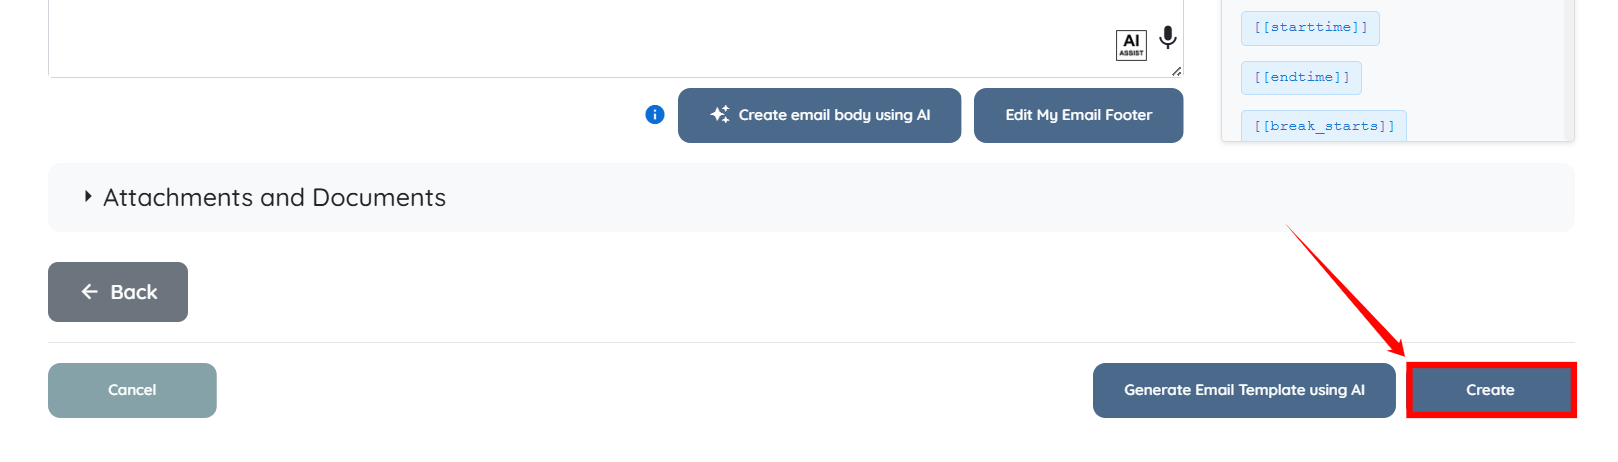
The email template will be created successfully.
Edit the Email Template
Modify an existing email template to update its content, subject line, or formatting. This allows you to refine messaging without recreating the template from scratch.
Step 1: On the Email Templates page, click the pencil icon that corresponds to the email template you want to edit.
Step 2: Edit the name, type, or trigger as required.
Step 3: Click the Content button.
Step 4: Edit the subject and the body of the email template as required.
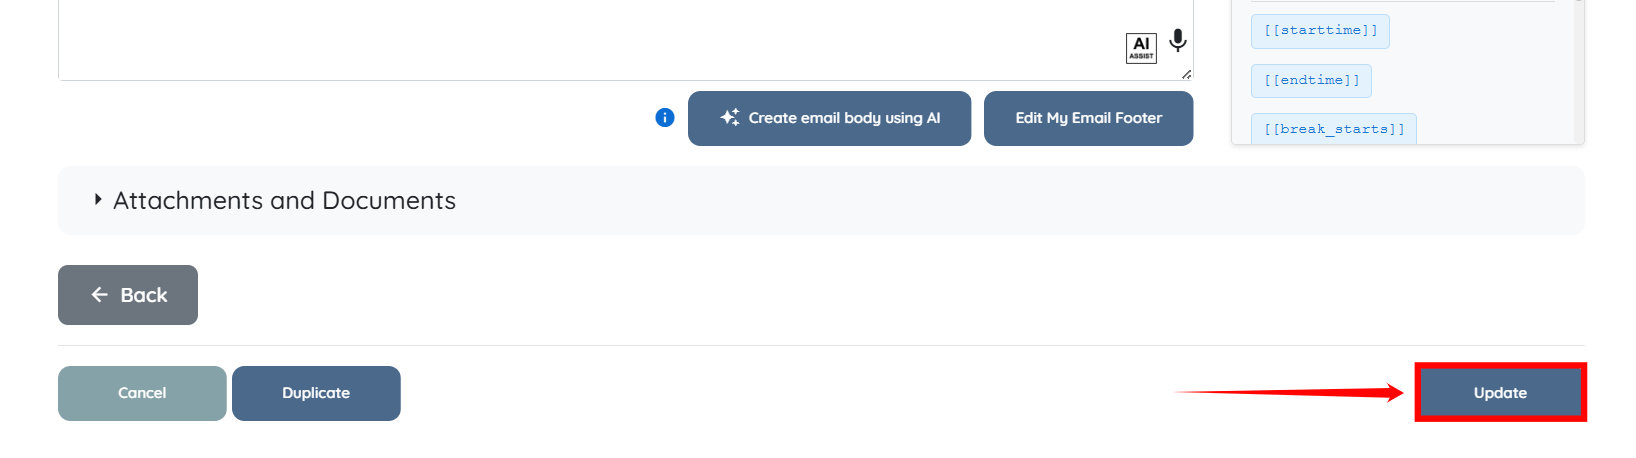
Step 5: After you make all the necessary edits, scroll down and click the Update button to confirm the changes in your email template.