Let’s get started 🚀
Step 1: Log in to your agent dashboard and click More > Email Templates, as shown in the screenshot below.

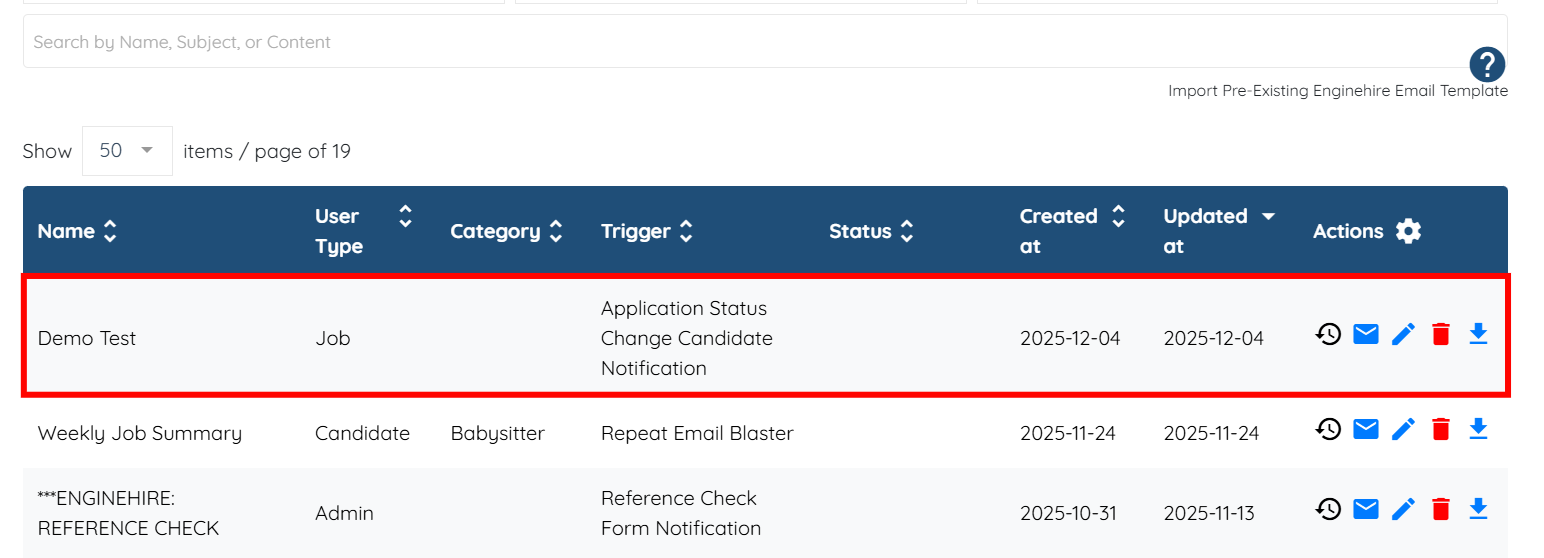
Step 2: Scroll down and open the email template in which you want to insert profile fields as tags within the email body.
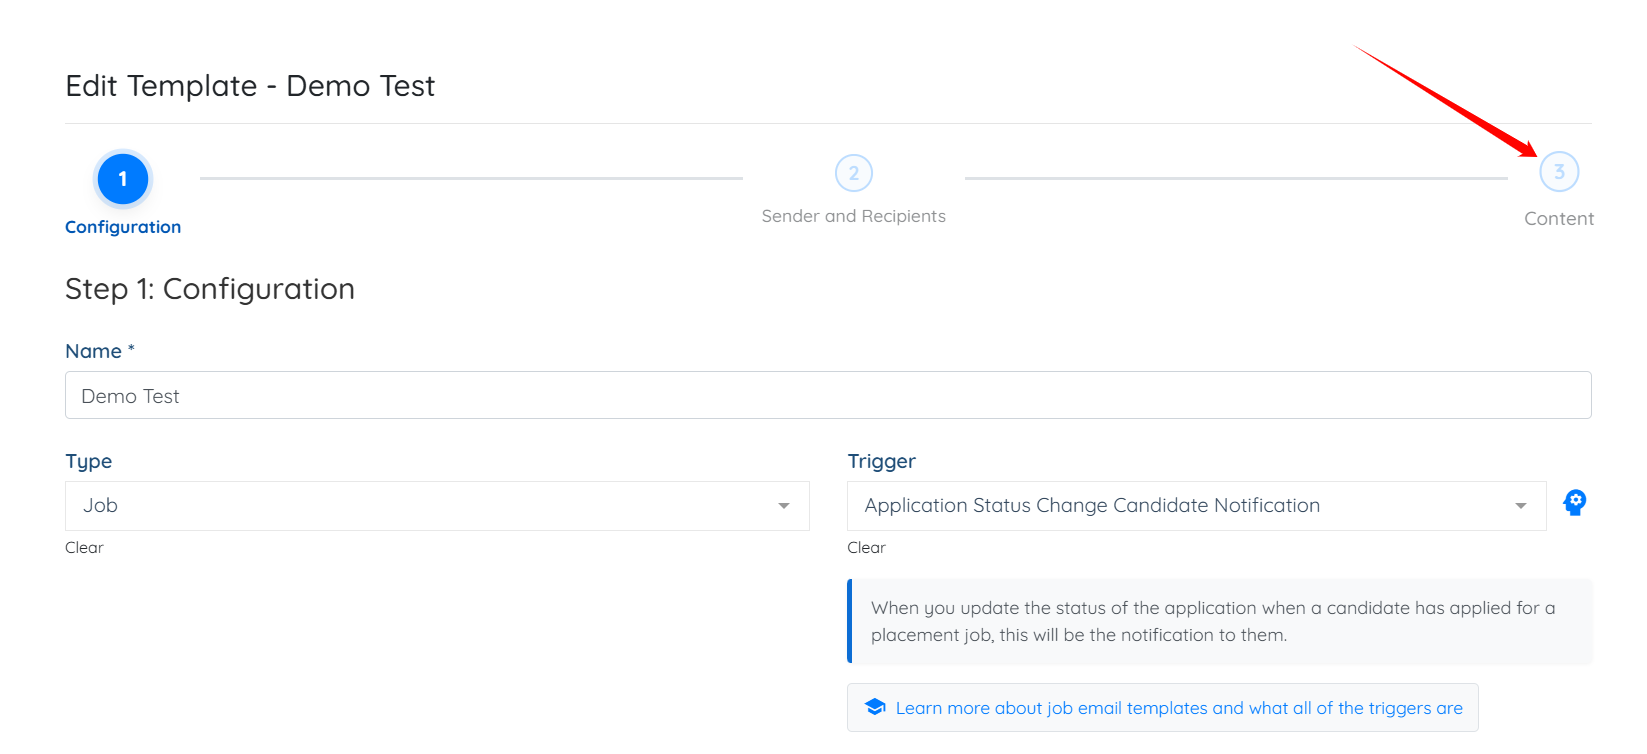
Step 3: Click Content to open the body of the email.
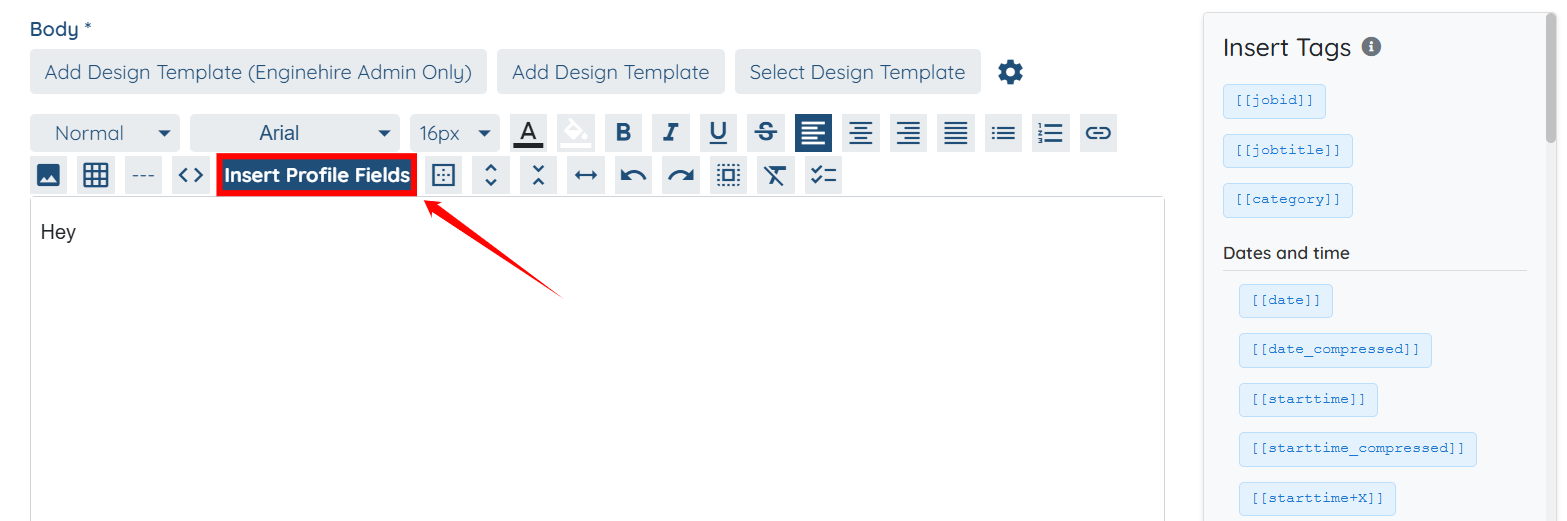
Step 4: Scroll down and click the Insert Profile Fields button to add the profile fields as tags.
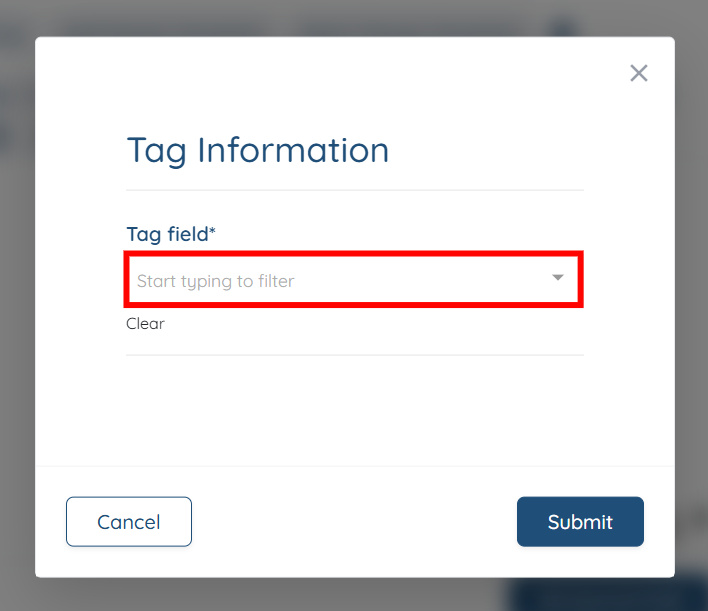
Step 5: Click the box, as shown in the screenshot below, to open the dropdown.
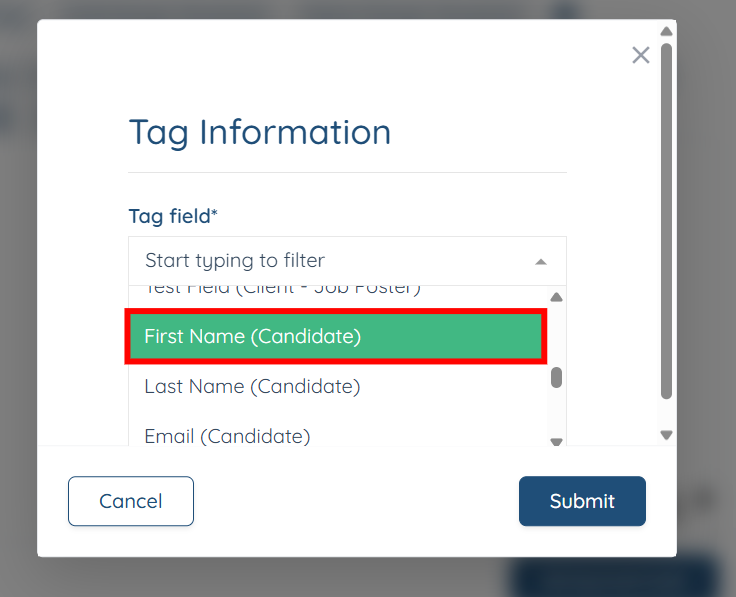
Step 6: Select the tag field you want to add from the dropdown. For example, First Name (Candidate).
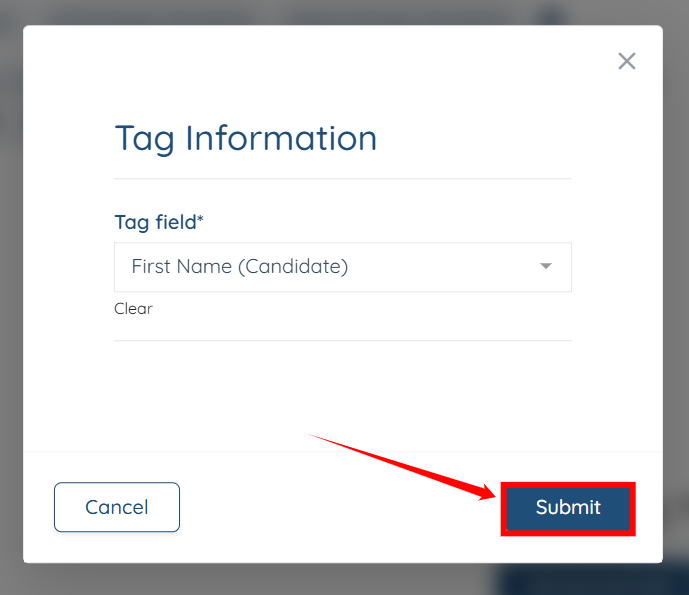
Step 7: Click the Submit button to proceed.
The selected Tag field will be added successfully in the email body.
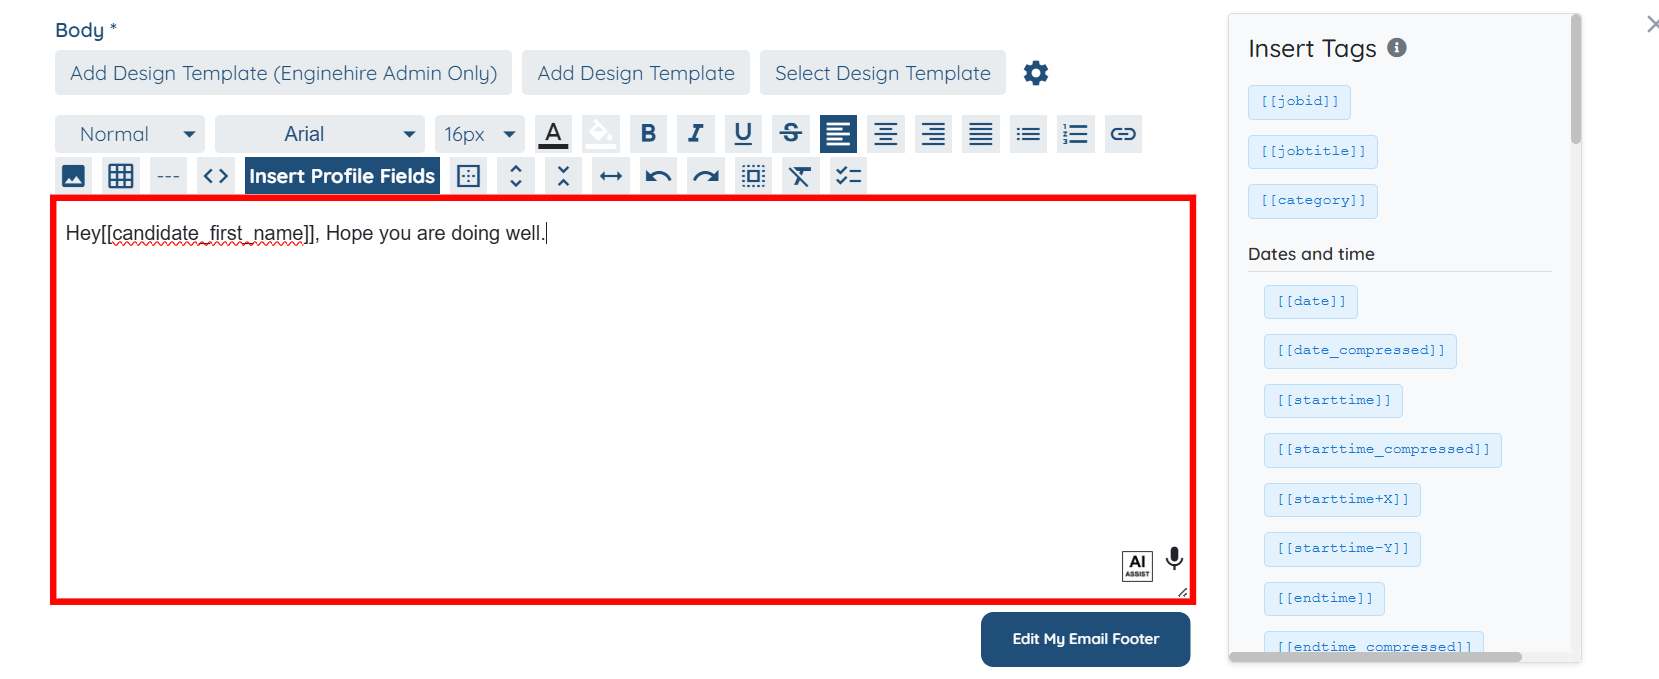
You can also use the tags shown on the right-hand side under the “Insert Tags” heading. To understand how to use these tags, refer to the Email Template Tags article for more information.
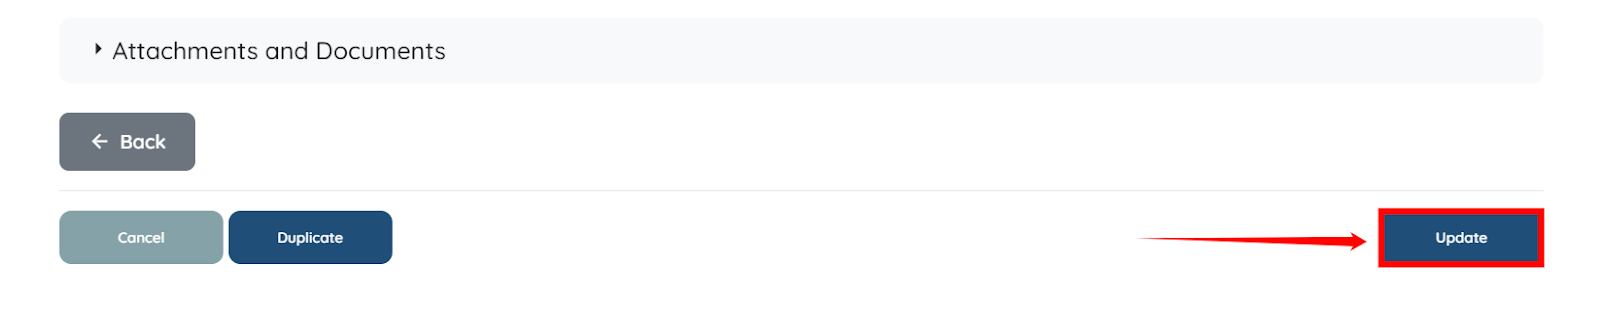
Step 8: Scroll down and click the Update button to save the changes.