Let's get started 🚀
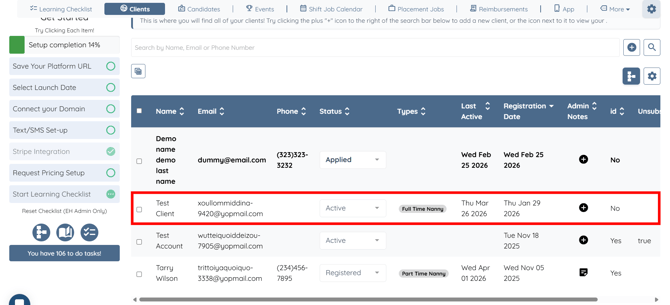
Step 1: Log in to your agent dashboard and click the client in the list with whom you want to share a candidate.
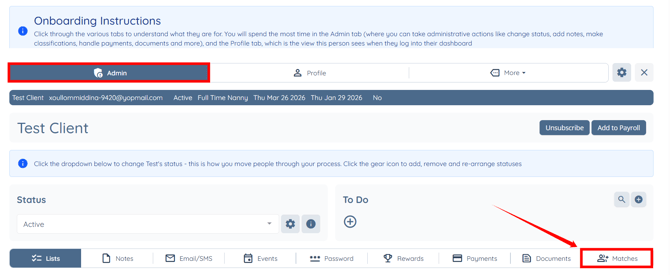
Step 2: Under the Admin tab, click the Matches tab from the available tabs.
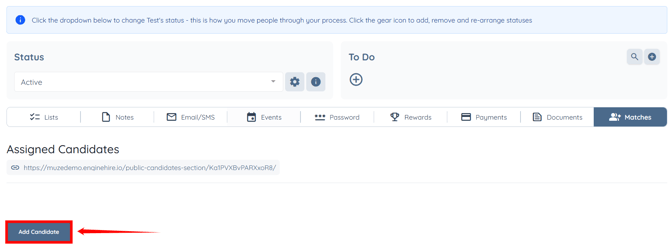
Step 3: Click the Add Candidate button.
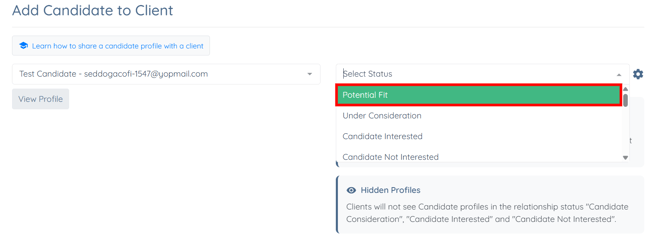
Step 4: Type and select the desired candidate from the dropdown list.
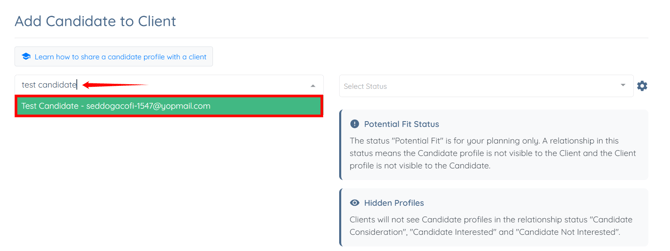
Step 5: Select the desired relationship status for the selected candidate from the dropdown on the right-hand side.
Learn more about the different relationship statuses to use them effectively in your workflow.
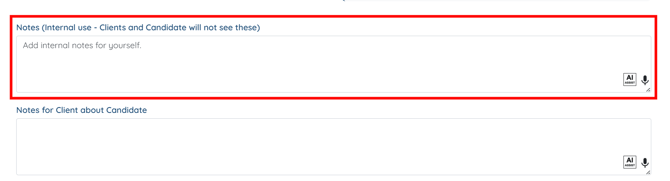
Step 6: Scroll down slightly and enter notes for yourself. You can use these for planning or setting reminders.
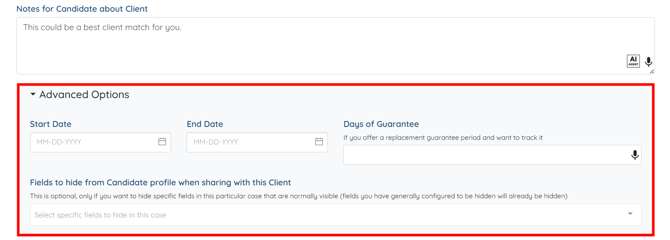
Step 7: Add notes about the candidate for the client.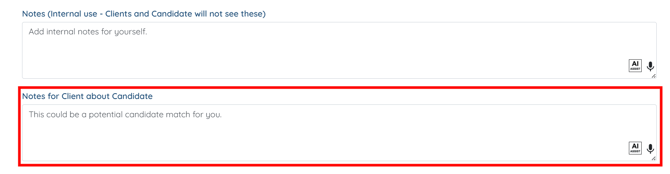
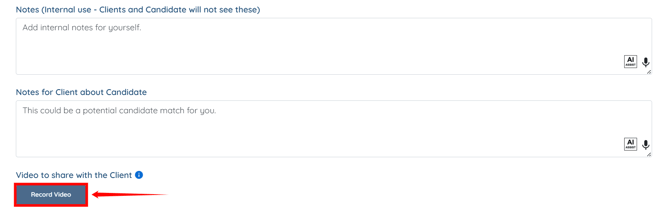
Step 8: You can also click the Record Video button to record a video for the client, explaining why you think this candidate would be a good fit.
Step 9: Add notes about the client for the candidate.
You may also make use of the AI ASSIST feature to enhance the quality of the text. To learn how to use it, refer to the Use AI ASSIST Feature document.
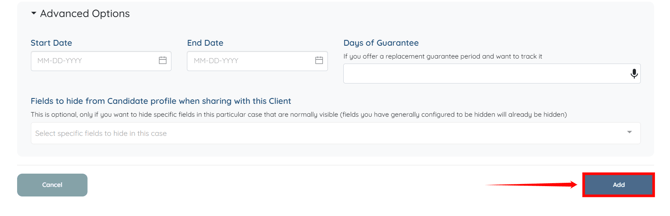
Step 10: You can also use the Advanced Options to record the Candidate's start and end dates, specify the number of days of guarantee, and customize the fields to hide from the Candidate profile when sharing it with this client.
Step 11: Click the Add button to proceed.
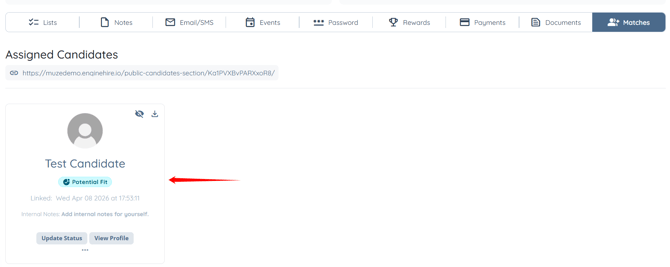
The selected candidate will be successfully linked to the selected client.
From here, you can show or hide the shared candidate from the client by clicking the eye icon.
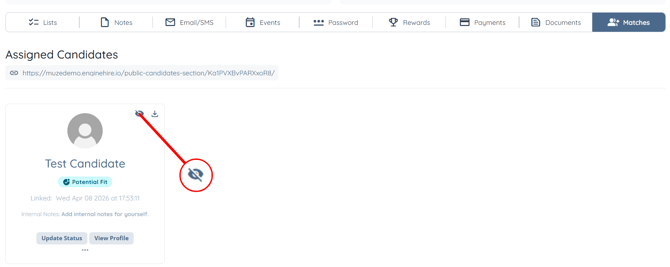
You can also download the PDF of the candidate’s shareable profile.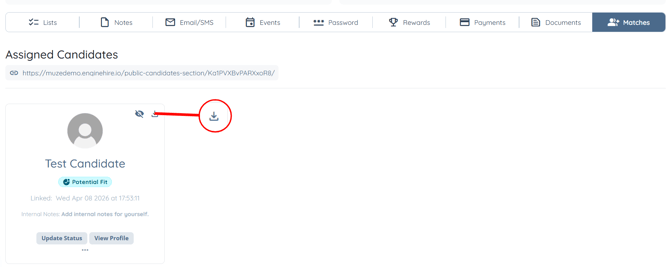
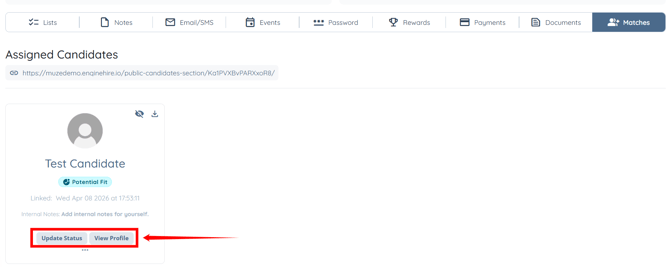
Additionally, you can update the relationship status that you initially set up in step 5, and view the candidate’s profile.
Relationship Statuses
A few of the preset relationship statuses within your dashboard have a connected trigger prebuilt into the dashboard, these are listed below. Statuses not listed can be removed or customized to your liking.
- Potential Fit - This status is for your planning only. A relationship in this status means the Candidate profile is not visible to the Client and the Client profile is not visible to the Candidate.
- Under Consideration - Putting a status of "Under Consideration" will notify the Client and make it visible to them.
- Interested - When a Client selects the option "Interested" when viewing a match, the relationship status will change to this within the Client profile,
- Not Interested - When a Client selects the option "Not Interested" when viewing a match, the relationship status will change to this within the Client profile.
- Offer Extended - If the setting is activated to show an "Extend Offer" option after a Client expresses interest, when the Client clicks to extend an offer of employment to the Candidate, the relationship status will update to this.
- Candidate Consideration, Candidate Interested, Candidate Not Interested - Clients will not see Candidate profiles in this relationship status
- Favorite - this status is tied to use of Shift Jobs, after a Client marks a candidate as a "favorite" it will create this relationship status between the two.
- Do Not Match - this status is tied to use of Shift Jobs, after a Client marks a candidate as a "do not want again" it will create this relationship status between the two.
Please click here to learn about disabling the default under consideration email for the client-candidate relationship here.