For demonstration purposes, this article uses candidates to show how to send email blasts by status. The same steps apply when sending email blasts to clients.
Let’s get started 🚀
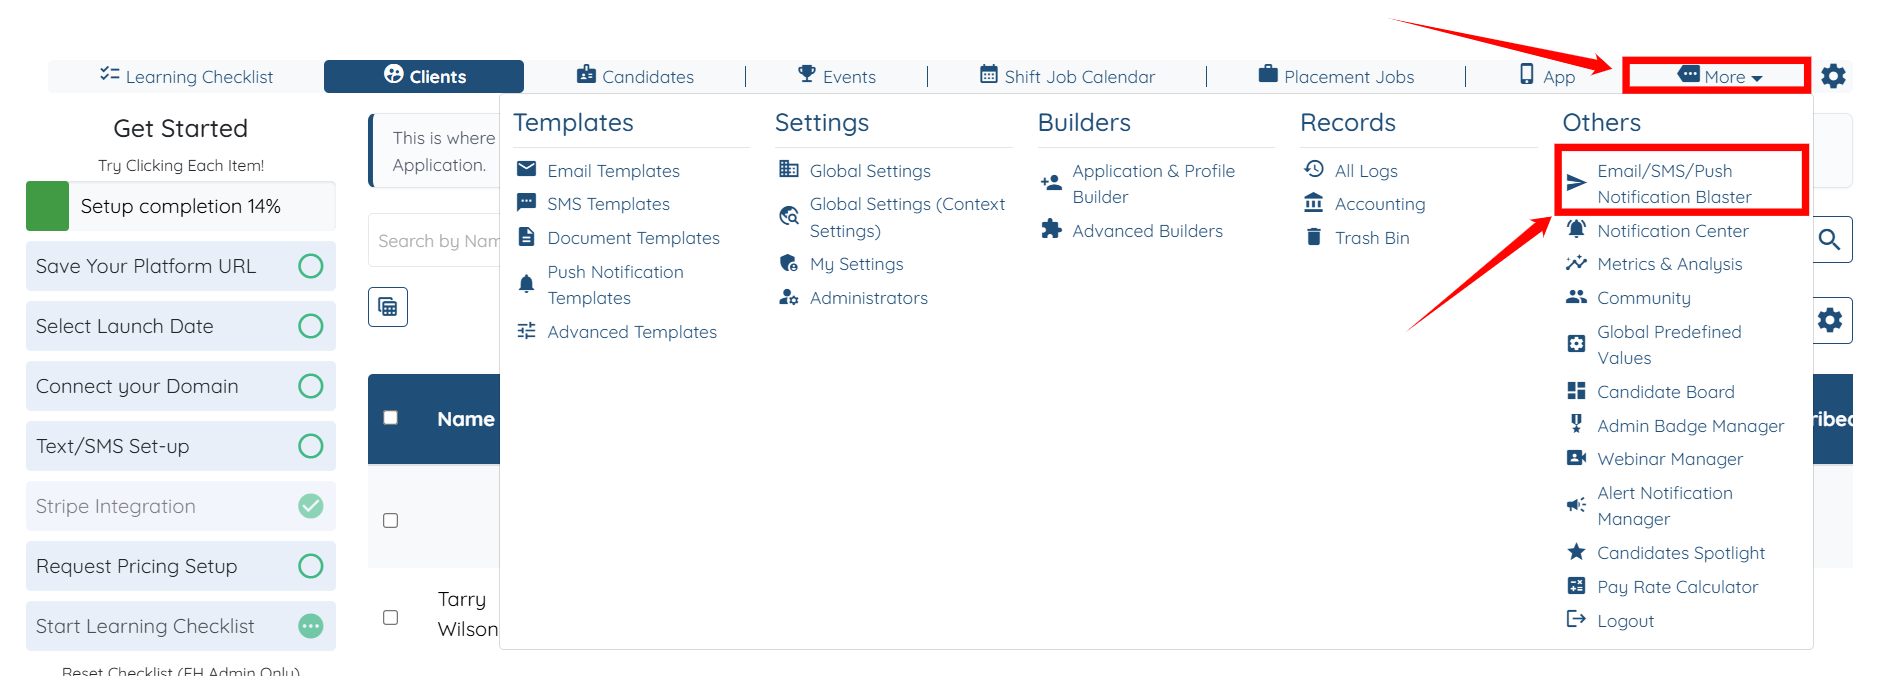
Step 1: Log in to your agent dashboard and click More > Email/SMS/Push Notification Blaster, as shown in the screenshot below.
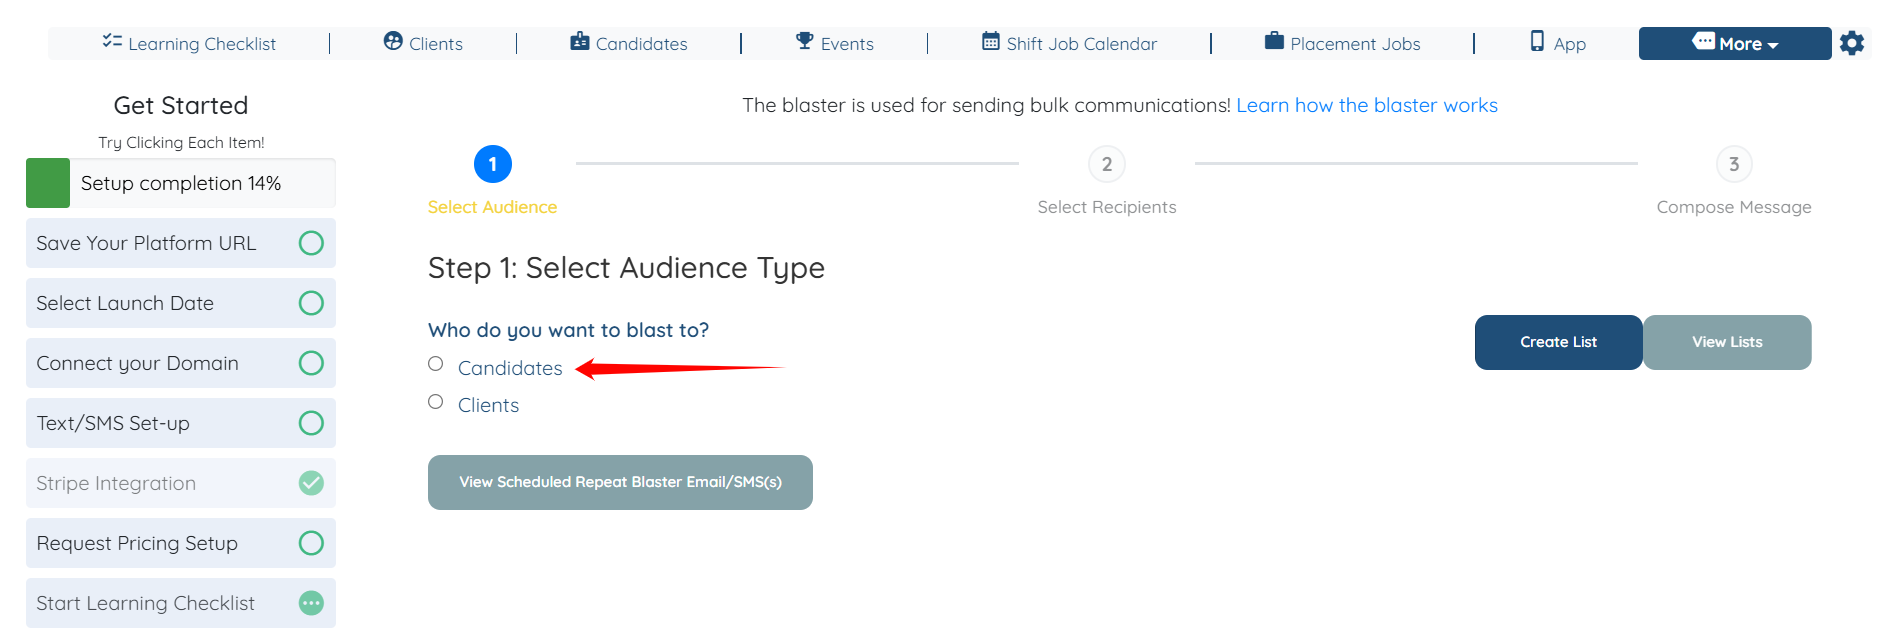
Step 2: Select Candidates as the Audience Type.
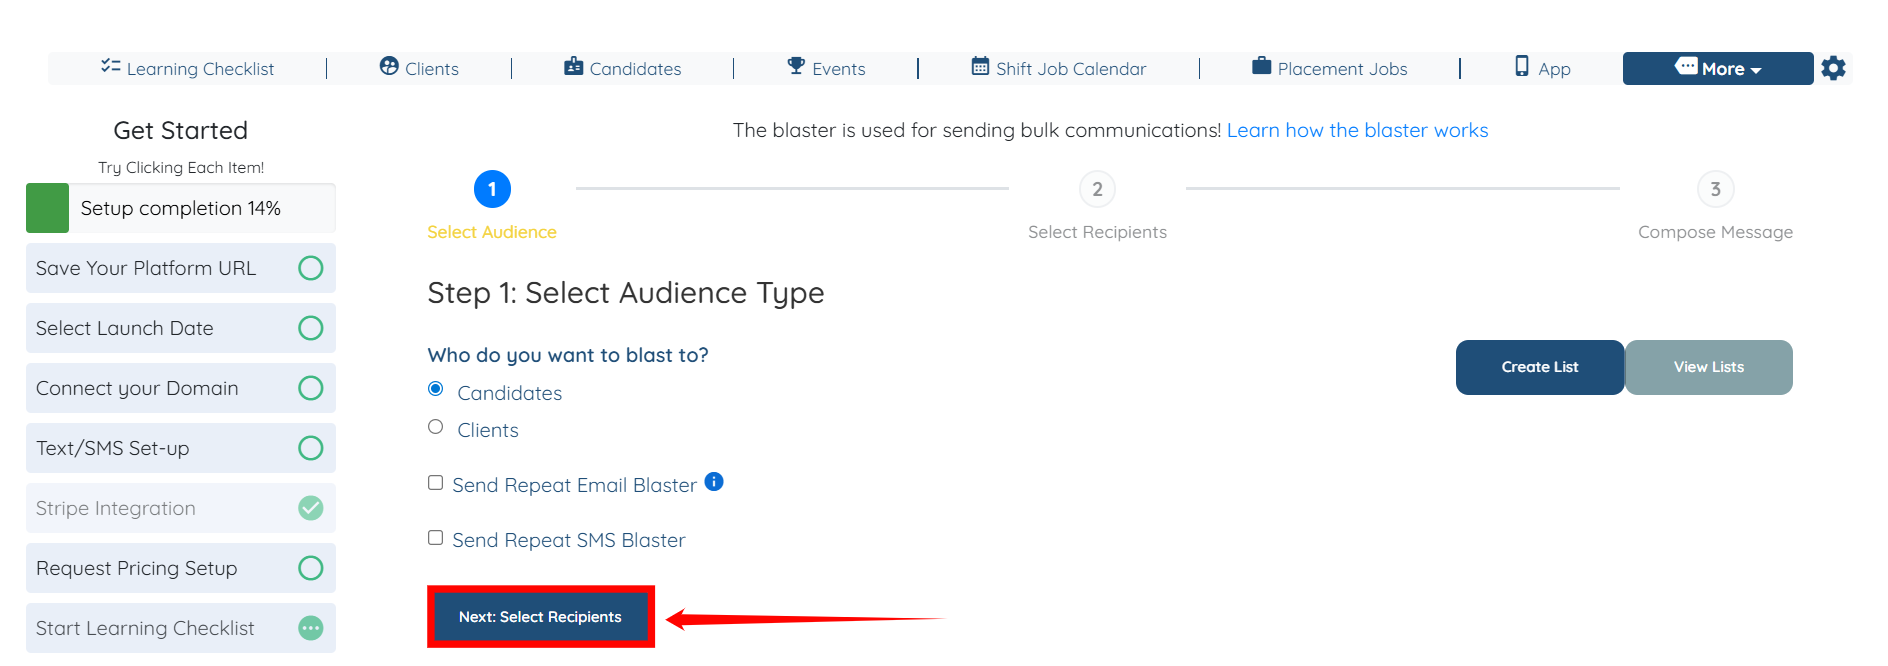
Step 3: Click the Next: Select Recipients button to begin the process of selecting the candidates.
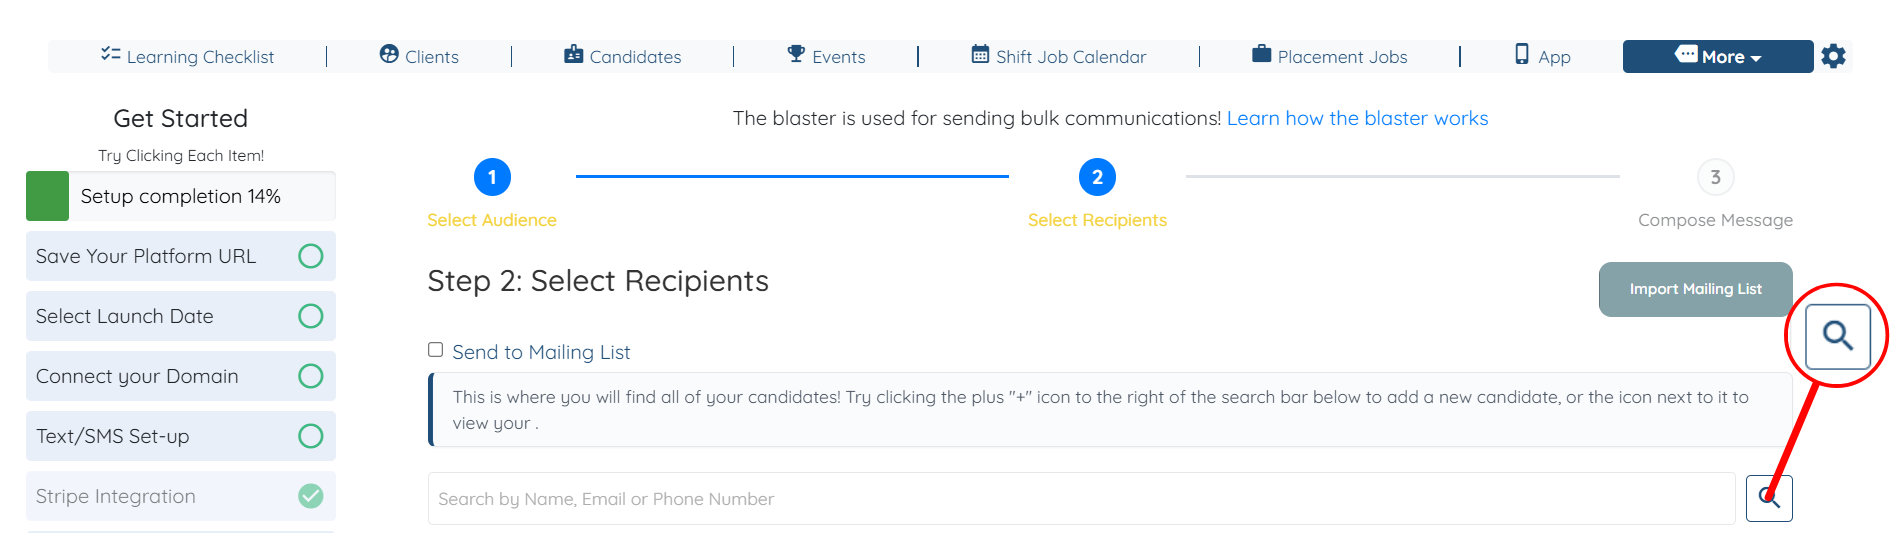
Step 4: Click the Search and Filter Tools icon.
Step 5: Click the Filter by Status box to open the dropdown list.
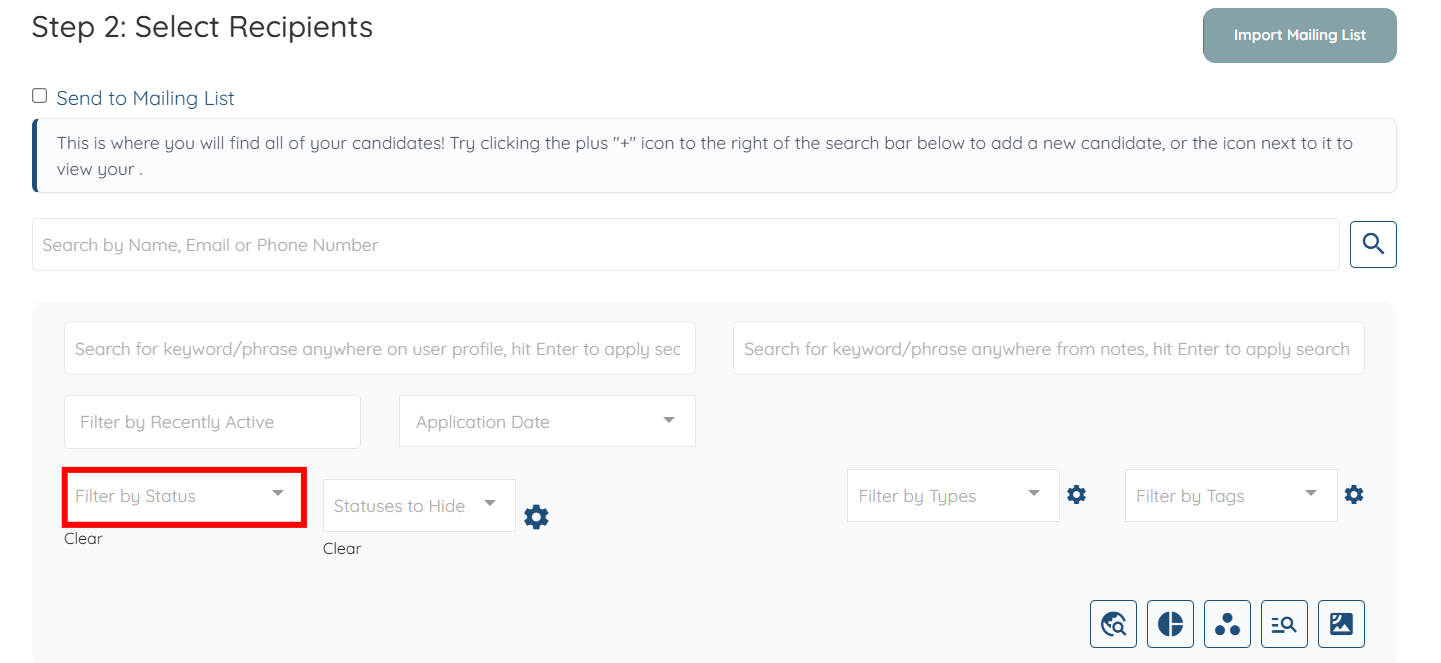
Step 6: Select the specific status of the candidates to whom you will send the email blast.

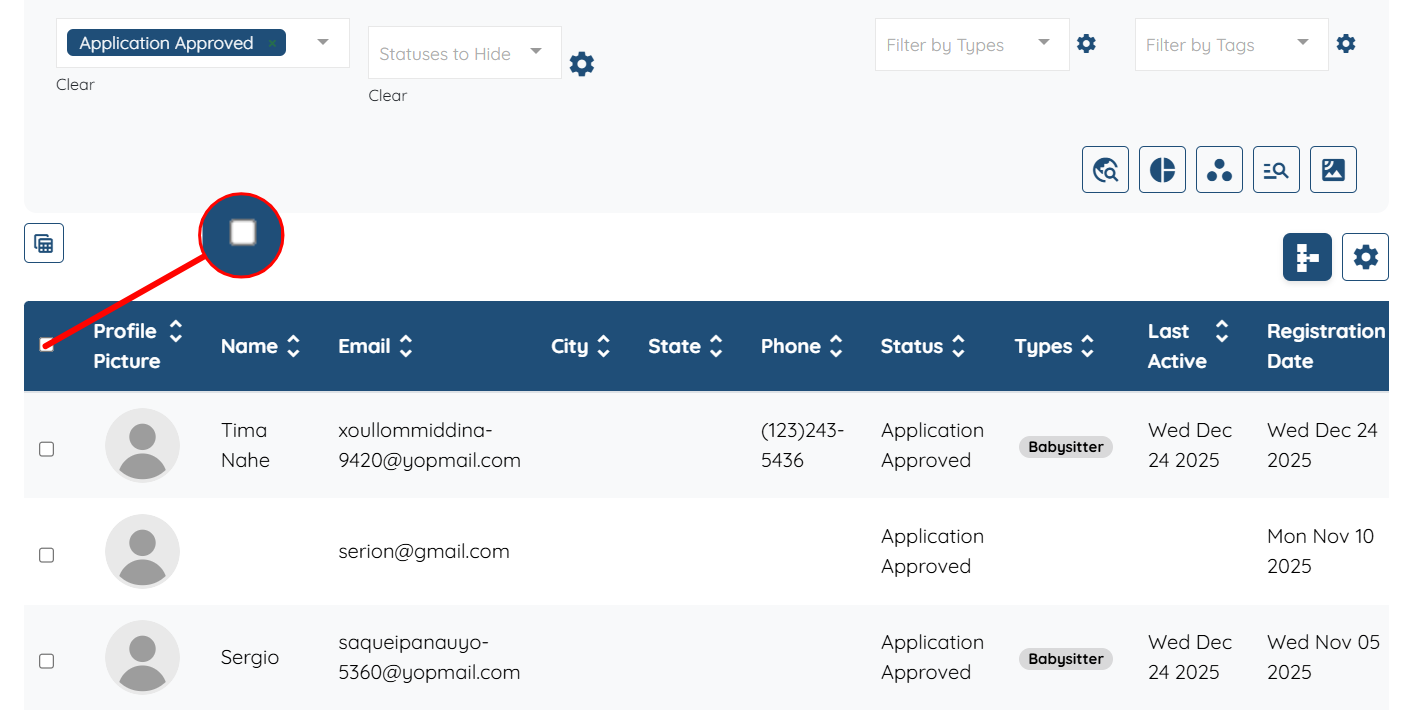
Step 7: The candidates list will be filtered based on the selected status. Click the checkbox, as shown in the screenshot below, to select all the filtered candidates.
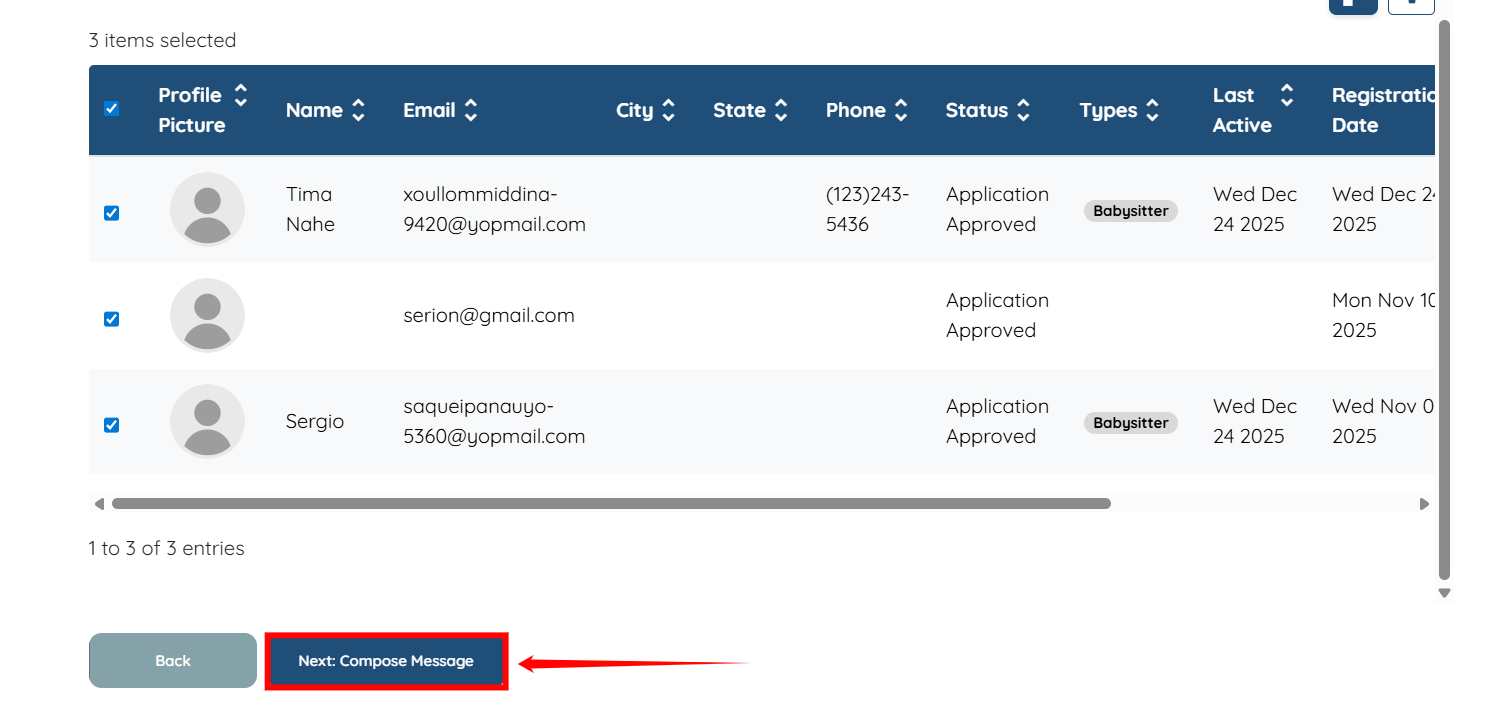
Step 8: Click the Next:Compose Message button to continue.
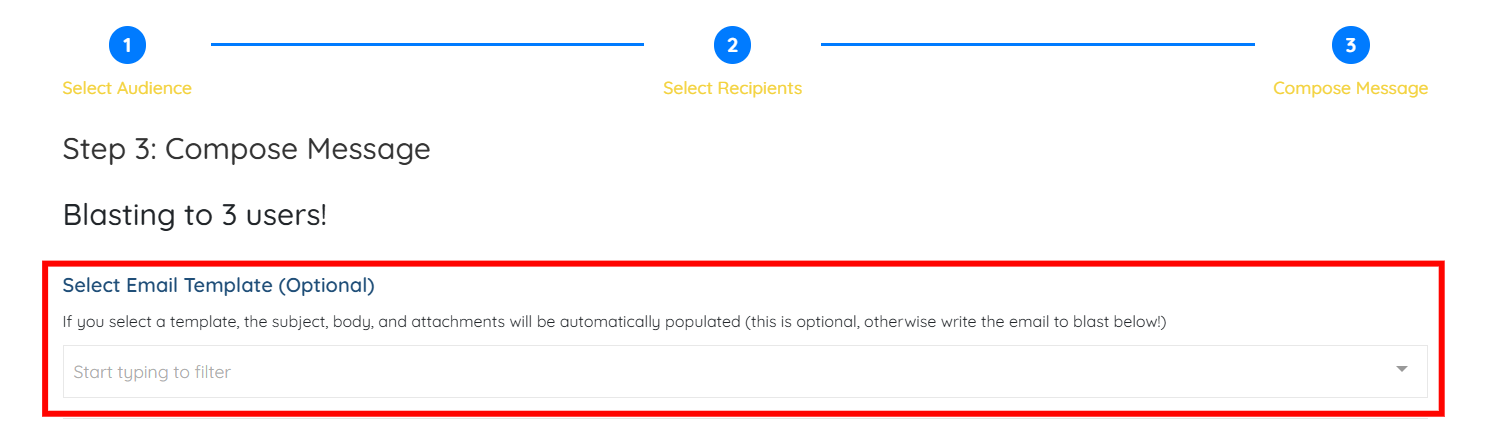
Step 9: (Optional) You may use any of the available email templates to send email blasts to the candidates you have filtered, if you choose to do so.
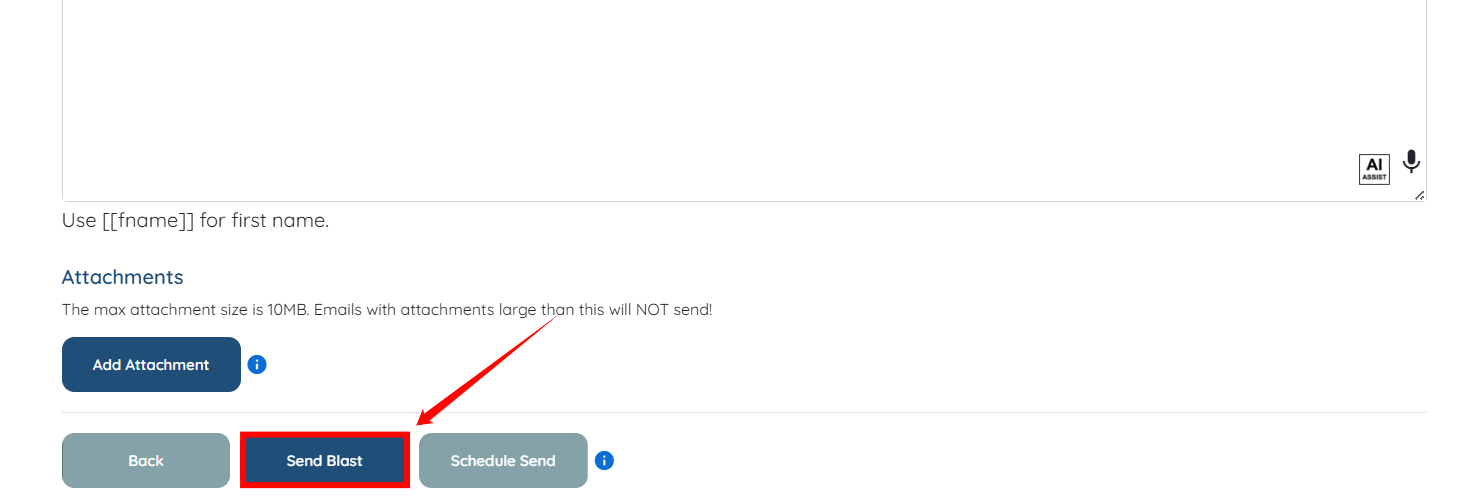
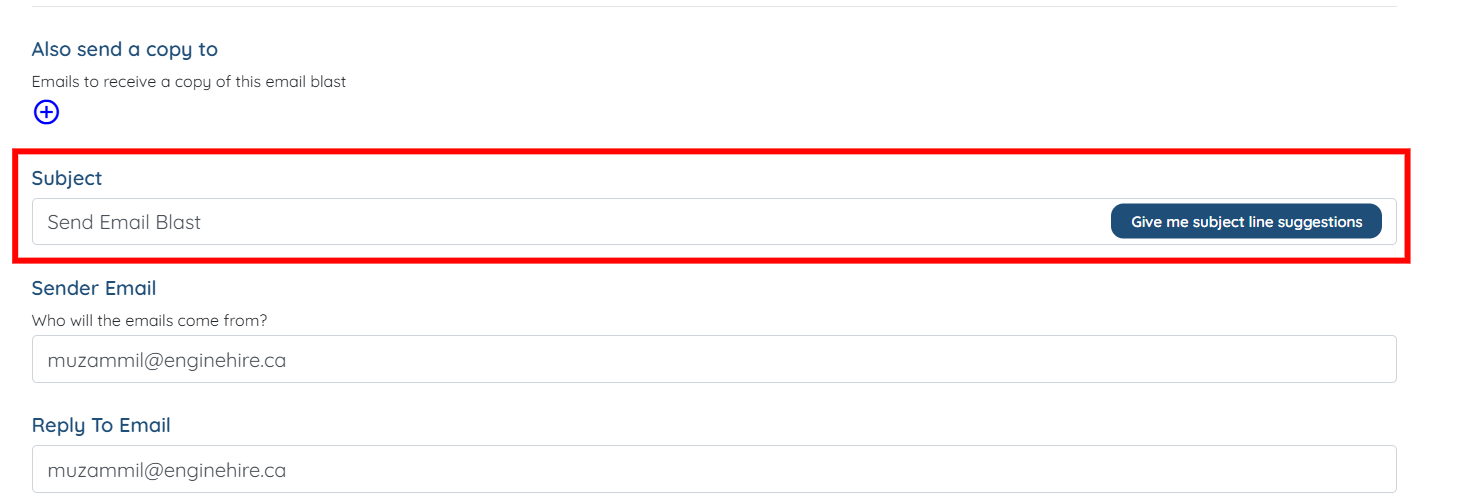
Step 10: Enter the subject line for your email blast.
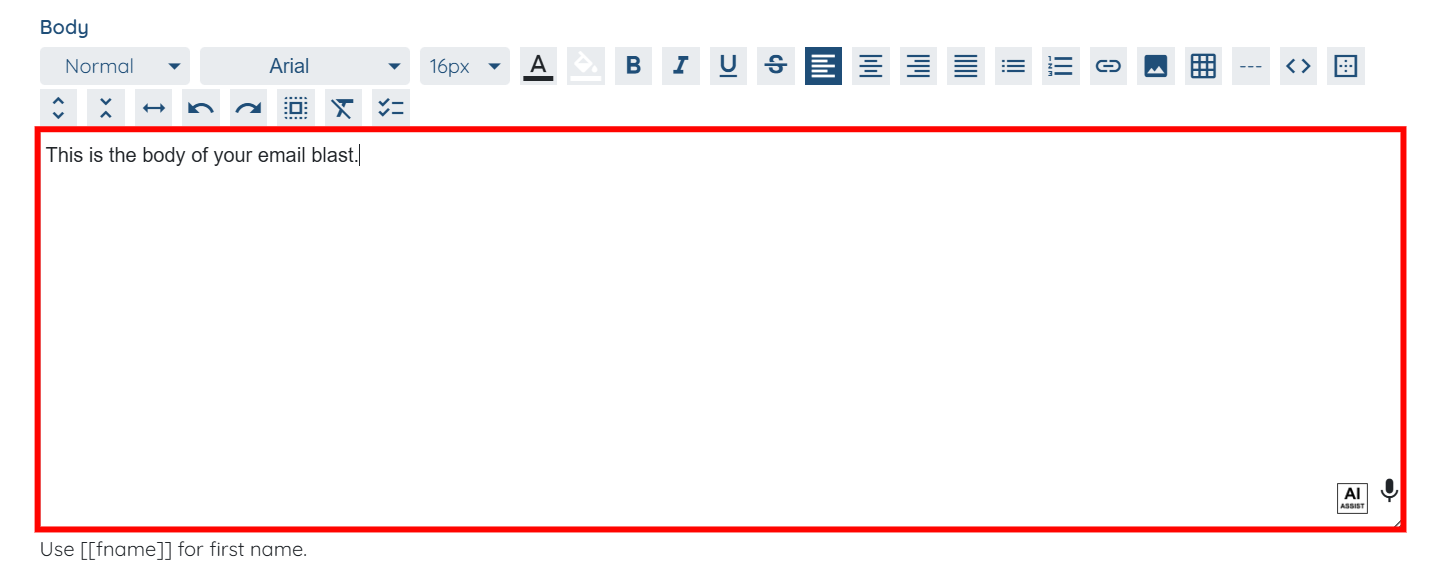
Step 11: Prepare your email blast message by using the text editor.
You may also make use of the AI ASSIST feature to enhance the quality of the text. To learn how to use it, refer to the Use AI ASSIST Feature document.
Step 12: Click the Send Blast button to send an email blast to the selected candidates.