Accessing the Customer Portal
-
URL to Access the Portal:
-
Navigate to Enginehire Customer Portal.
https://learn.enginehire.io/tickets-view
-
-
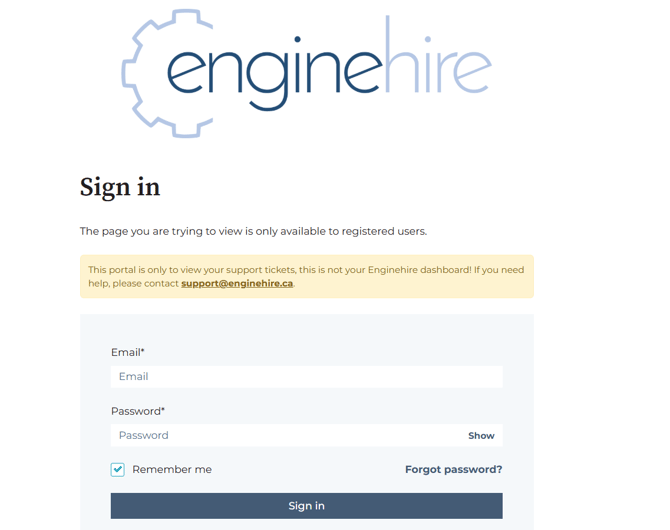
Signing In:
-
Enter your registered email address and password.
-
If you don’t remember your password, use the "Forgot Password" link to reset it. A reset link will be sent to your registered email.
-
-
Passwordless Login:
-
Alternatively, you can log in without a password by scrolling down a little bit and:
-
Entering your email in the "Email link" section.
-
Agreeing to allow EngineHire to store and process your data.
-
Clicking on "Email Link" to receive a one-time access link in your inbox.
-
-

How to Create a New Ticket
-
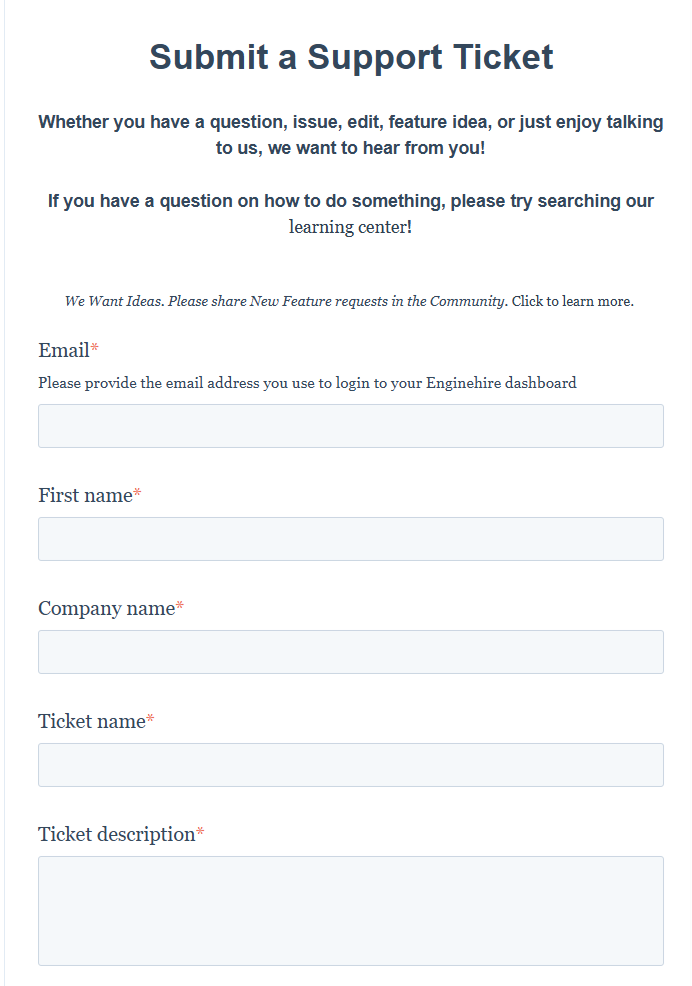
Filing a Support Ticket:
-
Once logged in, click on "File a Support Ticket" in the top menu.
-
Fill in the required fields:
-
Your Email: Your email address that you use to login to your Enginehire dashboard.
- First Name: Your first name.
-
Your Company Name: The name of your company.
-
-
-
-
-
Ticket Name: Write a brief title to label the issue.
-
Ticket description: Provide a comprehensive explanation of the issue or request.
- Please provide examples for troubleshooting : Please provide at least one example to help us investigate, such as a candidate or client email address. If it relates to a job, include the job details. If multiple records are affected, at least one good example would be helpful.
- Loom Video Link: Please share a Loom video if possible, it helps us understand the issue faster. Not familiar with Loom? See this guide.
-
-
-
-
-
Screenshots or Attachments: Optionally, upload screenshots or video recordings to demonstrate the issue. Use tools like Loom for screen recordings.
-
If uploading multiple files, hold down control and select all the necessary files.
-
Include relevant details like the sender, recipient, and time for email screenshots.
-
-
-
-
-
Click on "Submit" to create your ticket.
-
Accessing Existing Tickets
-
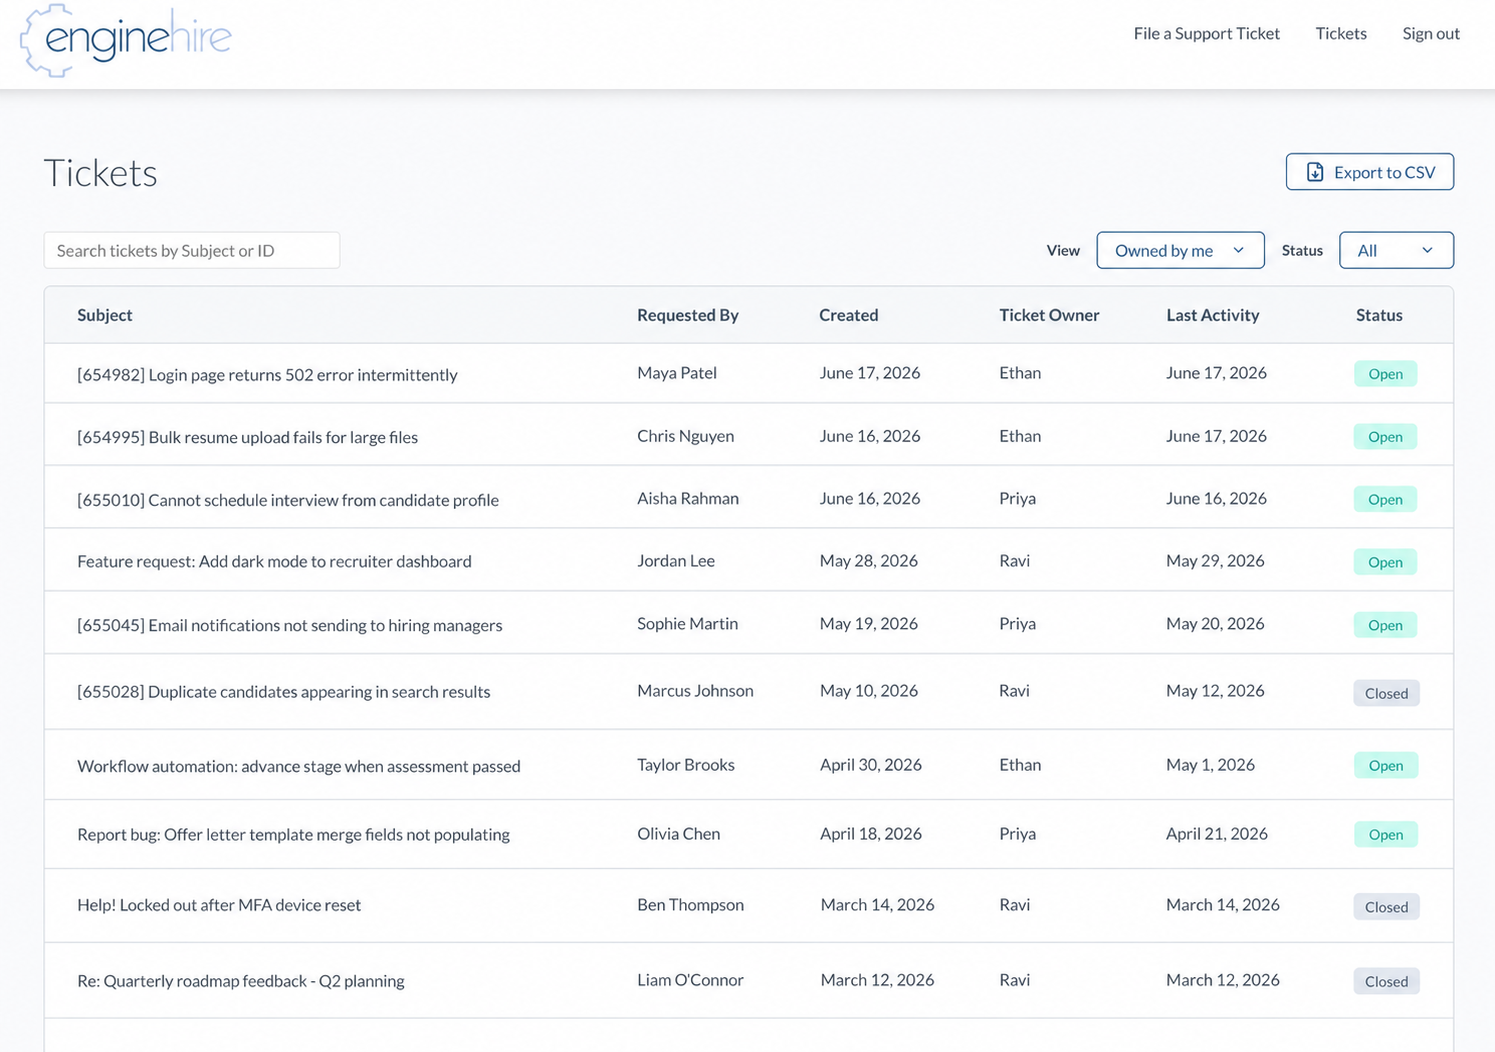
View All Tickets:
-
After logging in, navigate to the "Tickets" section in the top menu.
-
You will see a list of tickets with the following attributes:
-
ID: Unique ticket identifier.
-
Subject: Brief summary or title of the ticket.
-
Created: Date the ticket was created.
-
Last Activity: Shows the most recent activity on the ticket.
-
Status: Indicates whether the ticket is Open or Closed
-
-
-
Filtering and Searching:
-
Use the Search bar to find specific tickets.
-
Use the "View" dropdown to filter tickets based on criteria (e.g., "My Tickets").
-
Adjust the "Status" dropdown to filter tickets by their status.
-
Sending a New Message in an Existing Thread
-
Open a Ticket:
-
Click on a specific ticket from the list to view its details.
-
-
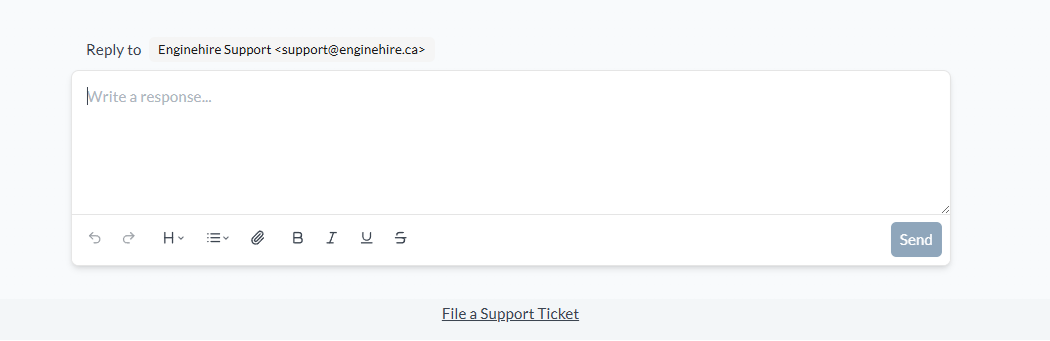
Respond to the Thread:
-
Scroll to the "Write a response" section at the bottom.
-
Type your message in the text box.
-
Optionally, attach any relevant files (maximum file size: 50MB).
-
Click "Send" to update the ticket with your response.
-
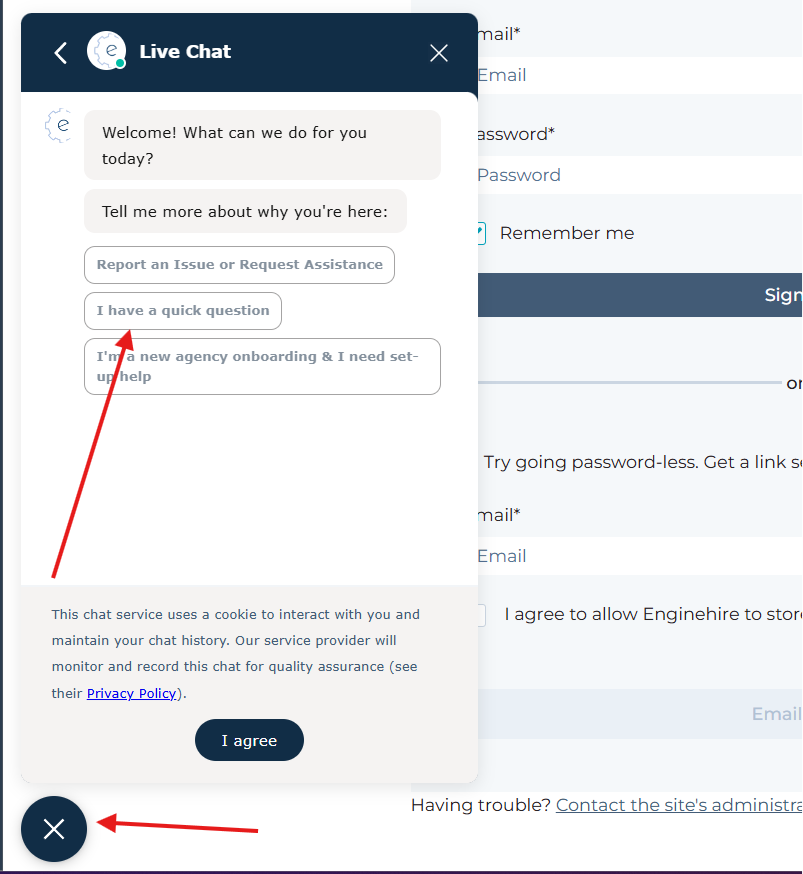
Support and Assistance
If you encounter any issues while using the portal, start a Live Chat from the bottom left of the screen and select "I have a quick question".