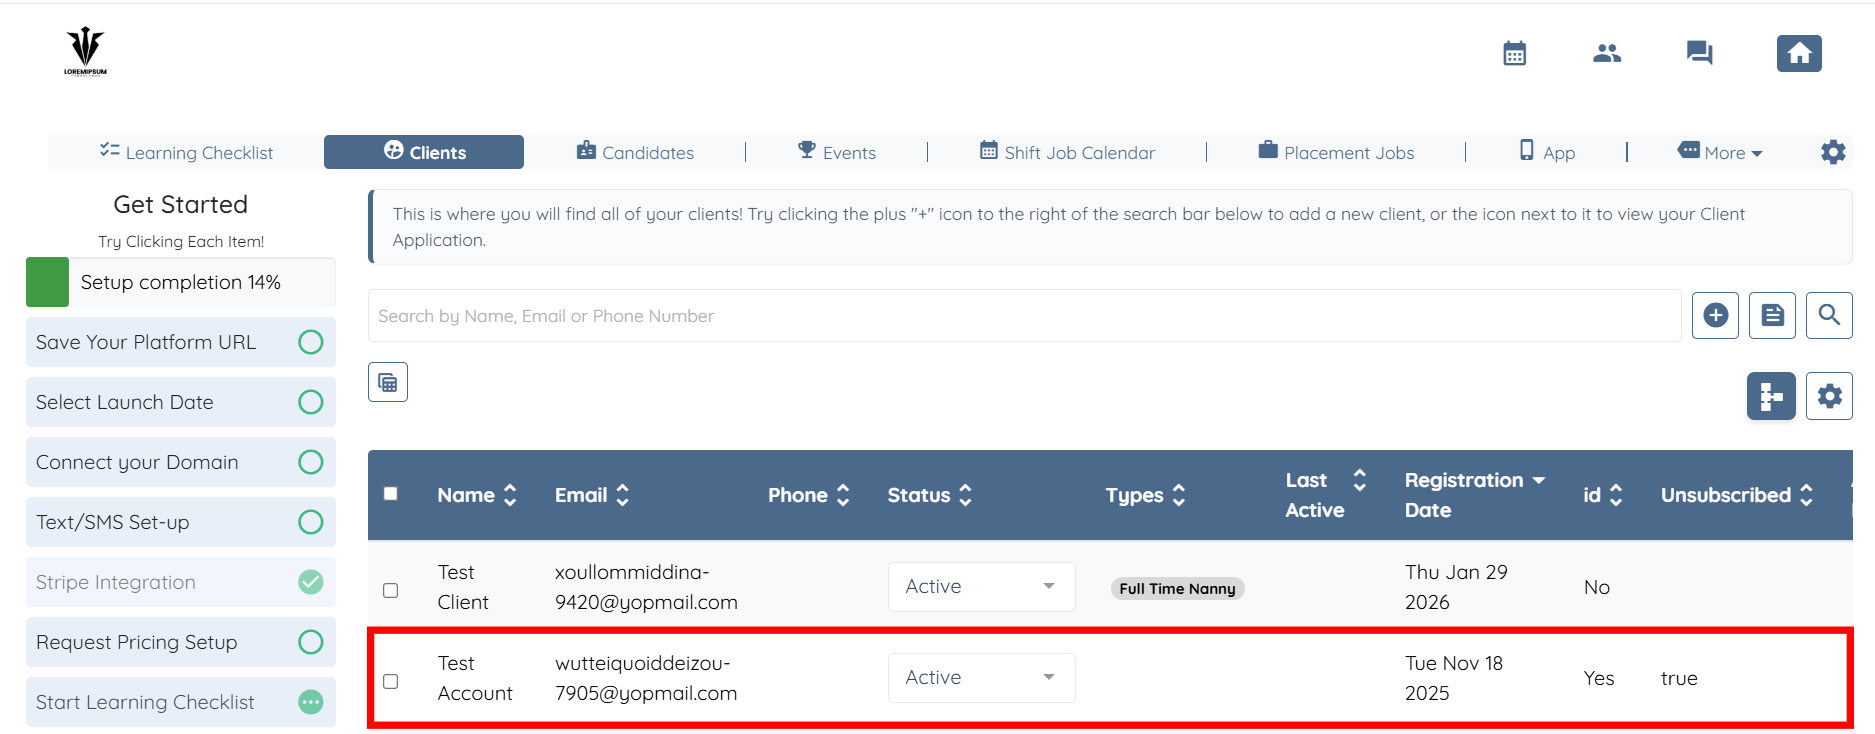
1. Click on any client in the list.
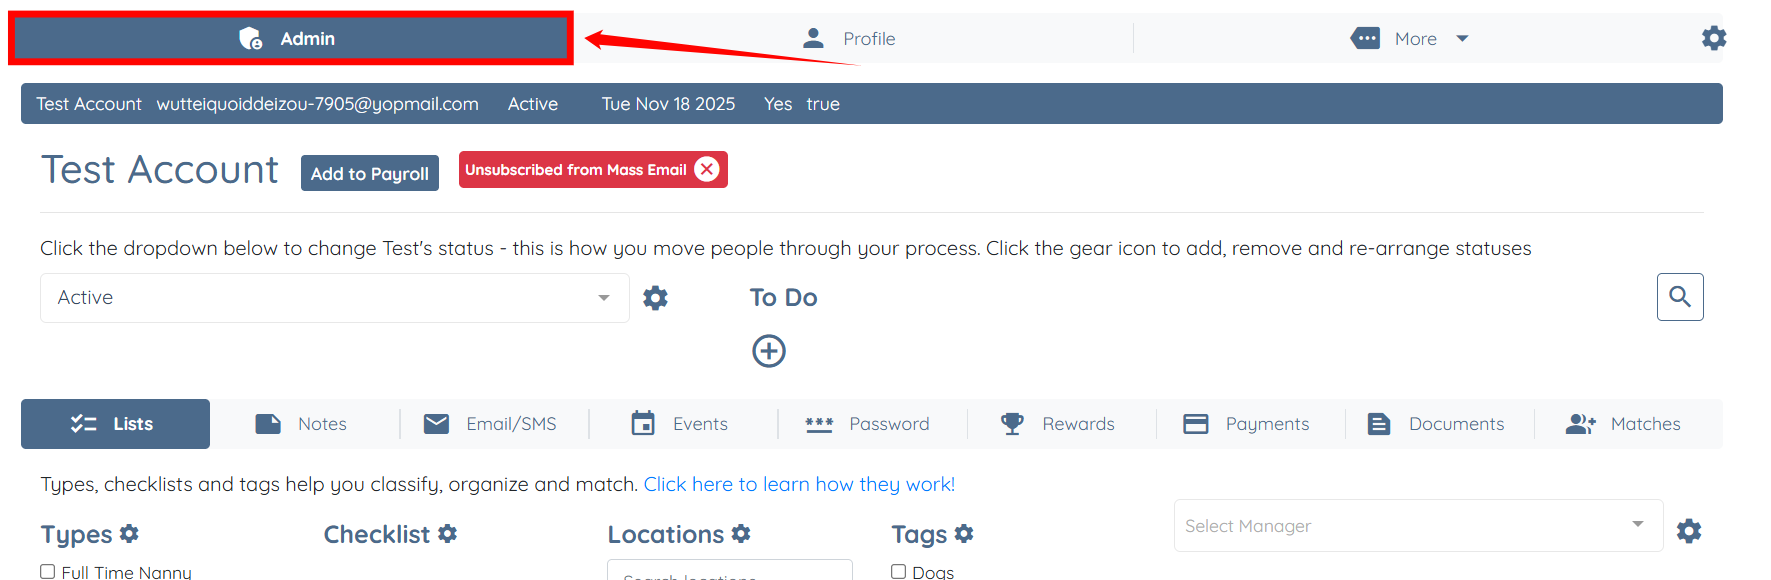
2. Click on the Admin tab.
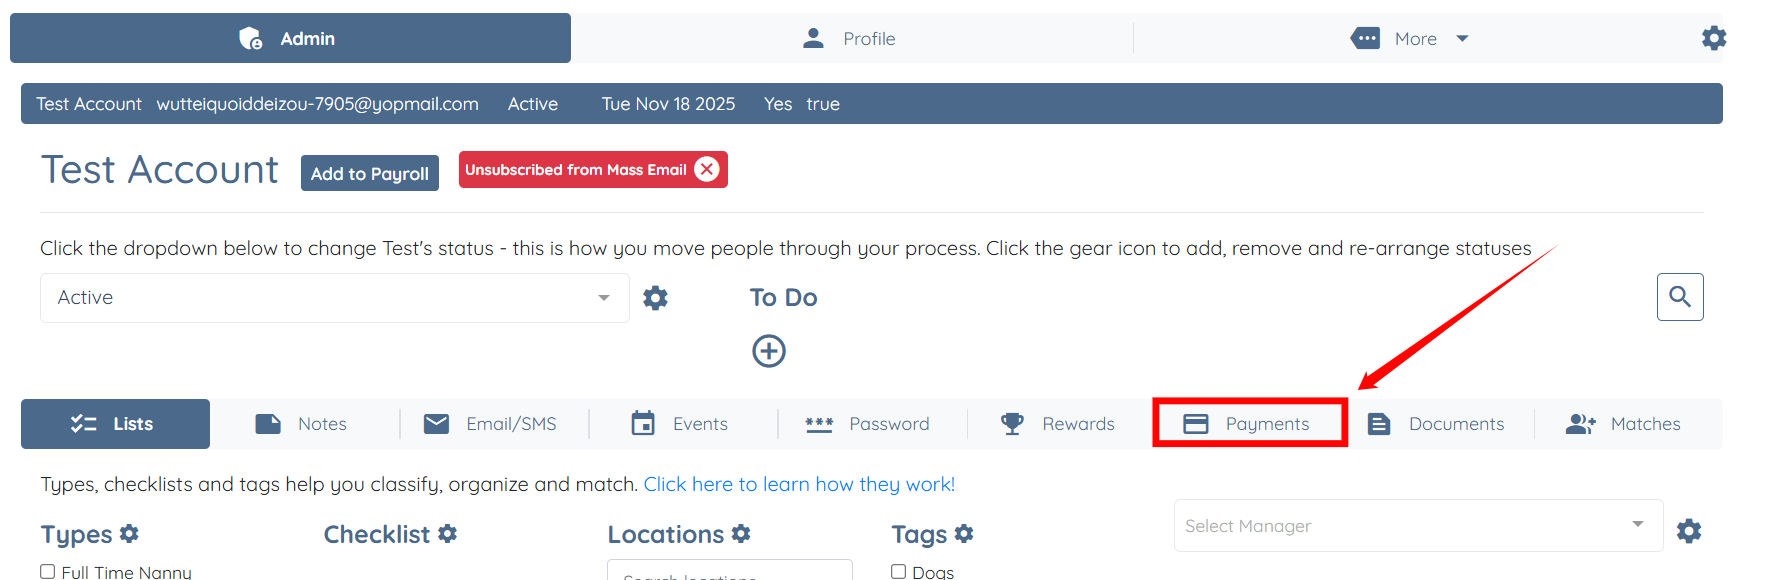
3. Click the Payments section.
4. Click the Advance Invoice Manager button.

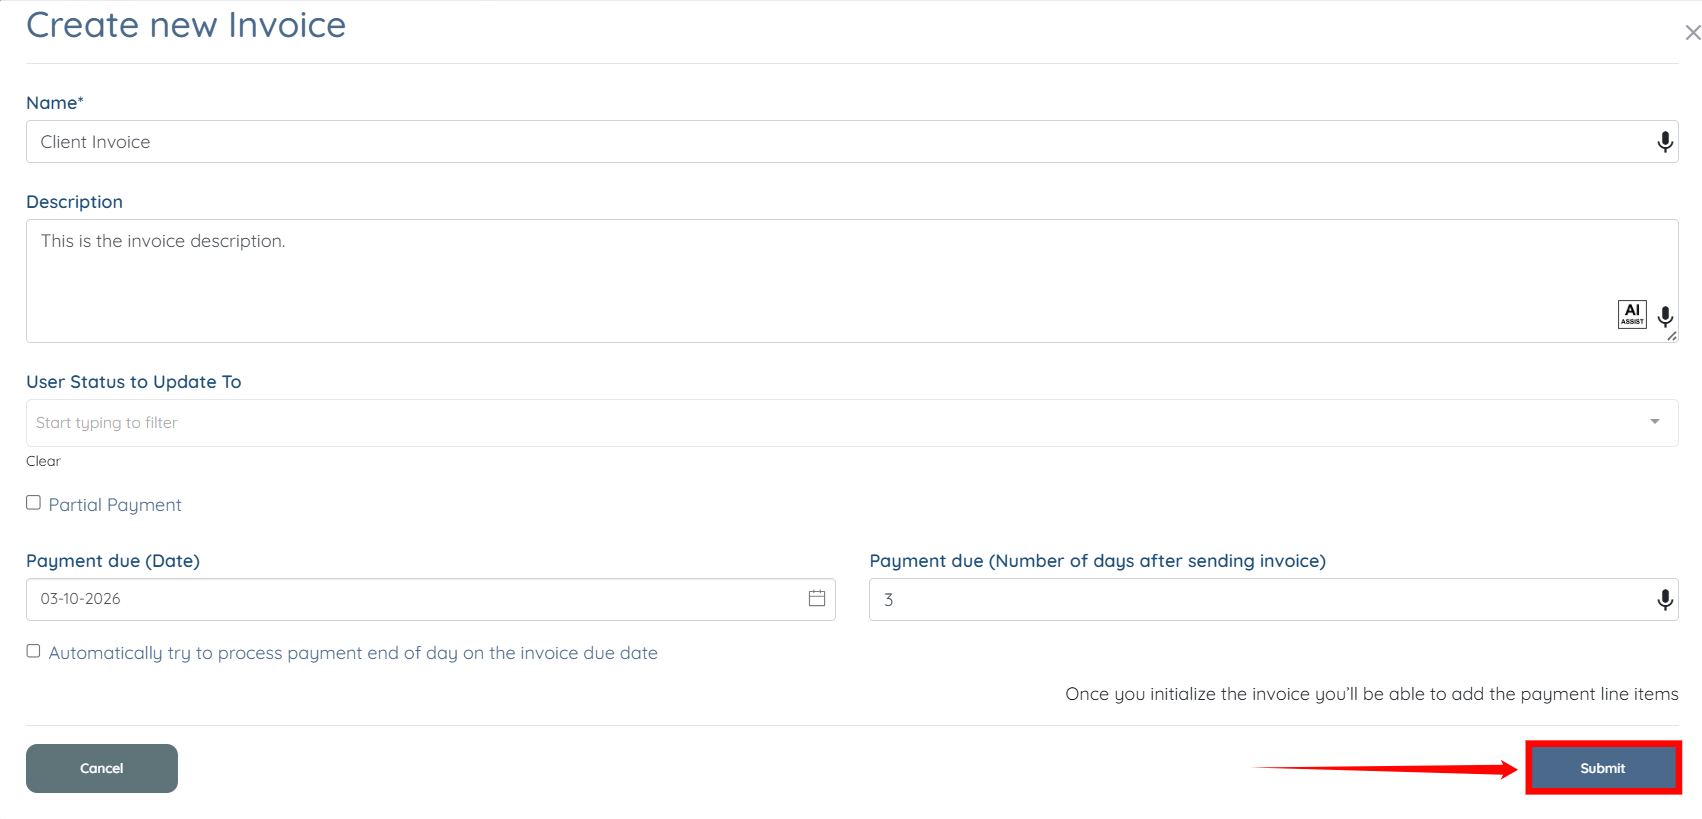
5. Click the + button to create an invoice.

6. Fill in all the required fields and click submit (if you would like to set up a partial payment, make sure to check off partial payment)
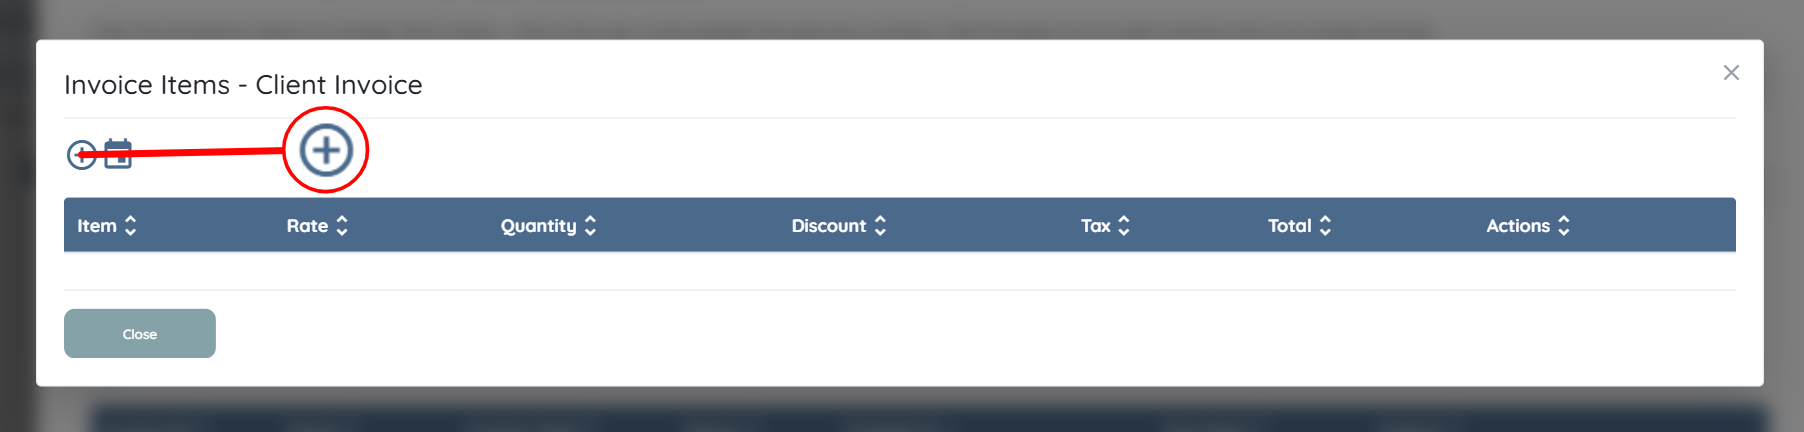
7. Now that you have created your invoice, you can now add line items by clicking on manage invoice items.

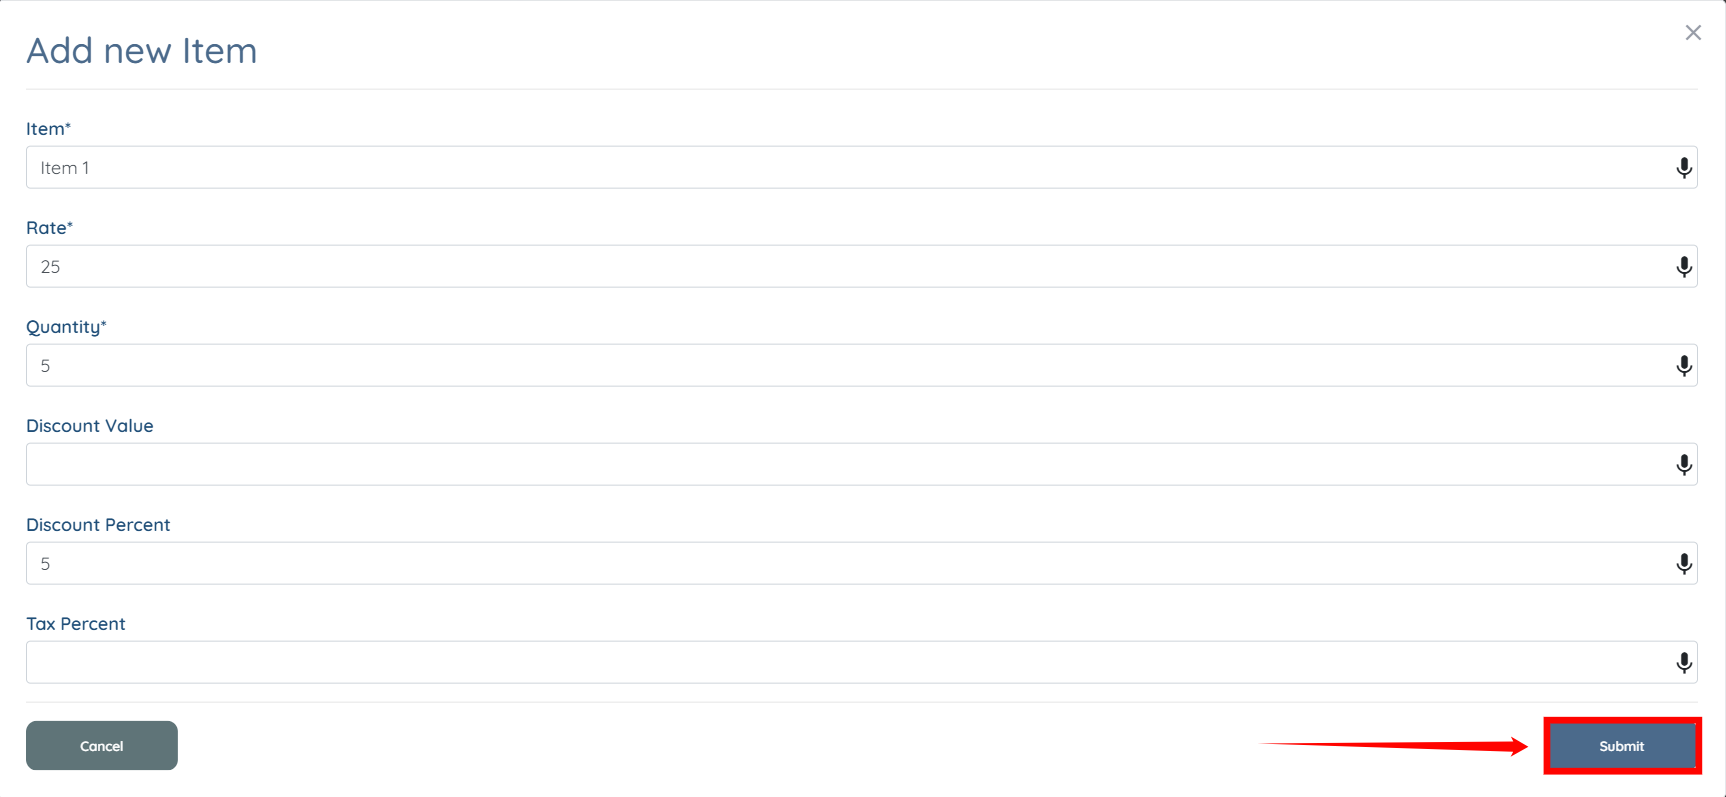
8. Click the + icon "Add Item".
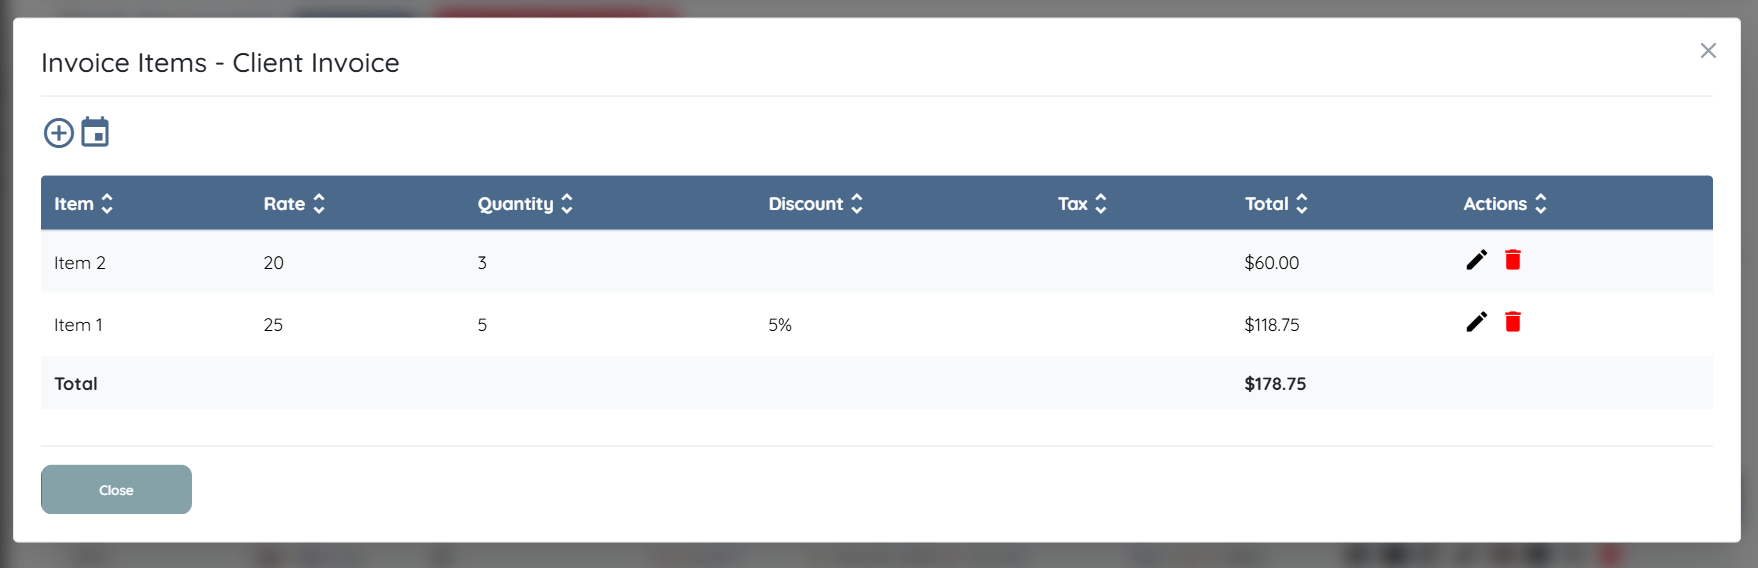
- fill in all the required fields, and click submit.
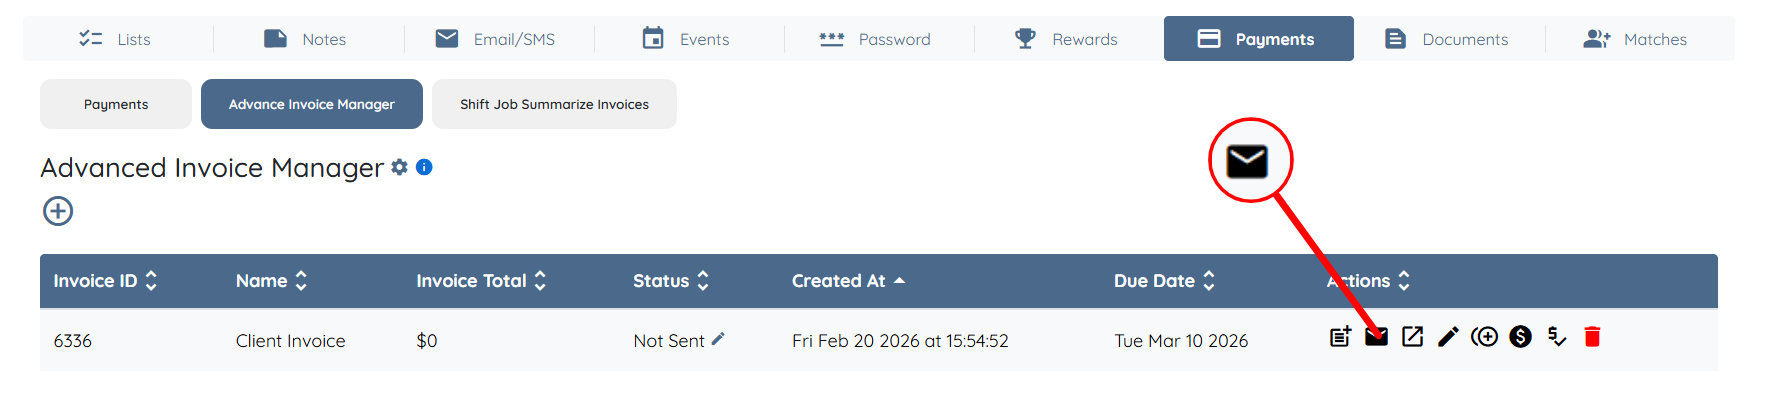
9. Click on the mail icon to send the invoice to the client.
- To learn how to edit this email template and how to create an invoice reminder email template, follow the instructions below.
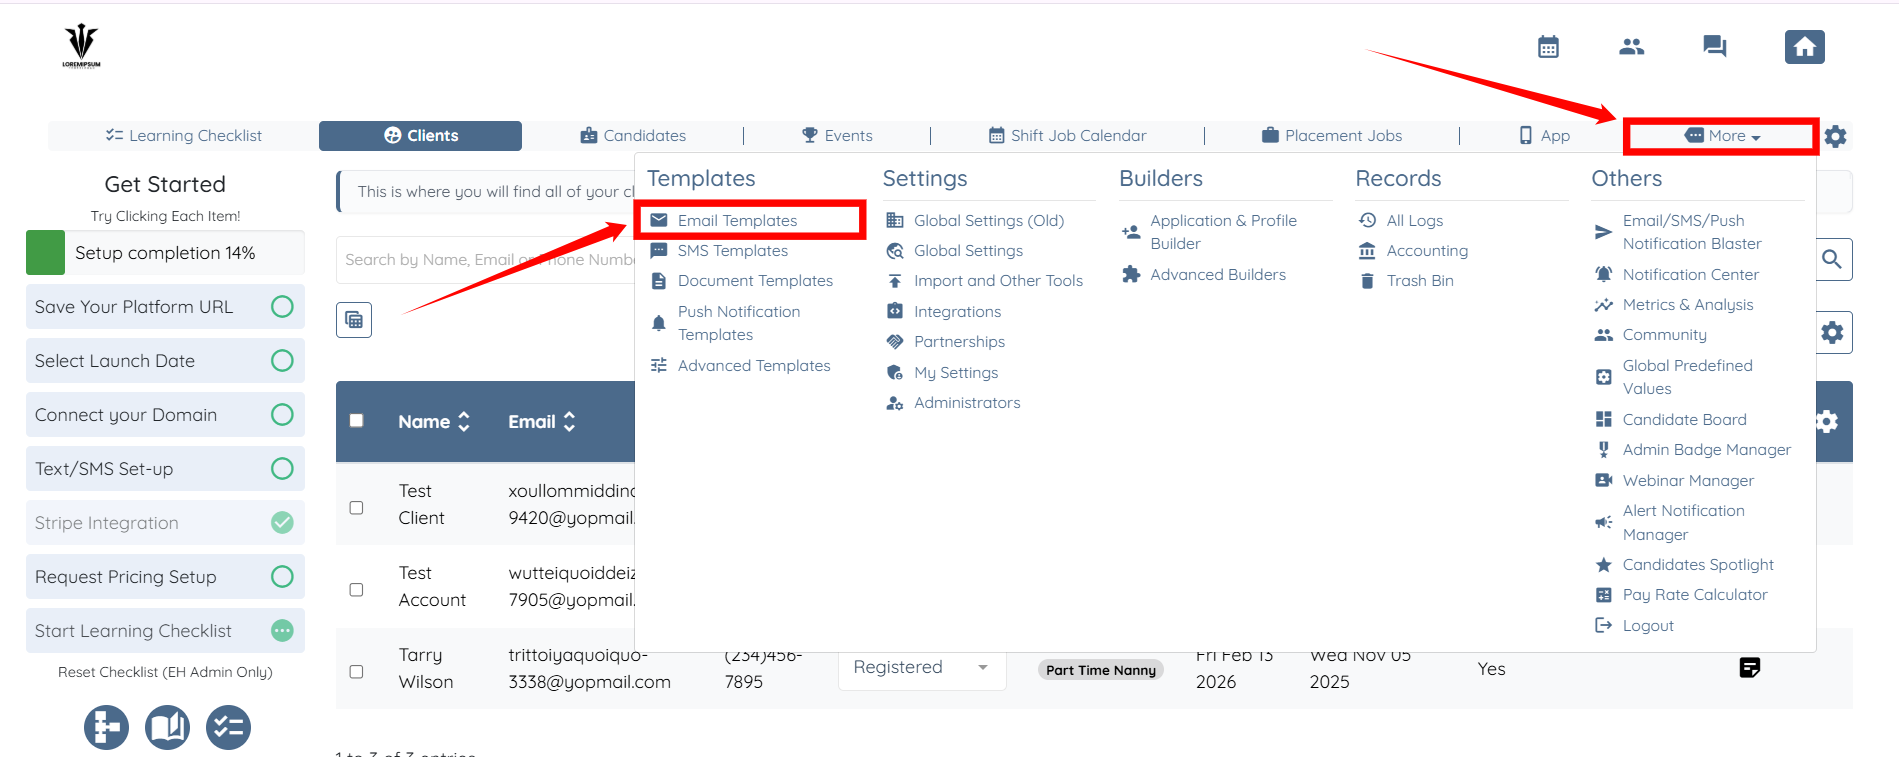
On your agent dashboard, click on More > Email Templates.
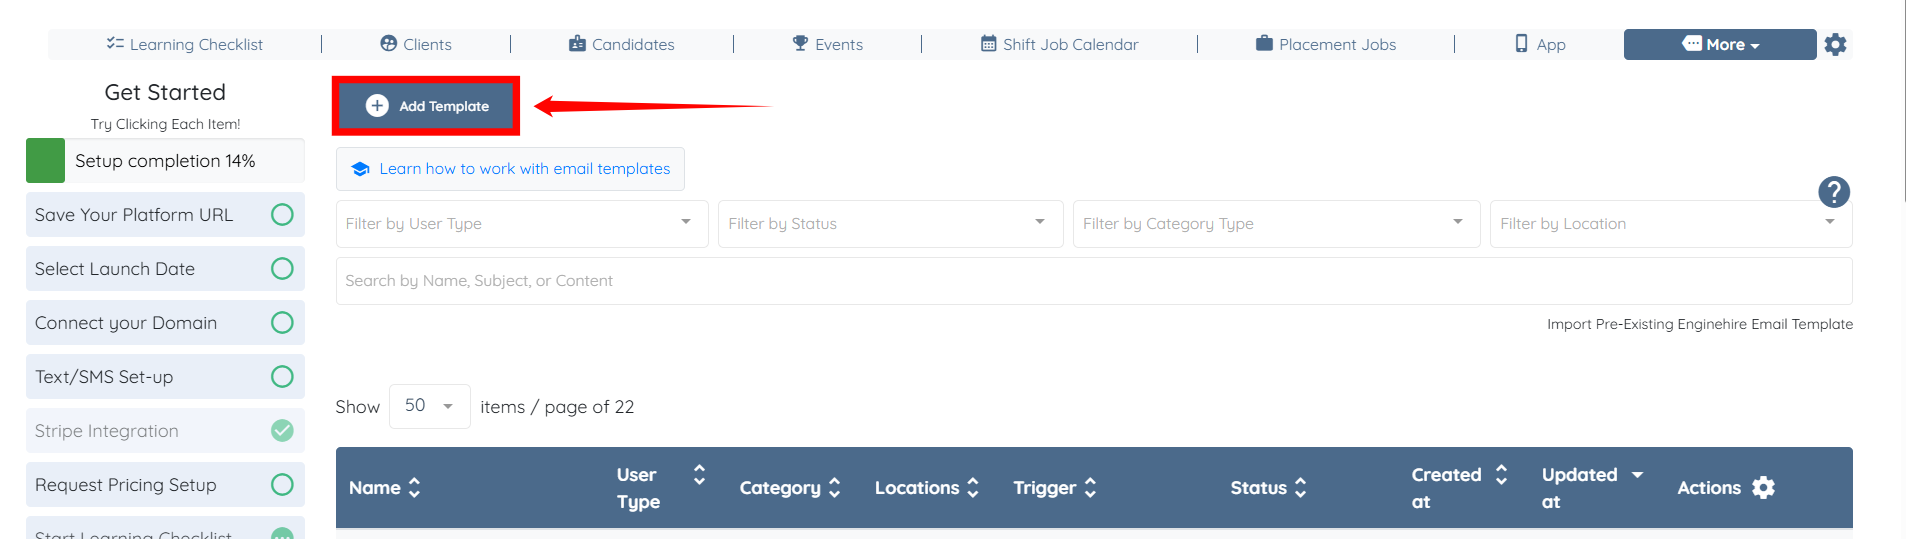
Click on Add Template button to begin adding a new template.
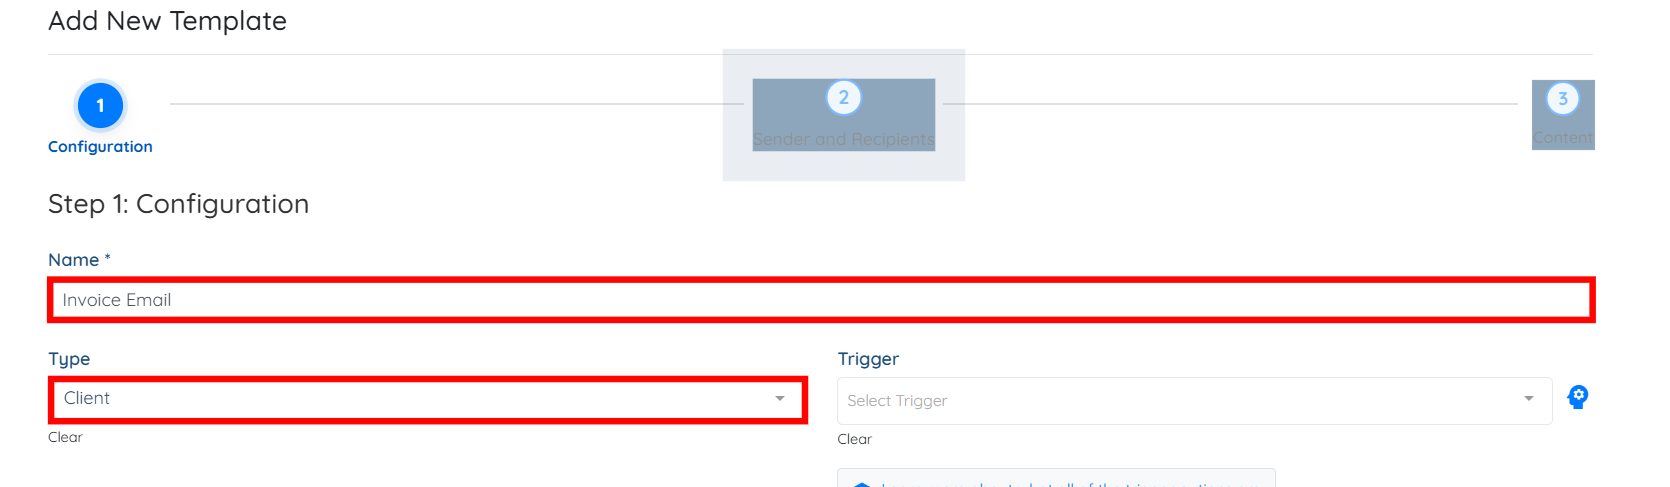
Enter name for your email template, and then select Client as the Audience type.
Then, Select the Send Invoice as Trigger to edit the Send Invoice template as required.
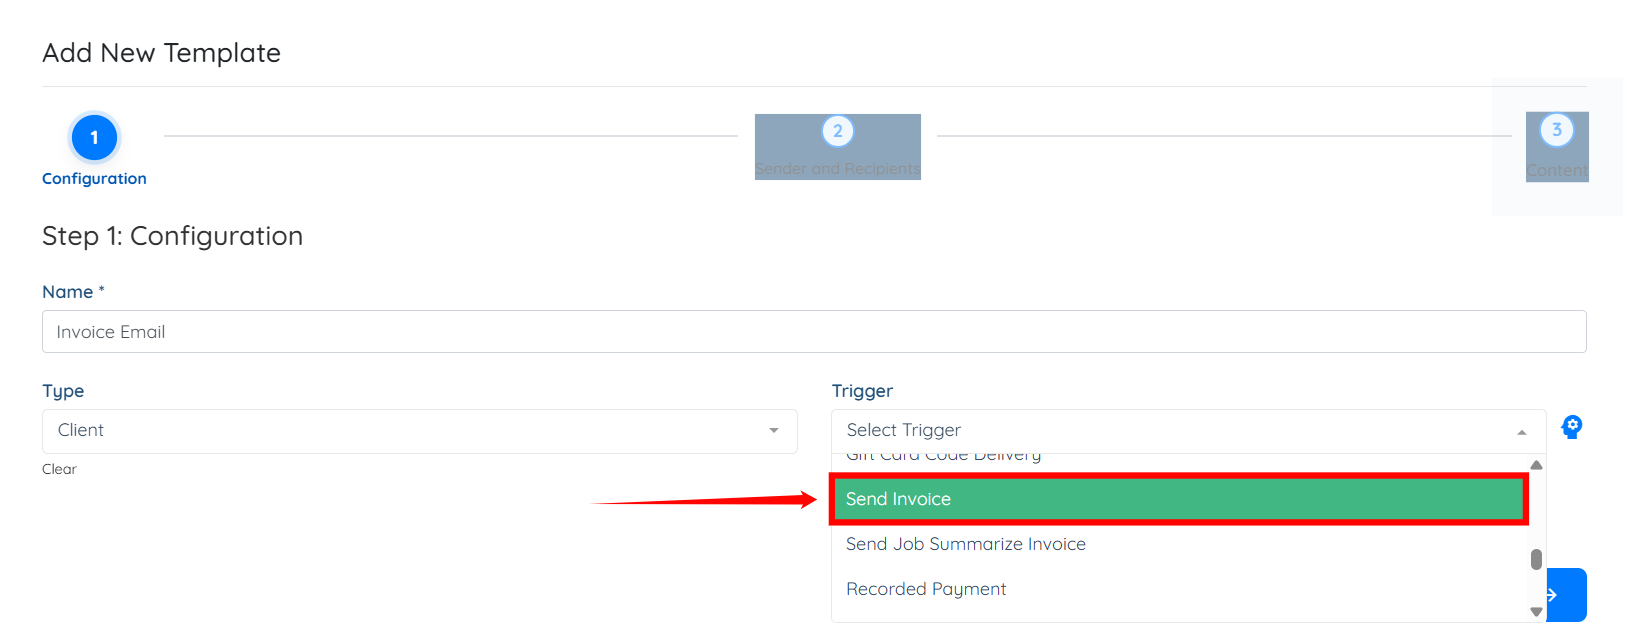
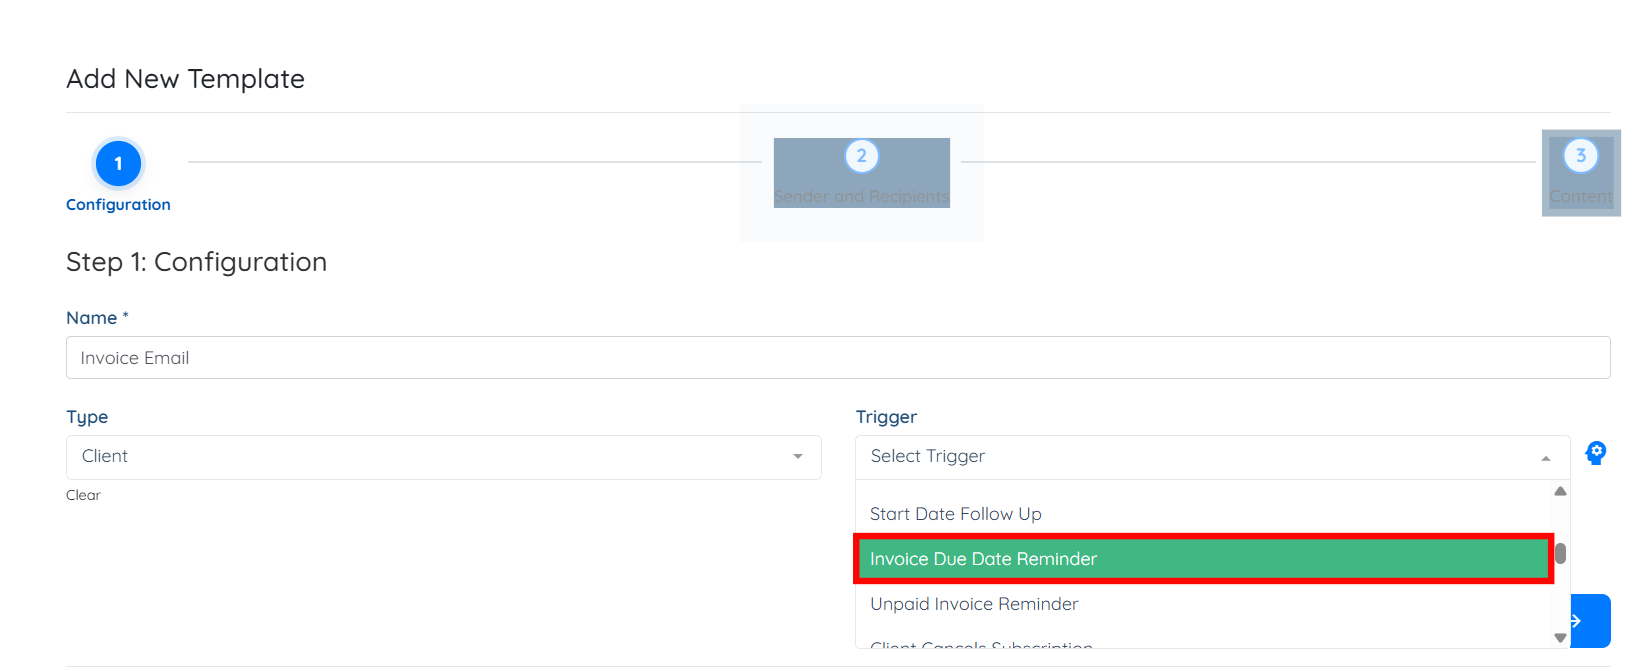
Or, you can use the Invoice Due Date Reminder trigger to create an email template to remind your client to pay their invoice.
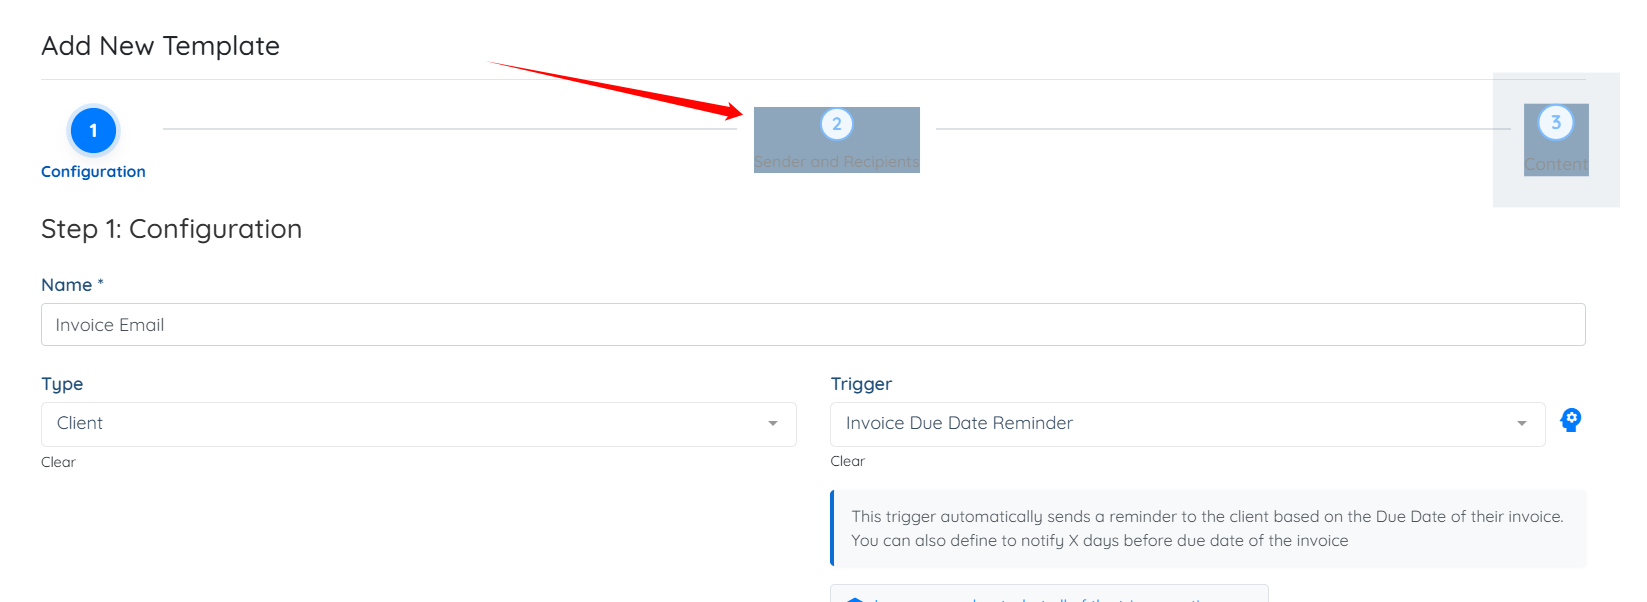
Click the Sender and Recipients icon.
Scroll down, expand the Control who receives this email option, and here you can put the no of days you want to trigger the template before the due date of invoice.
10. You can also click to view the invoice page.
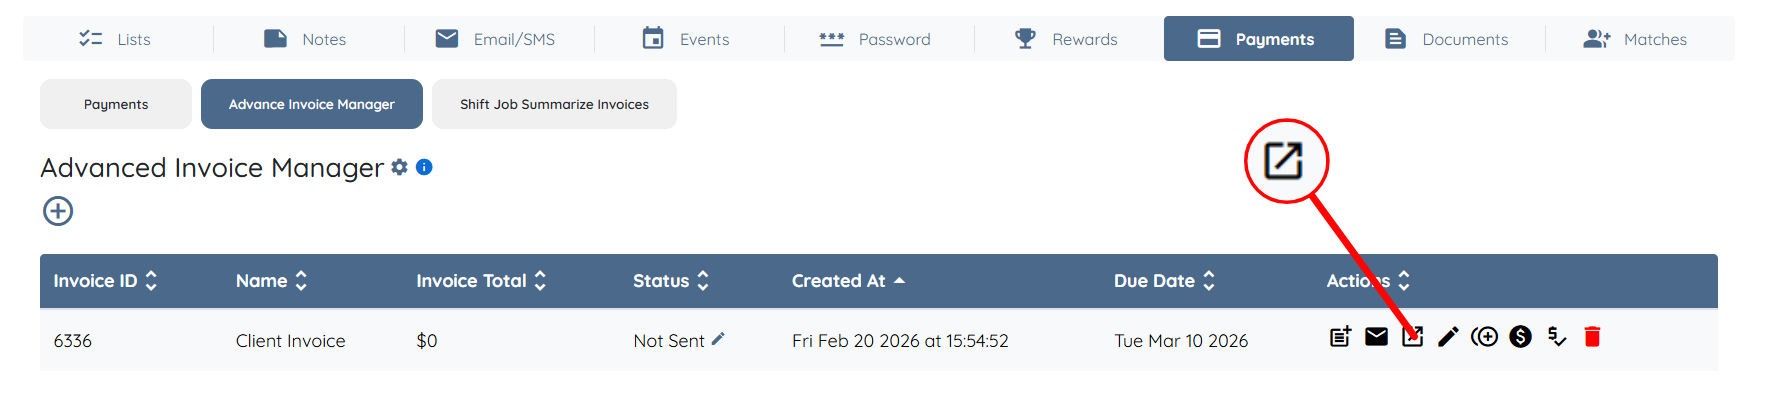
- Once you're on the invoice page, you can copy and paste the URL to share the invoice.
- If the client has their payment information on file, they can click pay.
- If the client does not have their payment information on file, they will be asked to put in their information as shown below.

11. You can edit the invoice by clicking on the pencil icon.

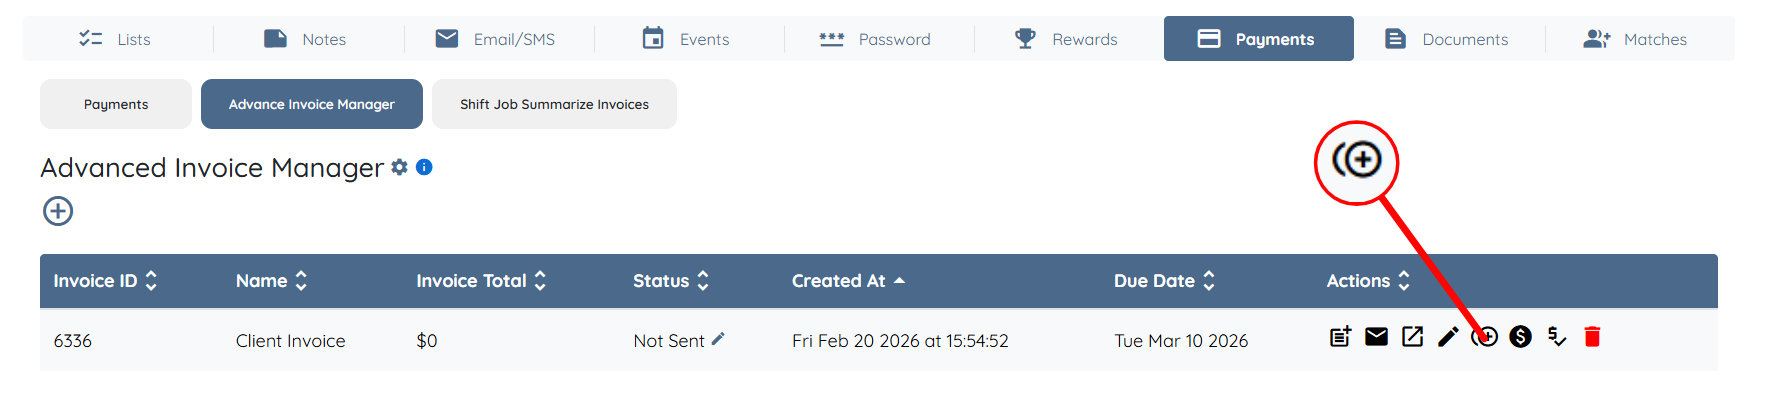
12. You can duplicate an invoice by clicking the icon shown in the picture below.
13. To set up partial payments follow the instructions below:
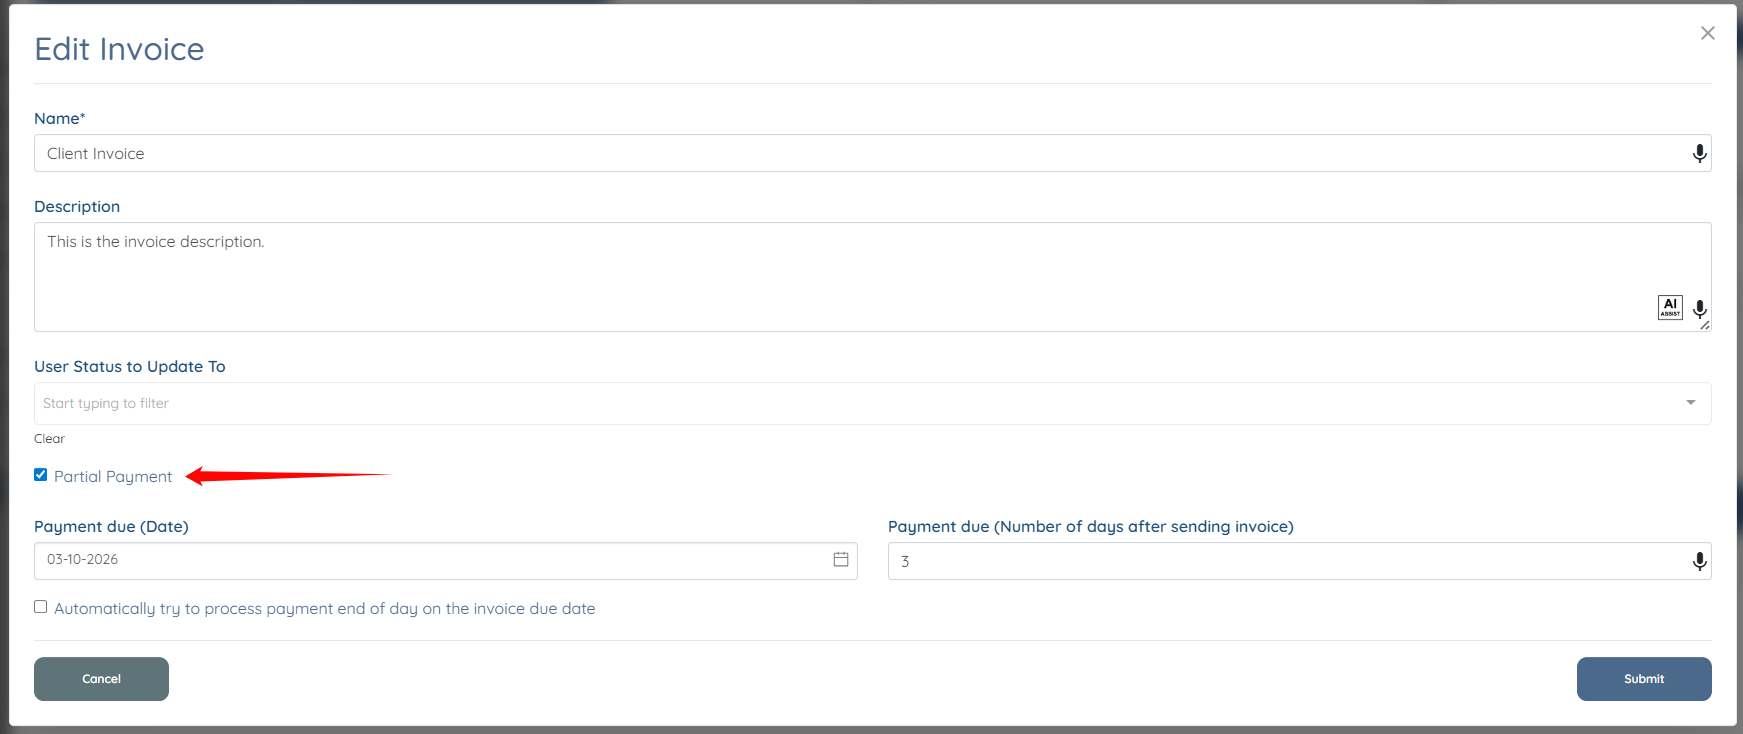
To make sure you have Partial payment checked, click the Edit Invoice icon as shown in the screenshot below.

Then, ensure that the Partial Payment checkbox is checked.
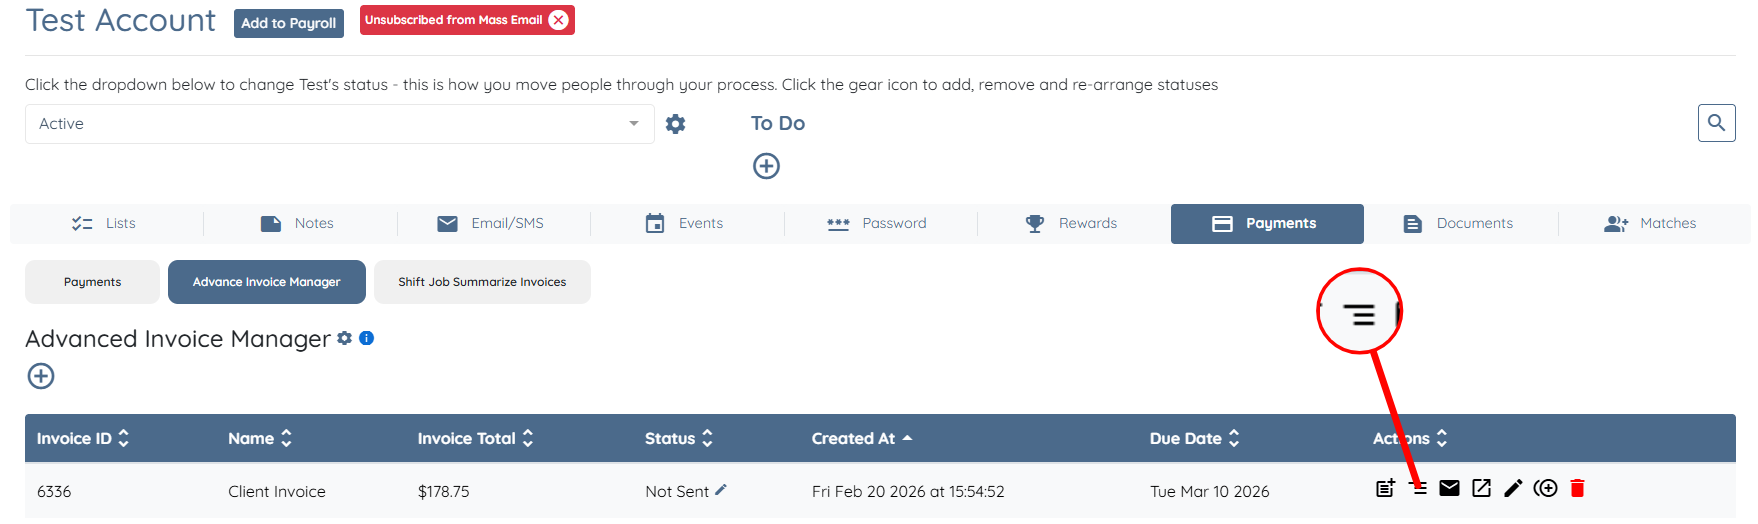
Click on the Manage Partial Payments icon.
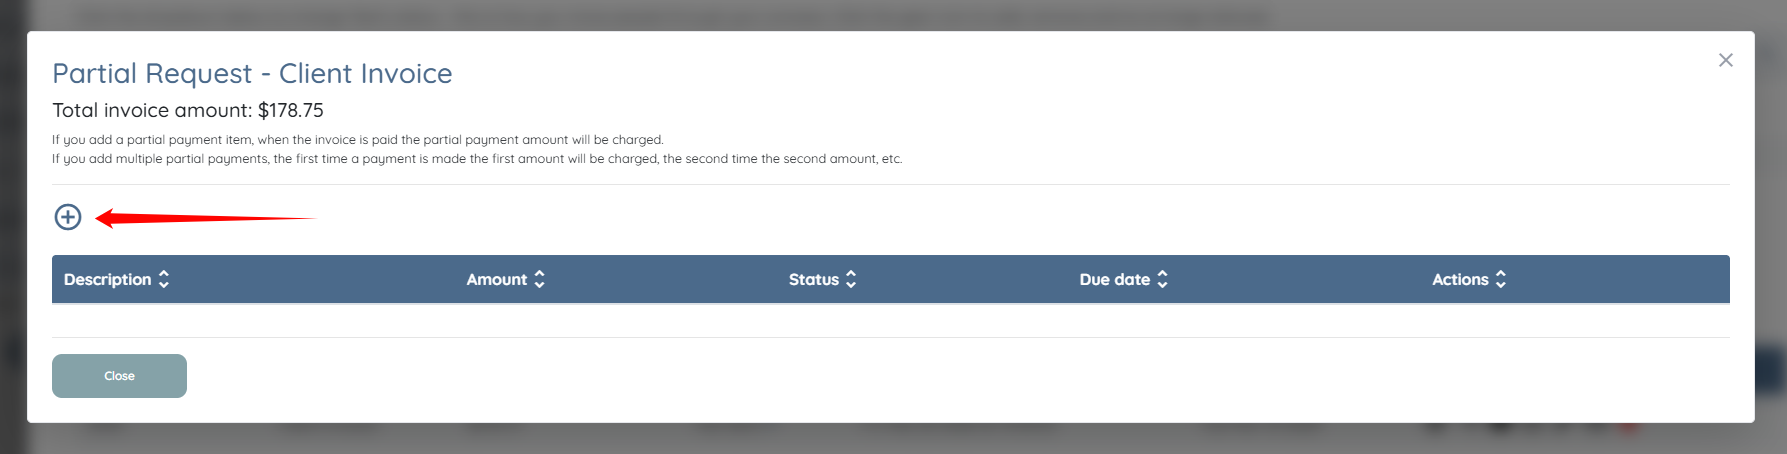
Click on the Add Item icon to add single or multiple partial payments.
NOTE: If you add a partial payment item, when the invoice is paid the partial payment amount will be charged.
If you add multiple partial payments, the first time a payment is made the first amount will be charged, the second time the second amount, etc.
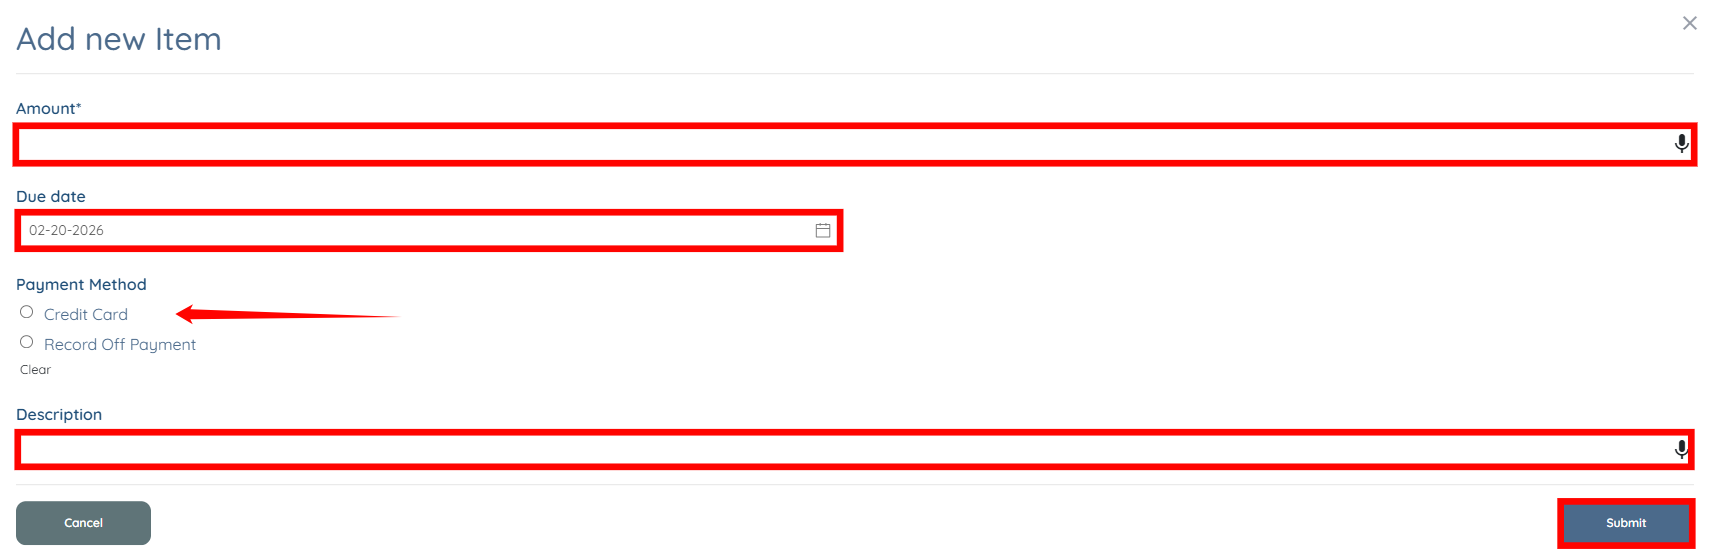
Enter the Amount, Due date, Payment Method and Description for your partial payment. Then, click the Submit button.
If this content doesn't answer your questions you can always contact us by clicking here