Create your Coupon or Promotion Code in Stripe by following this guide: Coupons and Promotion Codes
Let’s get started 🚀
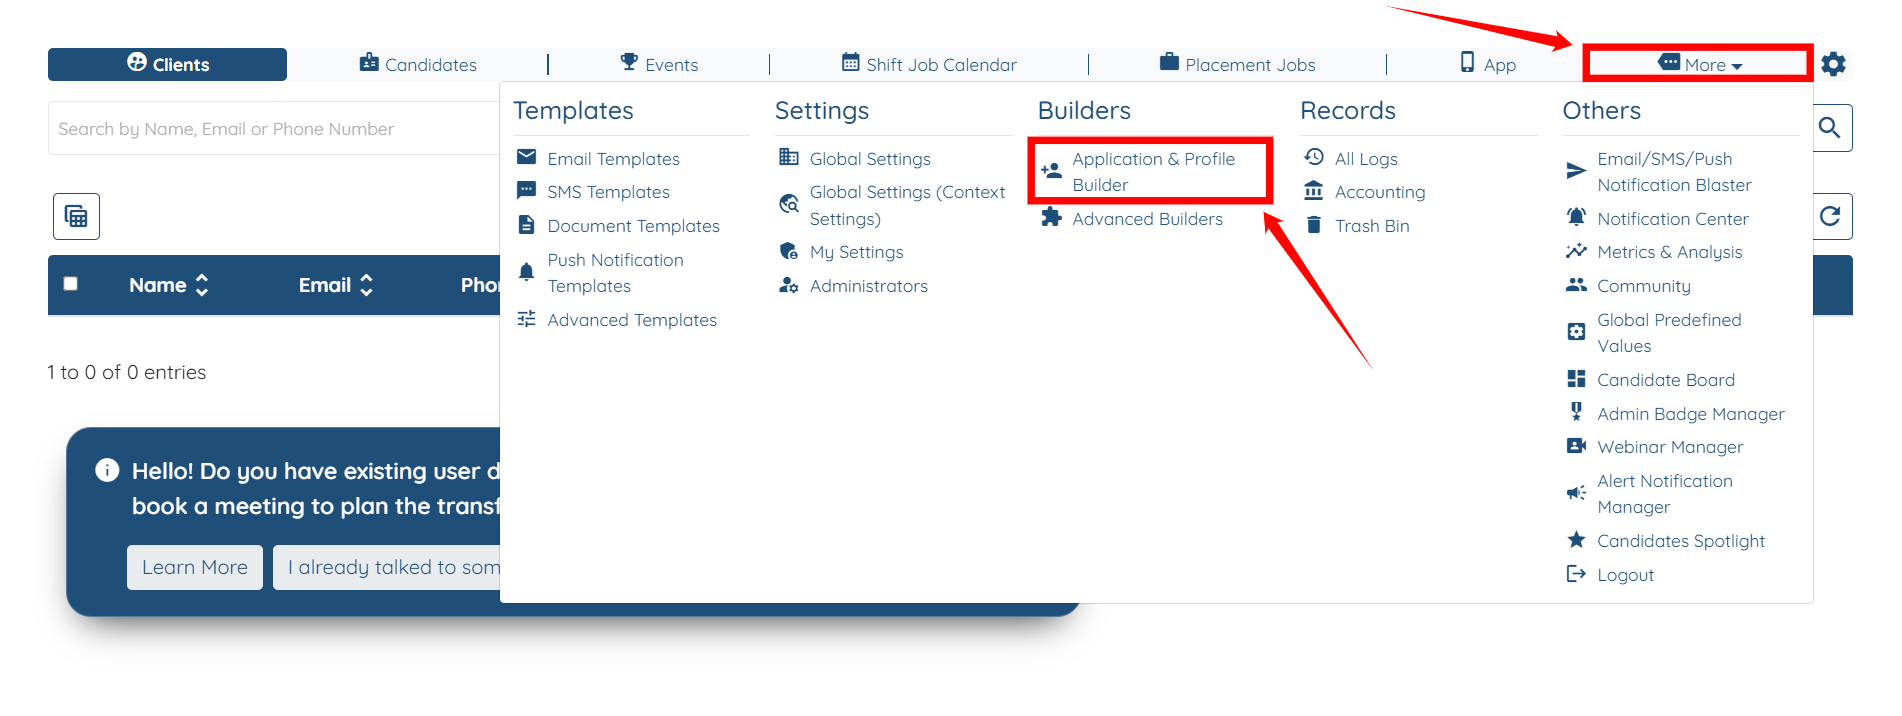
Step 1: Log in to your agent dashboard, then navigate to More > Application & Profile Builder, as shown in the screenshot below.
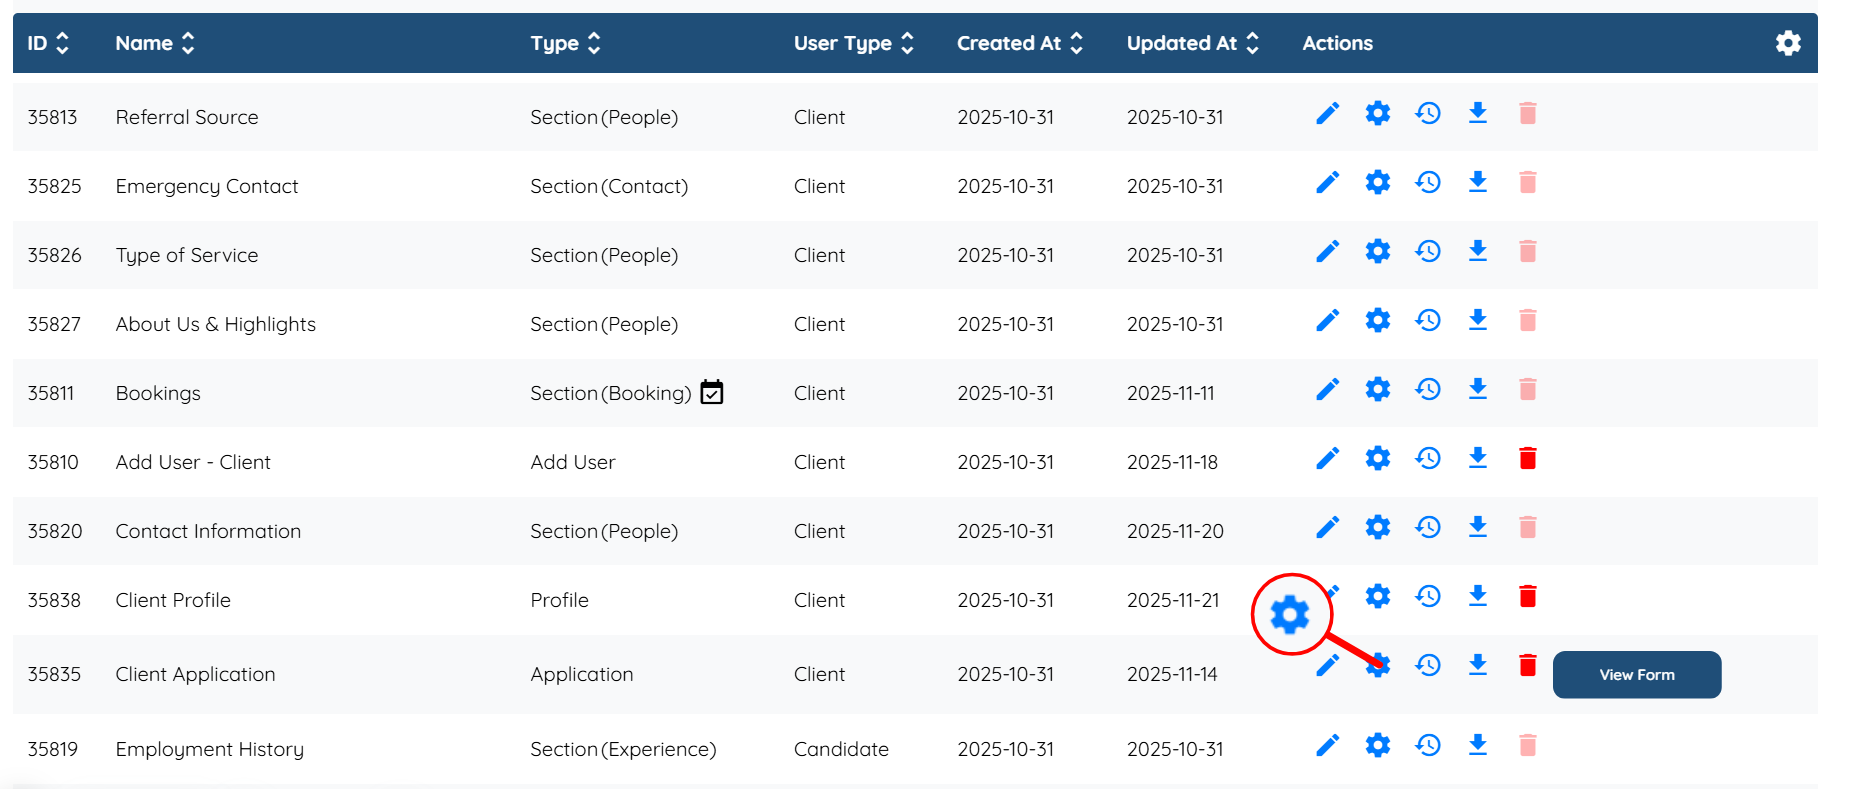
Step 2: Locate the client application form, and then click the Gear icon associated with that form in the Actions column.
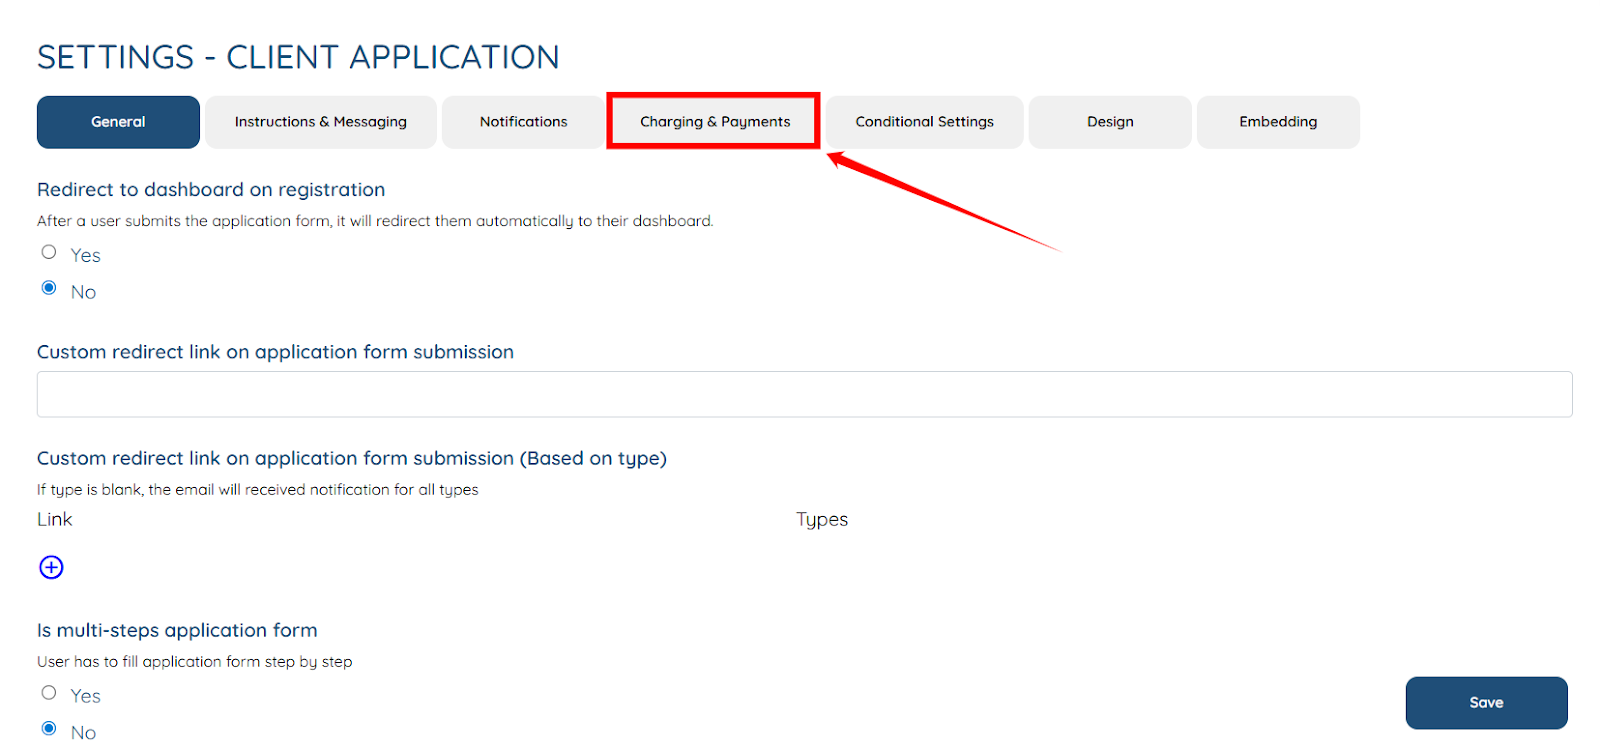
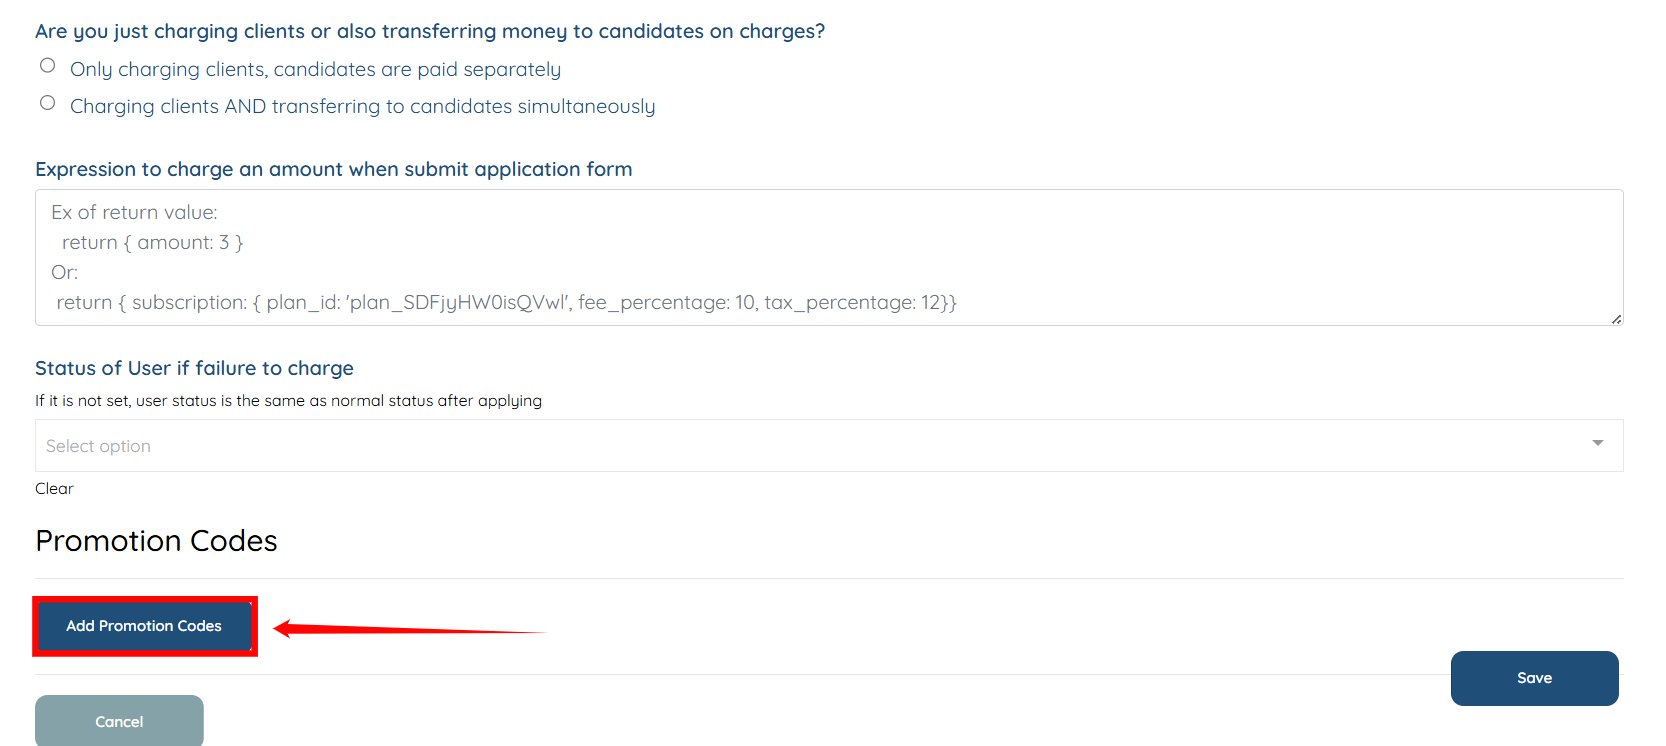
Step 3: Click on the Charging & Payments tab from the list of all the tabs available.
Step 4: Click the Add Promotion Codes button to begin setting up a promo code.
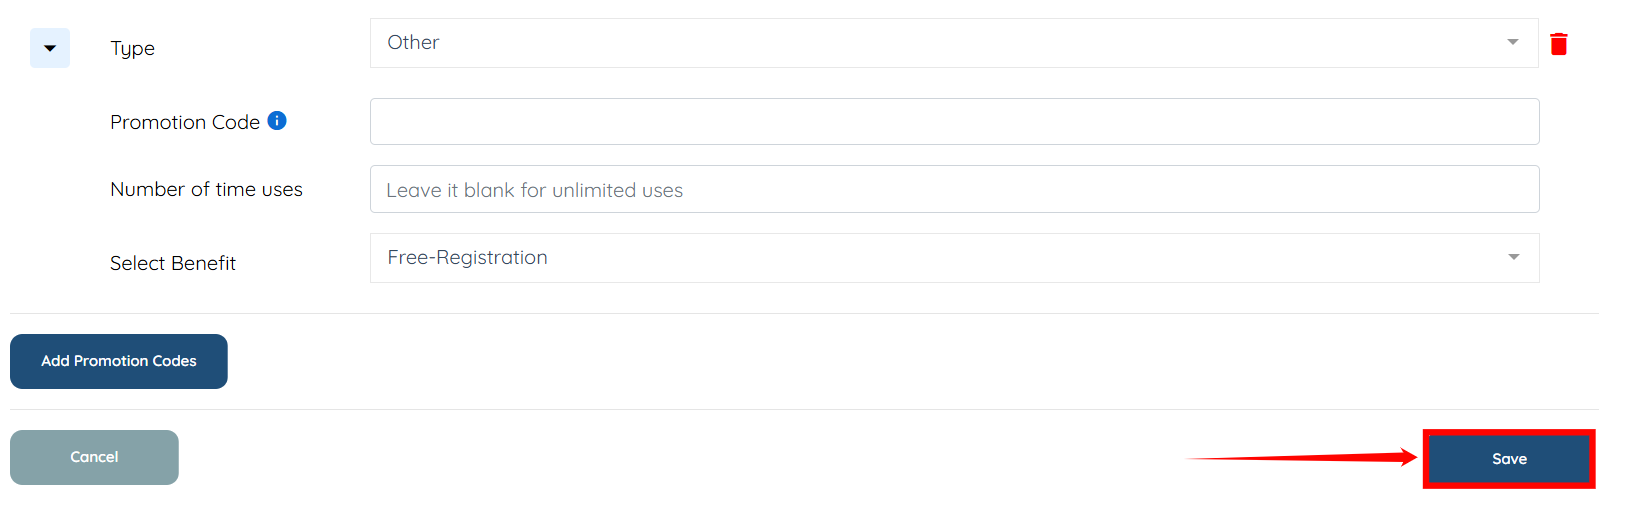
Step 5: Enter the necessary information as in the table below:
The fields that appear after selecting the Type are dynamic and will change based on the promo code type you choose. Each type—Stripe Coupon, Stripe Promotion Code, or Other—displays its own set of fields.
For demonstration purposes, we chose the Other type.
|
1 |
Type |
Select the type of promo you want to add. Choose between Stripe Coupon, Stripe Promotion Code, or Other based on how you want the discount to be applied. |
|
2 |
Promotion Code |
This is the code clients will enter during filling the application. |
|
3 |
Number of time uses |
Enter the total number of times this promo code can be used. Leave it blank if you want it to be used unlimited times. |
|
4 |
Select Benefit |
Choose the benefit or discount that will be applied when this promo code is used (e.g., fee waived, percentage off, fixed amount off). |

Step 6: Click the Save button to proceed.
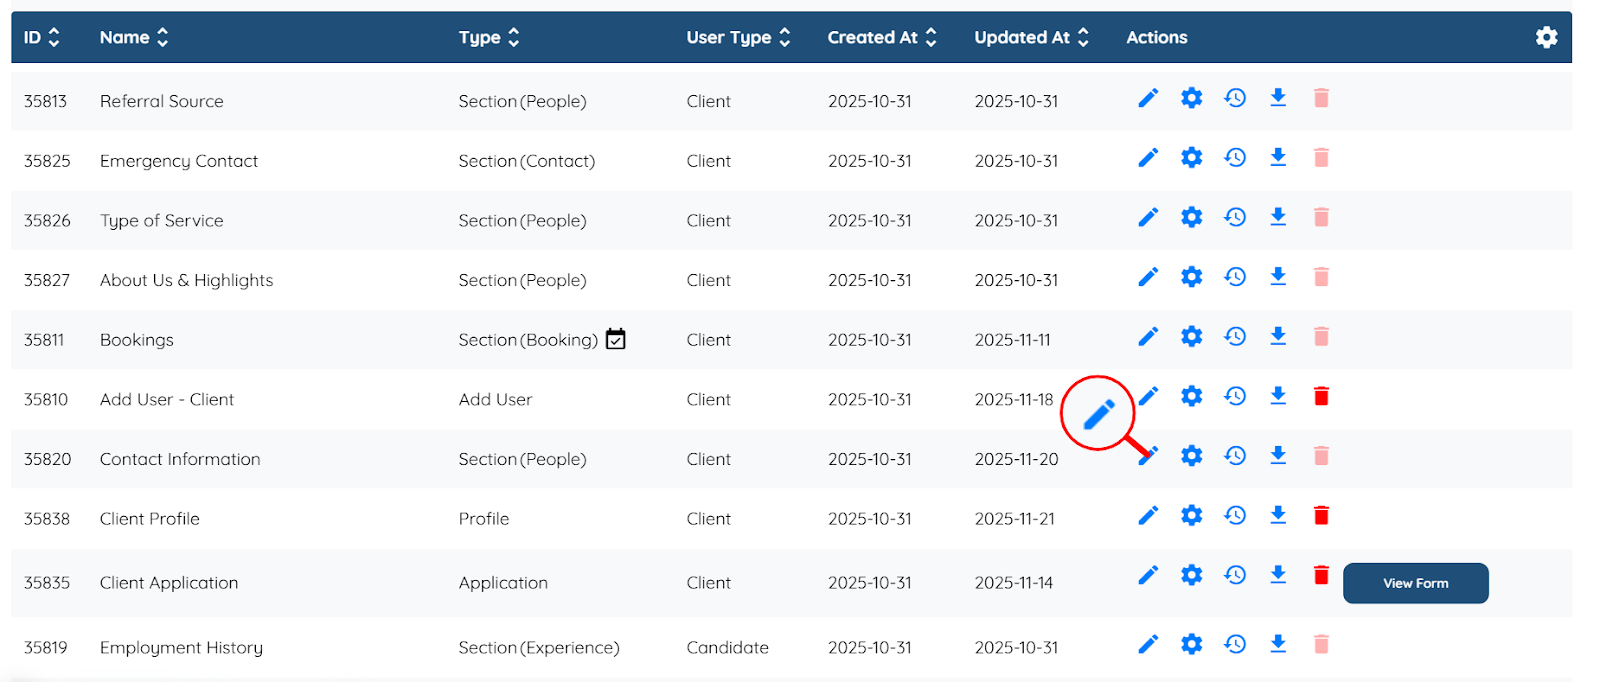
Step 7: Locate the section where you apply the promo code, and then click the Pencil icon associated with that section in the Actions column.
Step 8: Click the Add Field button to start adding the promo code.
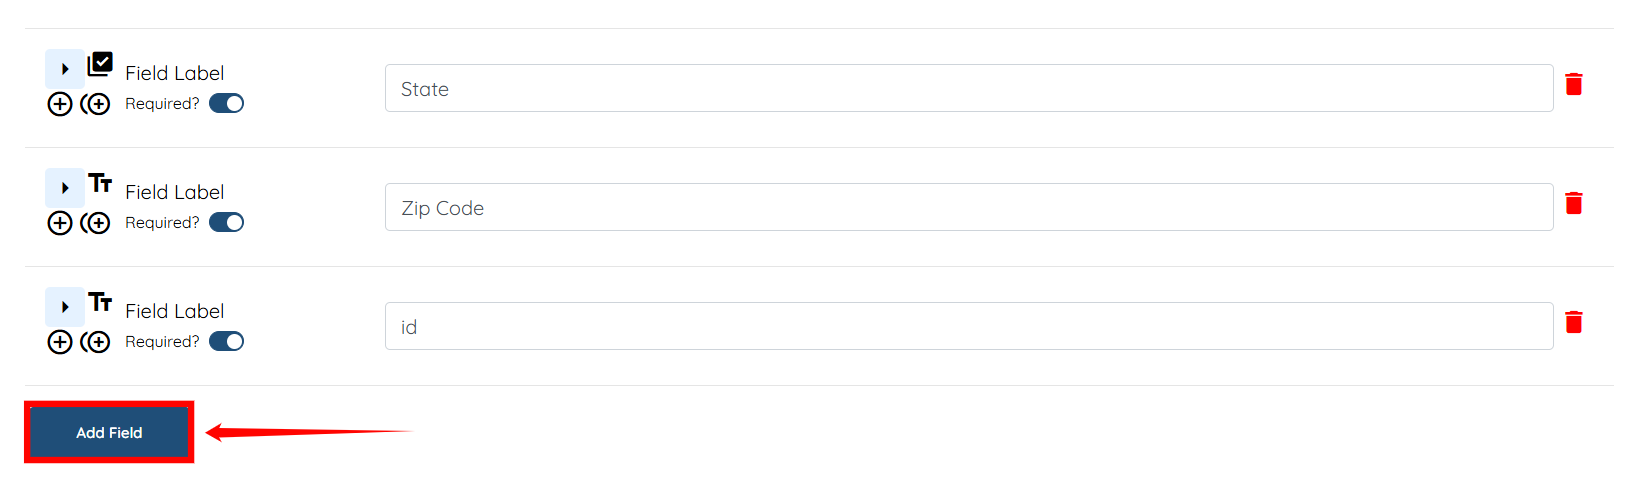
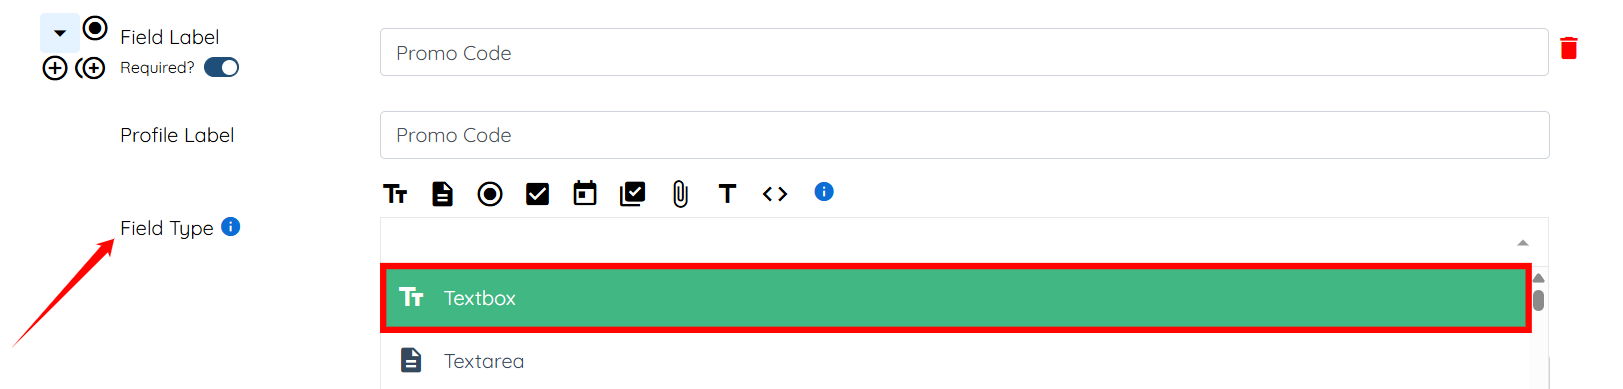
Step 9: Enter the Field Label and the Profile Label as “Promo Code”.

Step 10: Select “Textbox” as the Field Type from the dropdown menu.
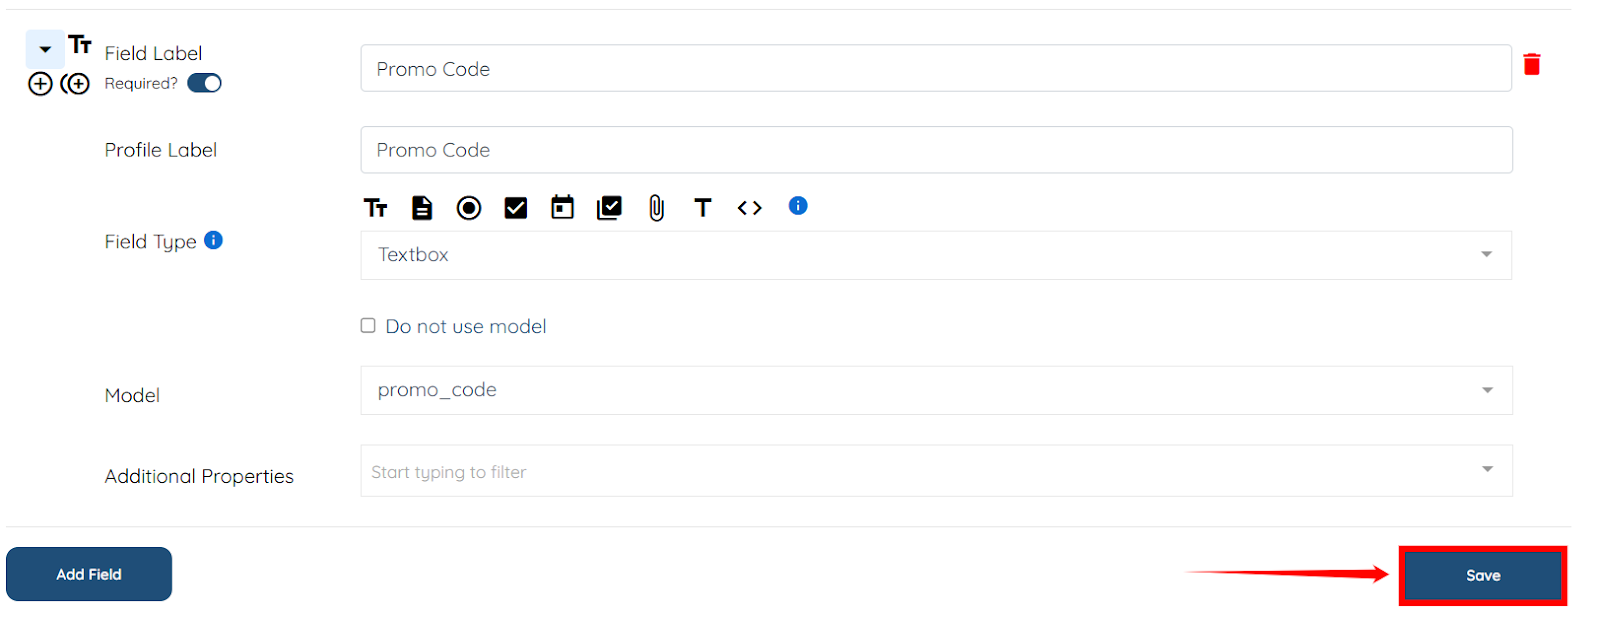
Step 11: Select promo_code option from the Model dropdown.

Step 12: Click the Save button to proceed.
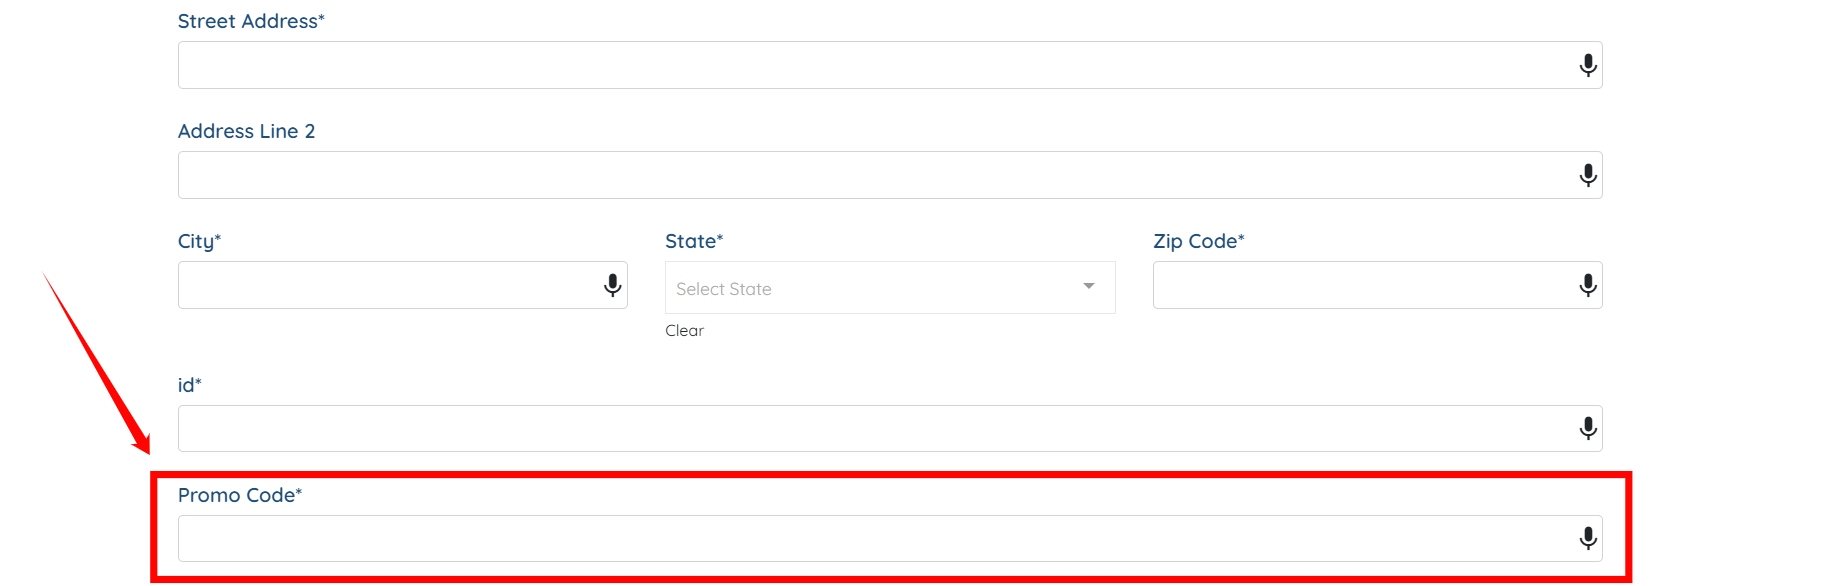
The Promo Code will be successfully added on the client application form.