Let’s get started 🚀
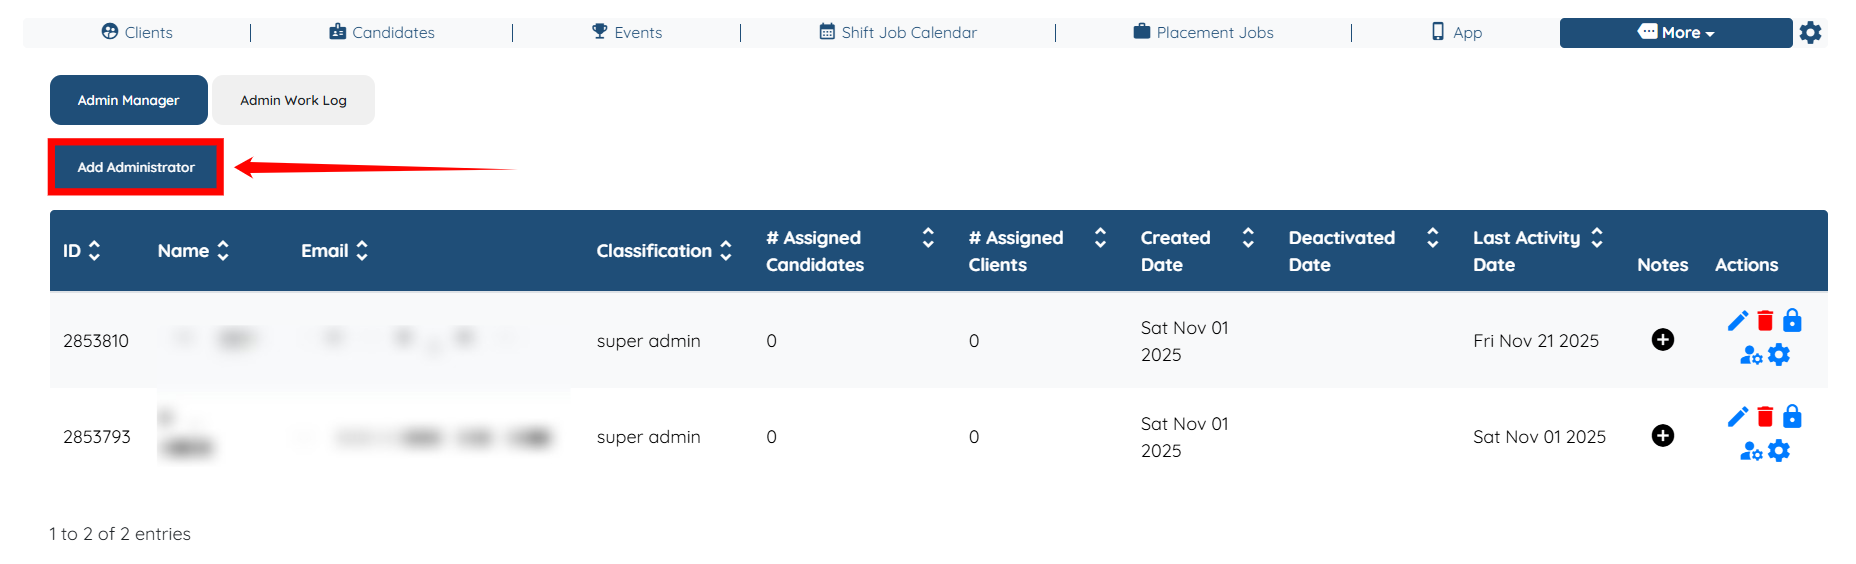
Step 1: Log in to your agent dashboard, then navigate to More > Administrators, as shown in the screenshot below.

Step 2: Click the Add Administrator button to start adding a new administrator.
Step 3: Provide all the necessary details as shown in the table below:
|
S. No |
Field |
Description |
|
1 |
First Name |
Enter the administrator’s first name. This will appear in their admin profile and throughout the platform. |
|
2 |
Last Name |
Enter the administrator’s last name to complete their profile identification. |
|
3 |
|
Add the admin’s email address. This will be used for login access and system notifications. |
|
4 |
Access Level |
Select the admin’s access level from the dropdown. This determines what areas of the platform the admin can view and manage. Choose the level that matches their role (e.g., global, staff, support staff, candidates and jobs). |
To learn more about each access level and understand which one is appropriate for this administrator, please refer to the Description of Administrators Access Levels documentation.
Step 4: Open the Advanced Admin Settings option to configure more parameters surrounding this admin’s access.
|
S. No |
Field |
Description |
|
1 |
Client Tags |
Select the tags this admin should work with. The admin will only see clients that match the tags you choose. |
|
2 |
Candidate Tags |
Choose the tags this admin can work with for candidates. Only candidates with these tags will be visible. |
|
3 |
Hide client tags filters for this admin |
Turn this on if you don’t want the admin to change or access the Client Tag filters. |
|
4 |
Hide candidate tags filters for this admin |
Enable this if you want to hide the Candidate Tag filters from this admin. |
|
5 |
Client Types |
Choose the client types this admin is allowed to see. Only clients with these types will appear for them. |
|
6 |
Candidate Types |
Select the candidate types this admin should be able to view or manage. |
|
7 |
Hide client types filters for this admin |
Enable this to prevent the admin from modifying the Client Type filters. |
|
8 |
Hide candidate types filters for this admin |
Turn this on to prevent the admin from changing the Candidate Type filters. |
|
9 |
Client Statuses |
Select the client statuses the admin should work with. The admin will only see clients who match these statuses. |
|
10 |
Candidate Statuses |
Choose the candidate statuses this admin is allowed to see. Only candidates with these statuses will be shown. |

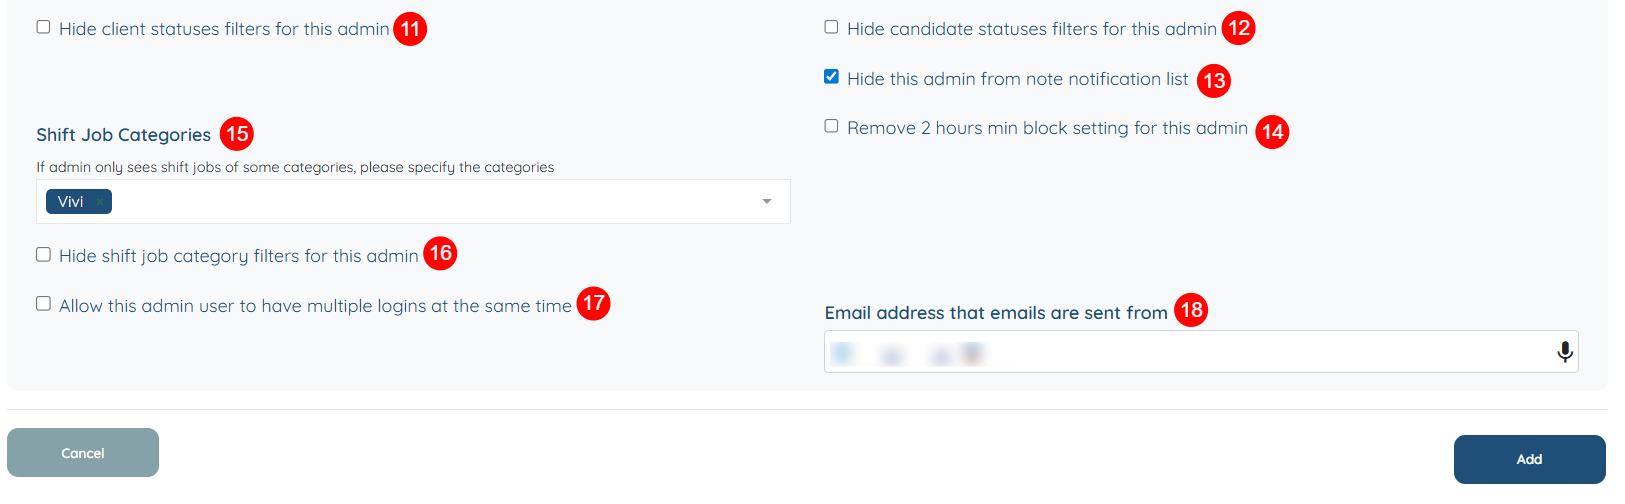
Continue configuring the remaining advanced parameters listed below to further control what this admin can view and manage.
|
S. No |
Field |
Description |
|
11 |
Hide client statuses filters for this admin |
Turn this on to hide the Client Status filters so the admin cannot adjust them. |
|
12 |
Hide candidate statuses filters for this admin |
Enable this if you want to hide the Candidate Status filters from this admin. |
|
13 |
Hide this admin from note notification list |
Turn on this option to remove the admin from appearing in note notifications. |
|
14 |
Remove 2 hours min block setting for this admin |
Enable this to remove the default 2-hour minimum block rule for this admin’s scheduling. |
|
15 |
Shift Job Categories |
Select the shift job categories this admin should work with. Only shifts under these categories will be visible. |
|
16 |
Hide shift job category filters for this admin |
Turn this on if you don’t want the admin to modify the shift job category filters. |
|
17 |
Allow this admin user to have multiple logins at the same time |
Enable this to allow the admin to stay logged in on multiple devices or browsers simultaneously. |
|
18 |
Email address that emails are sent from |
Enter the custom “from” email address you want this admin’s emails to be sent through. |
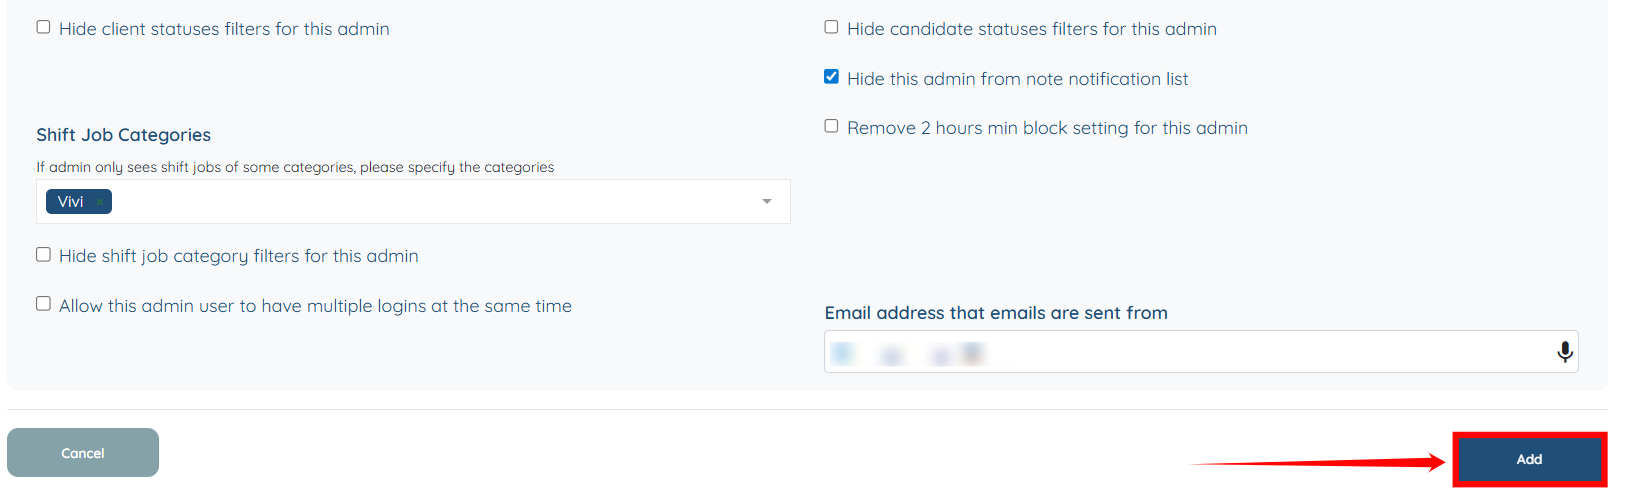
Step 5: Click the Add button to continue.
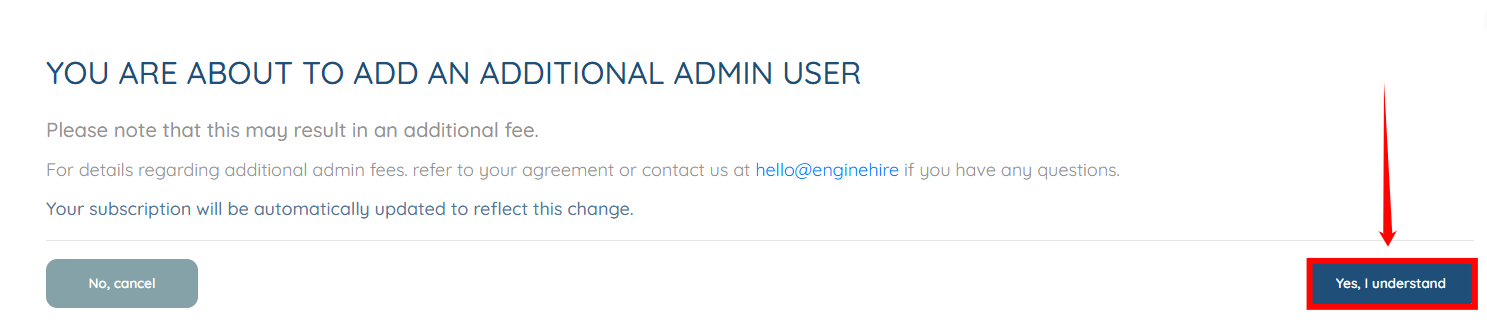
Step 6: Click the Yes, I understand button to proceed.
Adding a new administrator may result in an additional fee. For details about admin-related charges, please refer to your agreement or contact us at hello@enginehire if you have any questions.
Your subscription will be updated automatically to reflect this change.
The New Administrator will be added successfully.
Once the admin’s information is added to the system, they can log in using the same URL that admins, candidates, and clients use. For their first login, both the username and password will be their email address.
Update Administrator Permissions
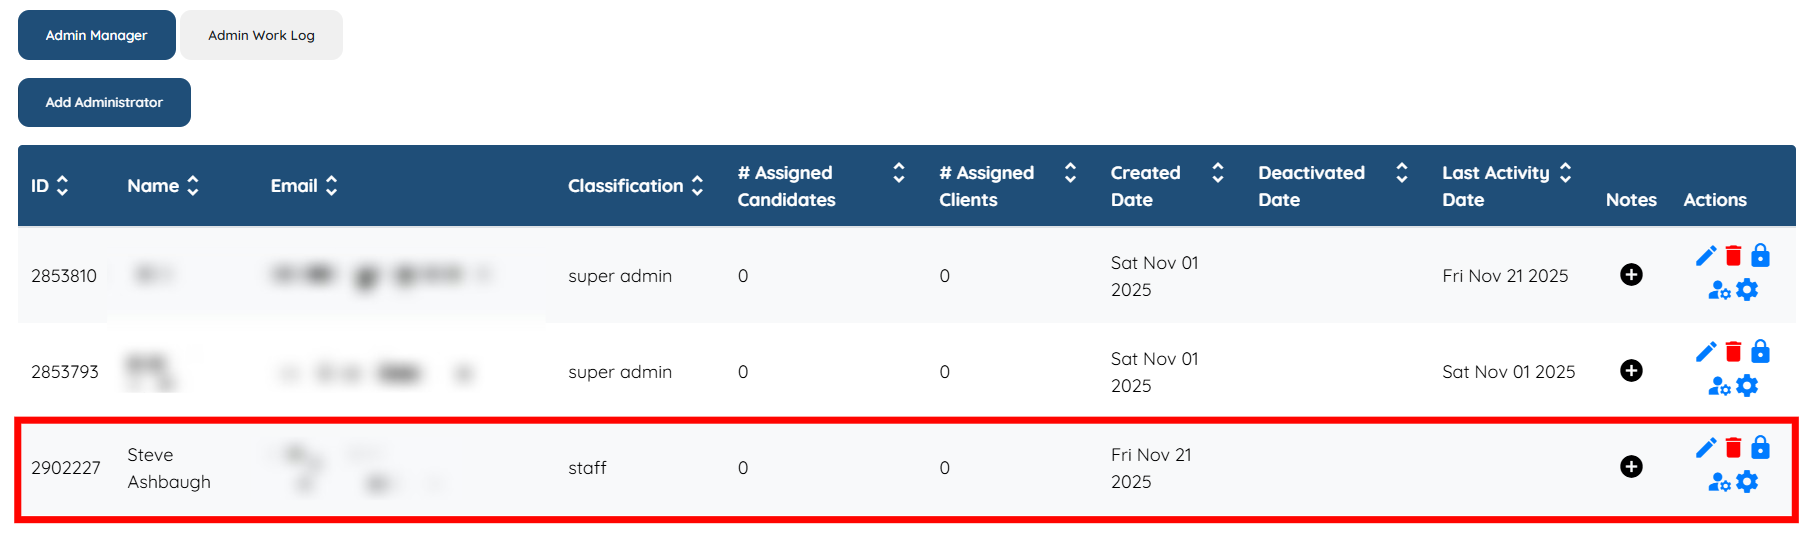
Step 1: After you add the administrator, click the person icon with the gear, as shown in the screenshot below, to open the Permission Settings.

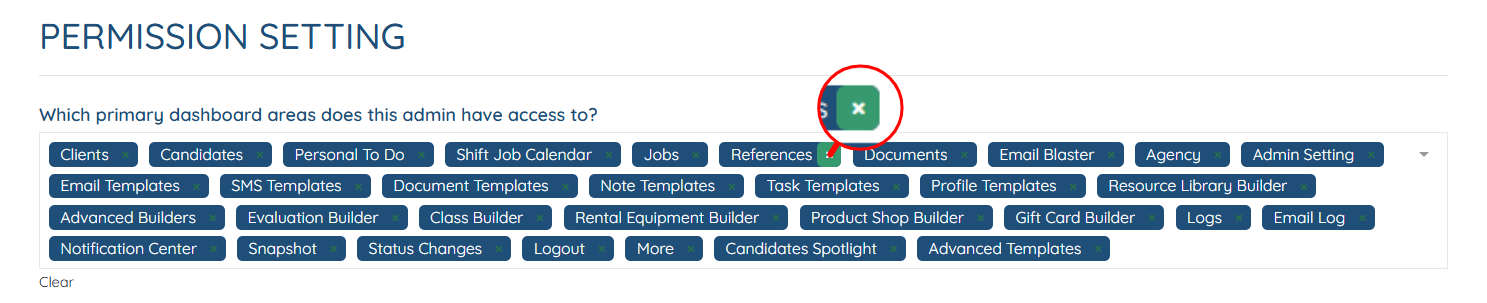
Step 2: You can remove this admin’s access from any dashboard area. To do this, hover over the tab for the area you want to remove; a cross option will appear. Click on it to remove the access.
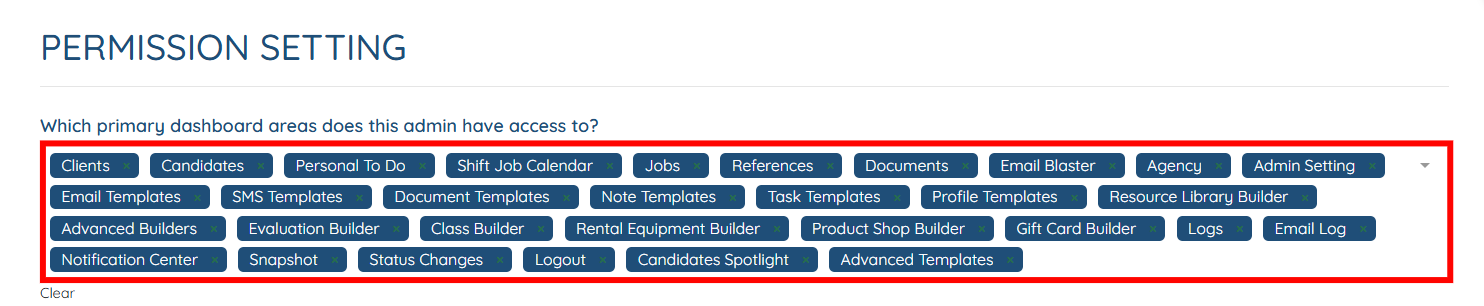
Step 3: You can also add any remaining dashboard area in the admin access by clicking in the box as shown in the screenshot below.
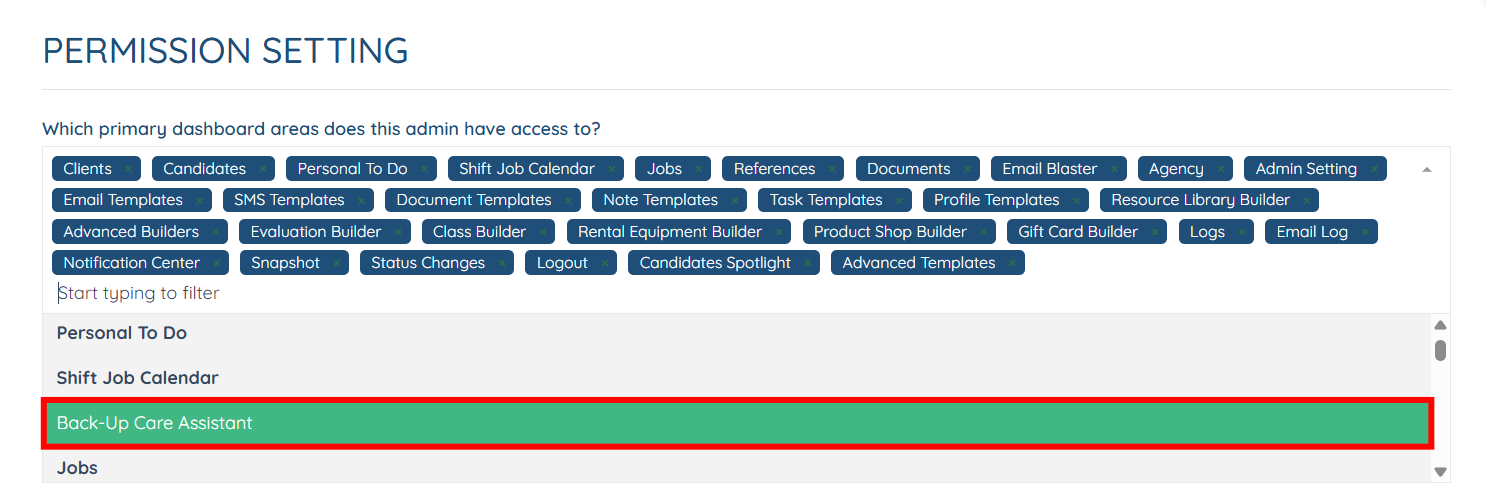
Step 4: A dropdown list appears (showing the dashboard areas not included in the admin access), and then you select the dashboard area that you want to add to the admin’s access.
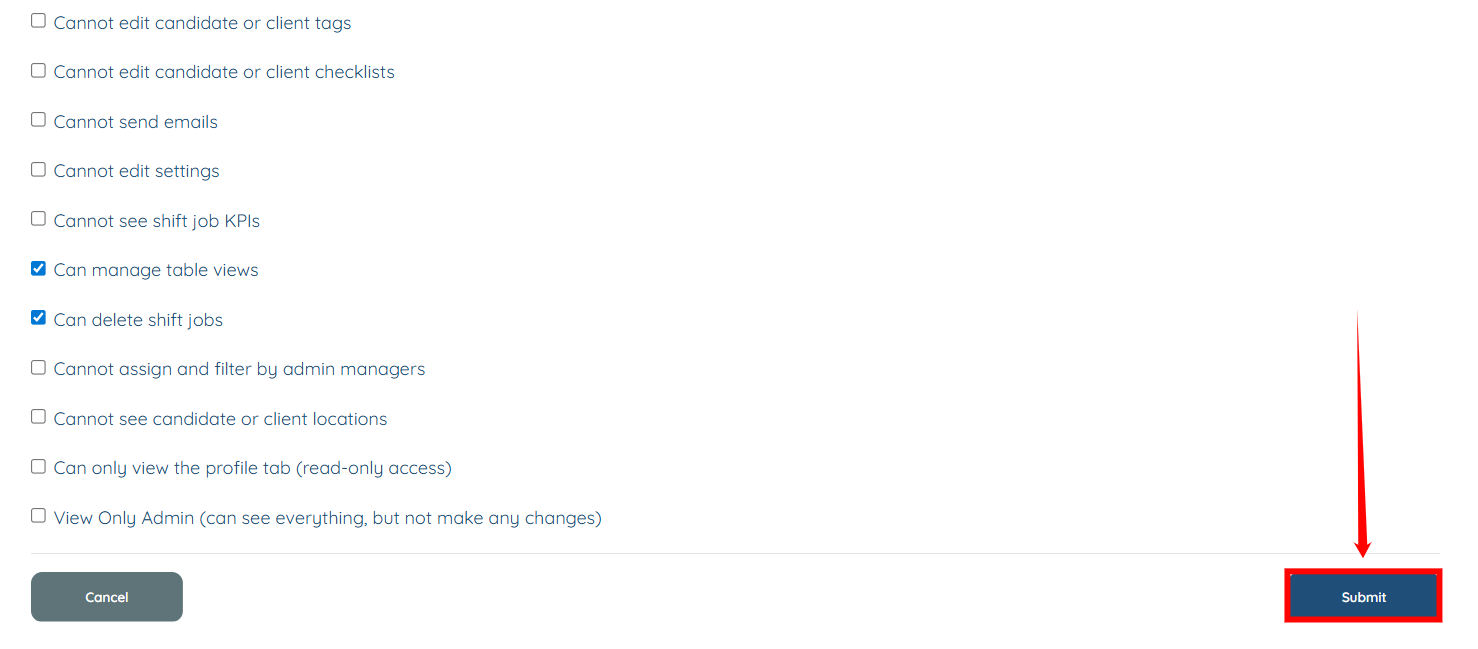
Step 5: Check or uncheck the checkboxes to grant or revoke the necessary permissions for the new administrator.

Step 6: Click the Submit button to save the configured permissions for the new administrator.
Activate/Deactivate Admin
By default, administrator accounts are in active state when created. However, you can deactivate an administrator account whenever required. Follow the steps below to deactivate an administrator account.
Step 1: Click the Edit icon next to the administrator you want to deactivate under the Actions column.

Step 2: Check the Deactivate admin checkbox.

Step 3: Click on the Save button to apply the changes.

You can reactivate the administrator account at any time by unchecking the Deactivate admin checkbox and clicking Save.