![enginehire logo thin dark 1.0.png]](https://learn.enginehire.io/hs-fs/hubfs/enginehire%20logo%20thin%20dark%201.0.png?height=40&name=enginehire%20logo%20thin%20dark%201.0.png)
Let’s get started 🚀
Bulk Assigned Candidate Notification
Create a push notification template to notify candidates when they are bulk assigned to a shift job.
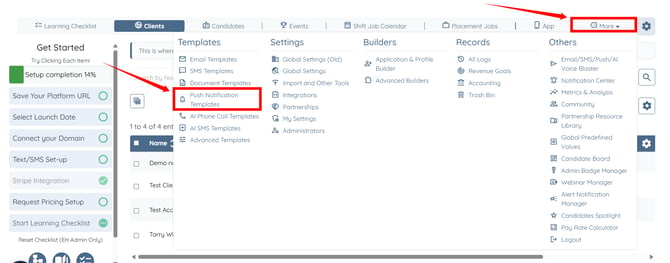
Step 1: Log in to your agent dashboard and click More > Push Notifications Templates as shown in the screenshot below.
Step 2: Click the Add Template button.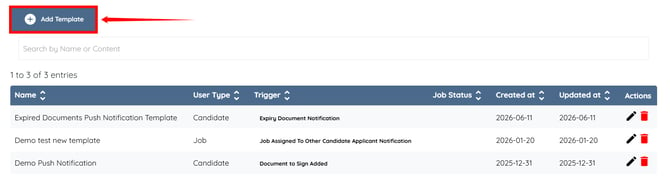
Step 3: Enter a name for your template.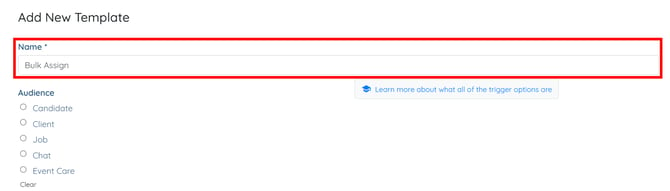
Step 4: Select the Job option in the Audience field.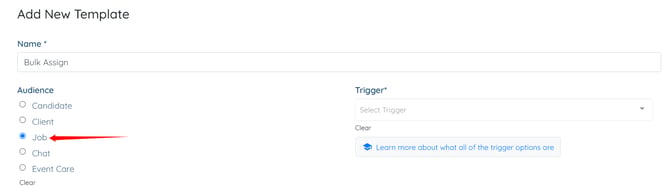
Step 5: Select the Bulk Assign Candidate Confirmation option from the Trigger dropdown list. 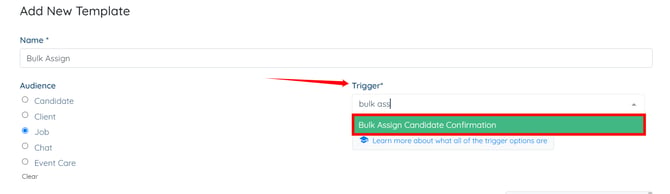
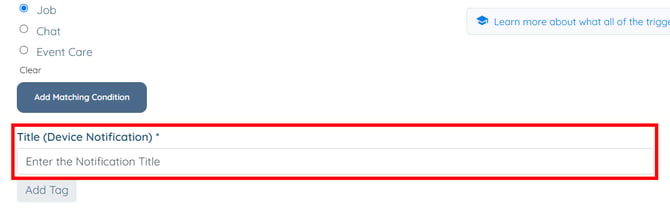
Step 6: Enter the notification title in the Title (Device Notification) field.
You can also use tags to dynamically insert information into the title, eliminating the need to enter it manually each time. To learn more about tags, refer to the Email Template Tags article.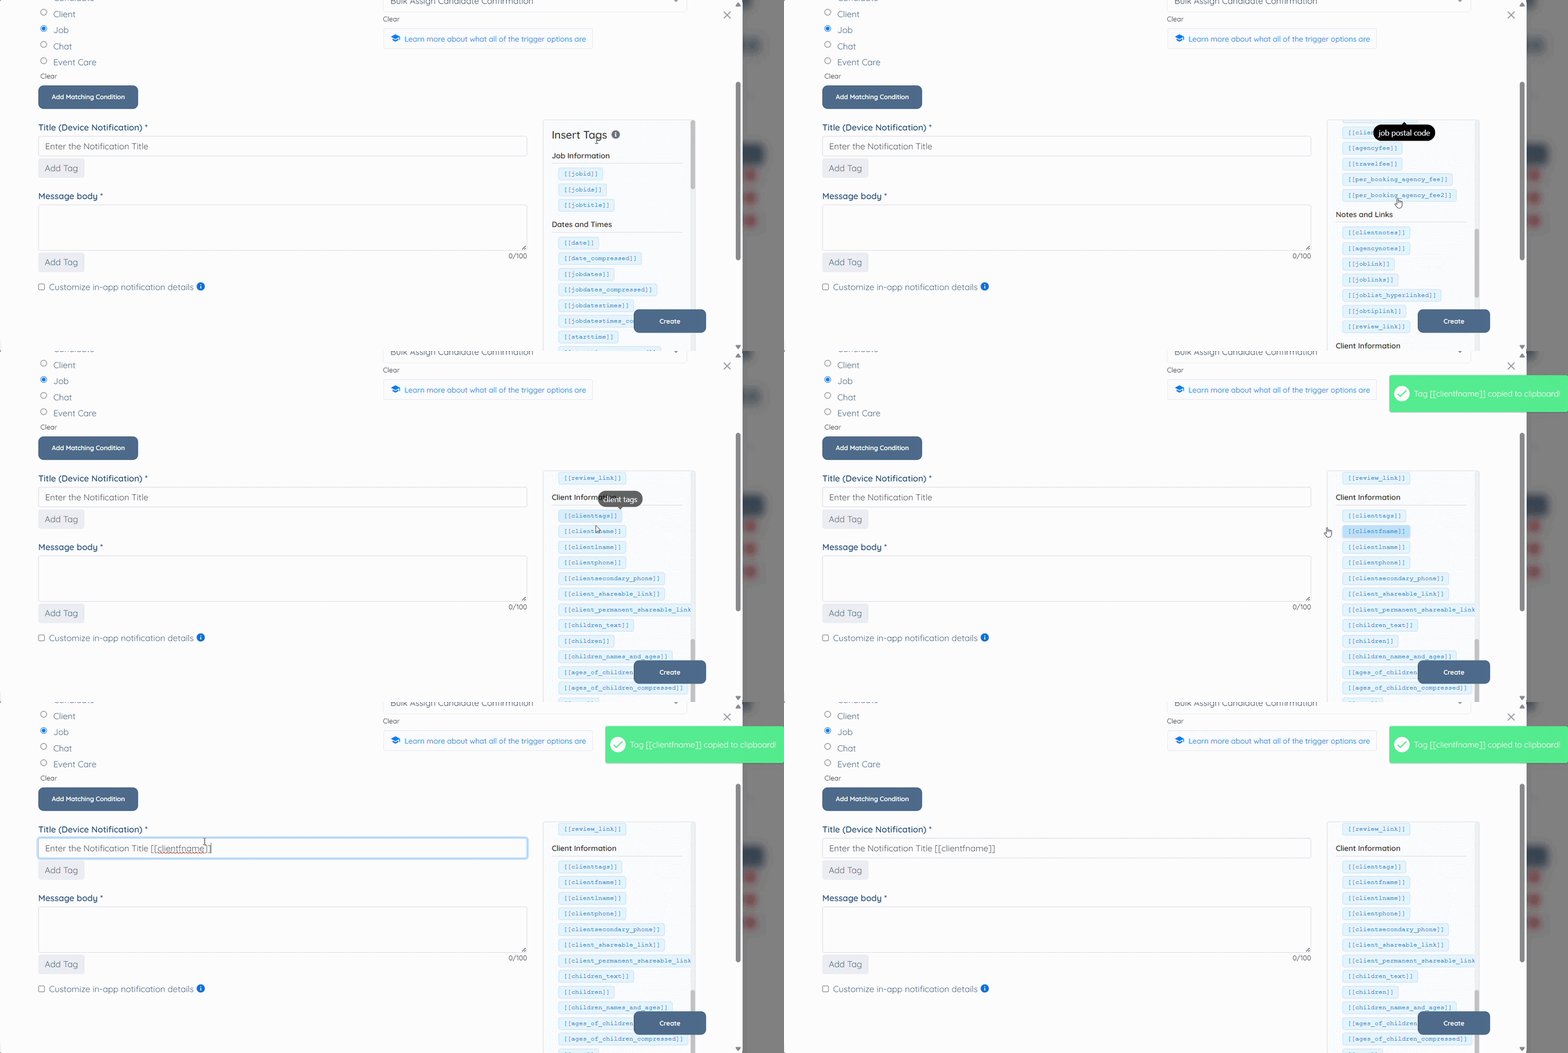
Step 7: Enter the notification message in the Message body field.
You can also use tags in the message body to dynamically insert information into the notification.
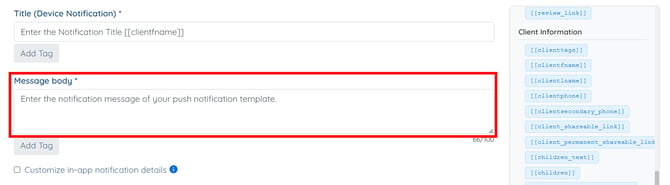
Step 8: Click the Create button to proceed.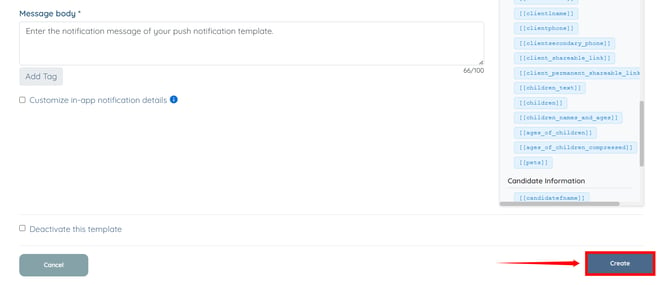
The push notification template for bulk assigned candidates will be created successfully. 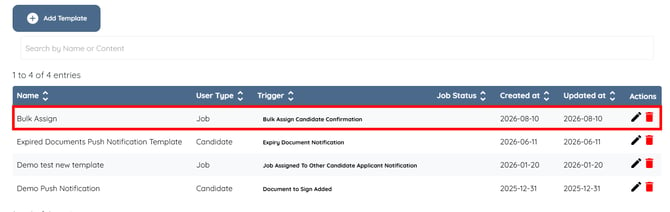
Bulk Unassigned Candidate Notification
Create a push notification template to notify candidates when they are bulk unassigned from a shift job.
To create a push notification template to bulk unassigned candidates, select the Bulk Unassigned Candidate Notification option from the Trigger dropdown list. Then, follow the same steps above to complete the template. 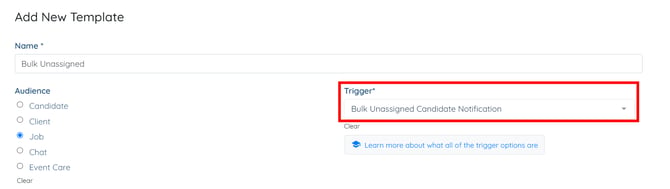
Bulk Unassign Email Notification
Create an email template to notify candidates when they are bulk unassigned from a shift job.
Step 1: On your agent dashboard, click More > Email Templates, as shown in the screenshot below. 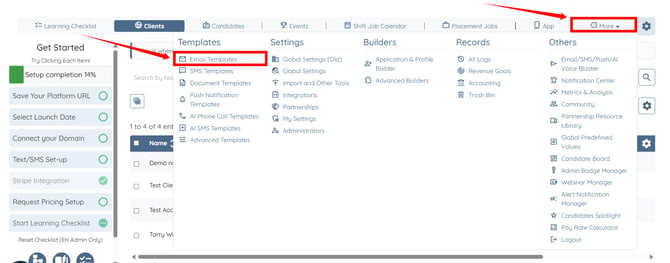
Step 2: Click the Add Template button.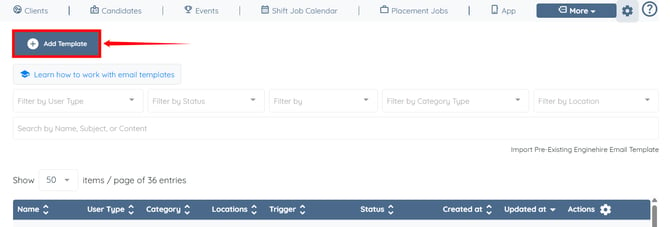
Step 3: Enter a name for your template.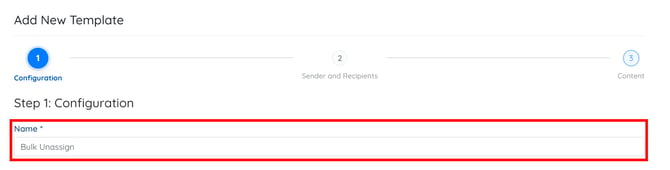
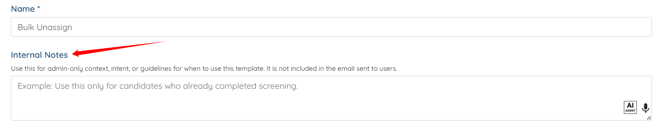
Step 4: Enter internal notes for your email template, if required.
To learn more about internal notes in email templates, refer to the Add Internal Notes to Email Templates article.
Step 5: Select the Job option in the dropdown list in the Type field.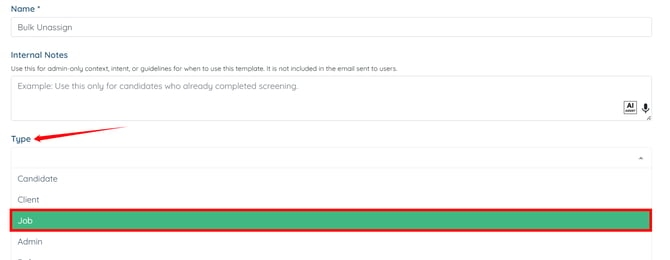
Step 6: Select the Bulk Unassigned Candidate Notification option from the Trigger dropdown list. 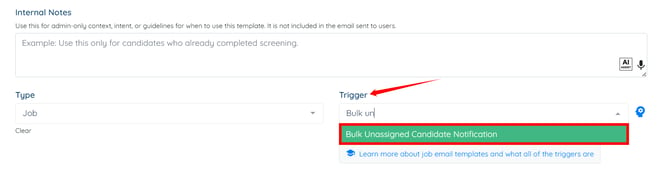
Step 7: Click the Content option to go directly to the email template content. 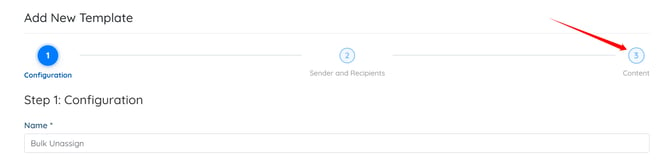
Step 8: Enter the subject for your email template.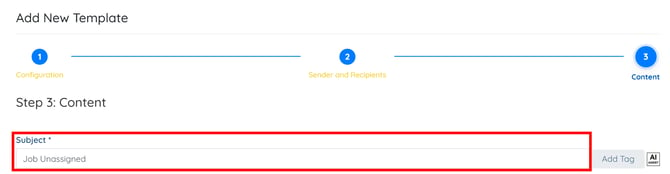
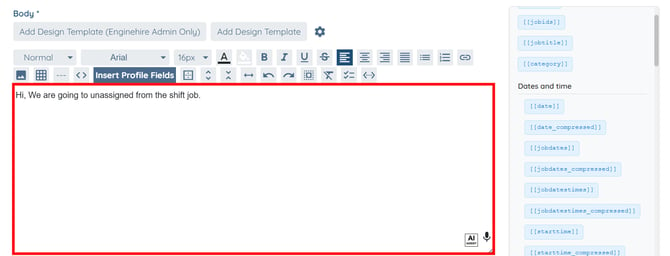
Step 9: Prepare the email body for your template.
You can use tags while preparing your email body to dynamically insert information into the email. To learn more, refer to the Email Template Tags article.
You can also improve your email content using AI. To learn more, refer to the Improve Email Content Using AI article.
Step 10: Click the Create button to proceed.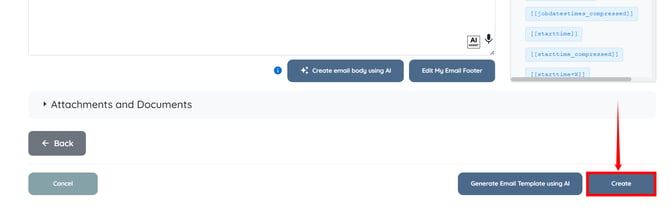
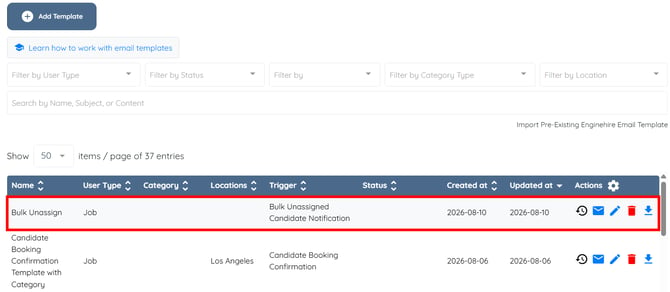
The email template for bulk unassigned candidates will be created successfully.