![enginehire logo thin dark 1.0.png]](https://learn.enginehire.io/hs-fs/hubfs/enginehire%20logo%20thin%20dark%201.0.png?height=40&name=enginehire%20logo%20thin%20dark%201.0.png)
Let’s get started 🚀
Step 1: Log in to your agent dashboard, and click More > Email Templates as shown in the screenshot below.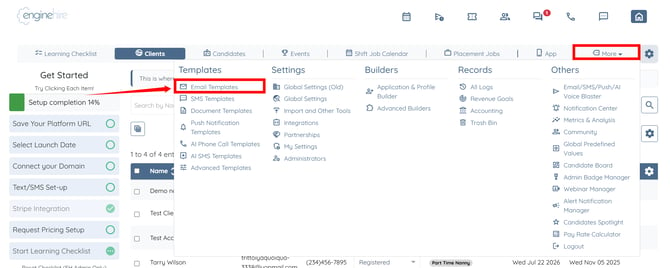
Step 2: Click the Add Template button.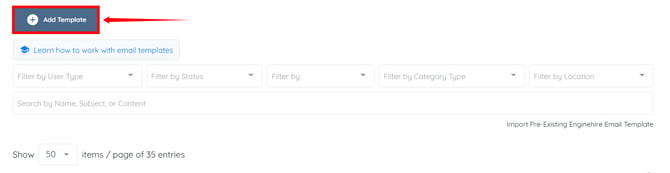
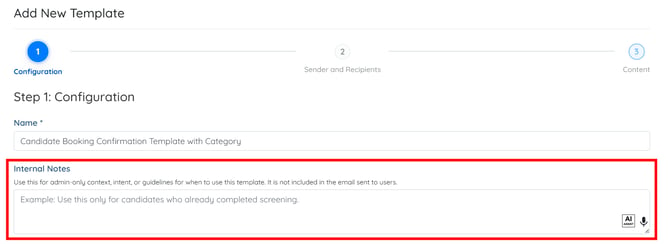
Step 3: Enter a name for your template.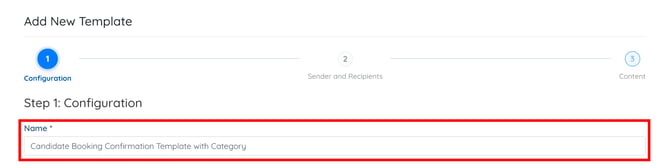
Step 4: Add Internal Notes for your template if you want to.
To learn more about the internal notes in the email template, refer to the Add Internal Notes to Email Templates article.
Step 5: Select the Job option from the dropdown list in the Type field.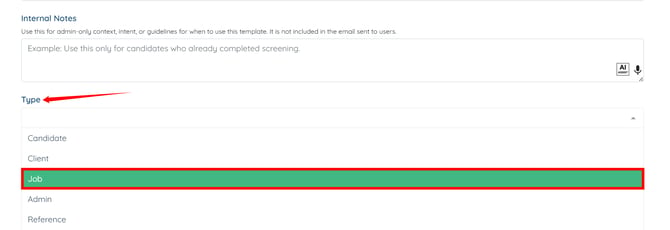
Step 6: Select Candidate Booking Confirmation option from the drop down list as the Trigger.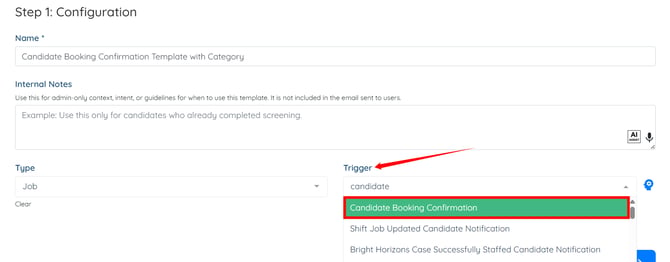
Step 7: Select the booking category that you want this email template to apply to. 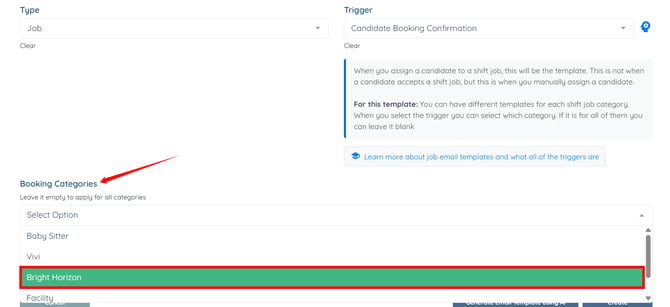
Step 8: Click the Next: Sender and Recipients button.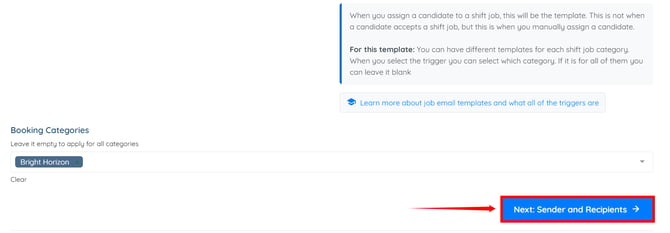
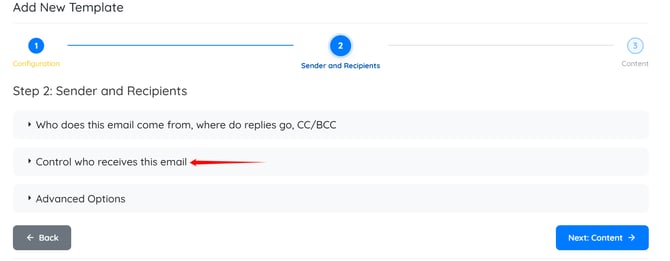
Step 9: Click the Control who receives this email option to expand and view its details.
Step 10: Select the location(s) where you want this email template to be used. 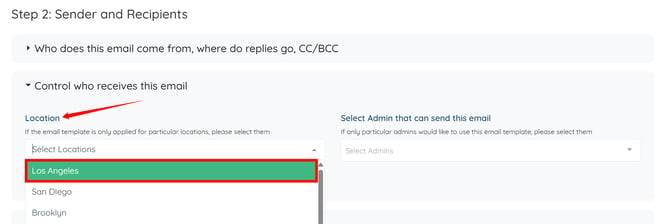
Step 11: Click the Next: Content button. 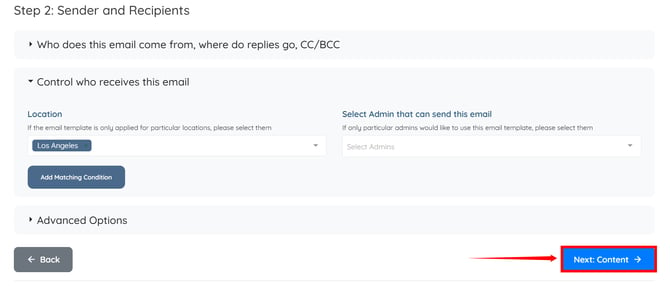
Step 12: Enter the Subject for your email template.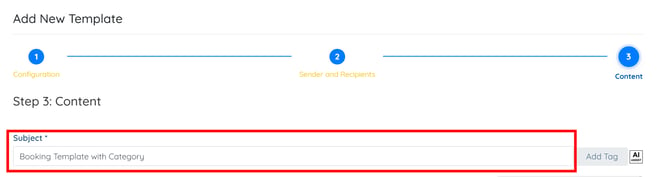
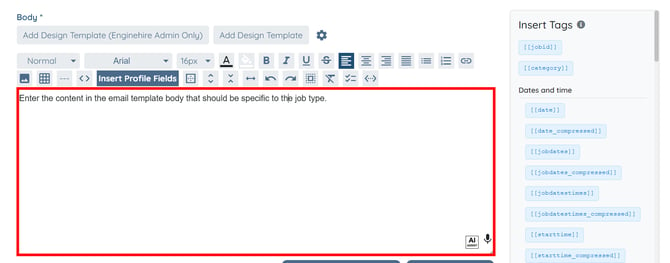
Step 13: Enter the content for your email template.
You can use tags in the email body to dynamically insert information into your emails, eliminating the need to type it manually each time. To learn more about how to use tags, refer to the Email Template Tags article.
You can also use the AI option in the email template body to refine and improve your email content. For more information, refer to the Improve Email Content Using AI article.
Step 14: Click the Create button to proceed.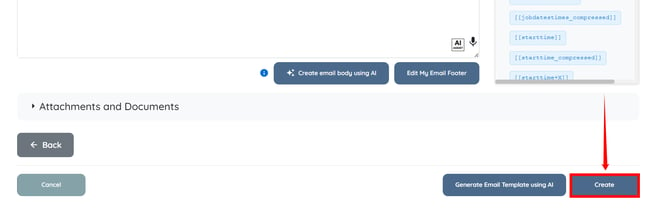
The email template will be created successfully.