Let’s get started 🚀
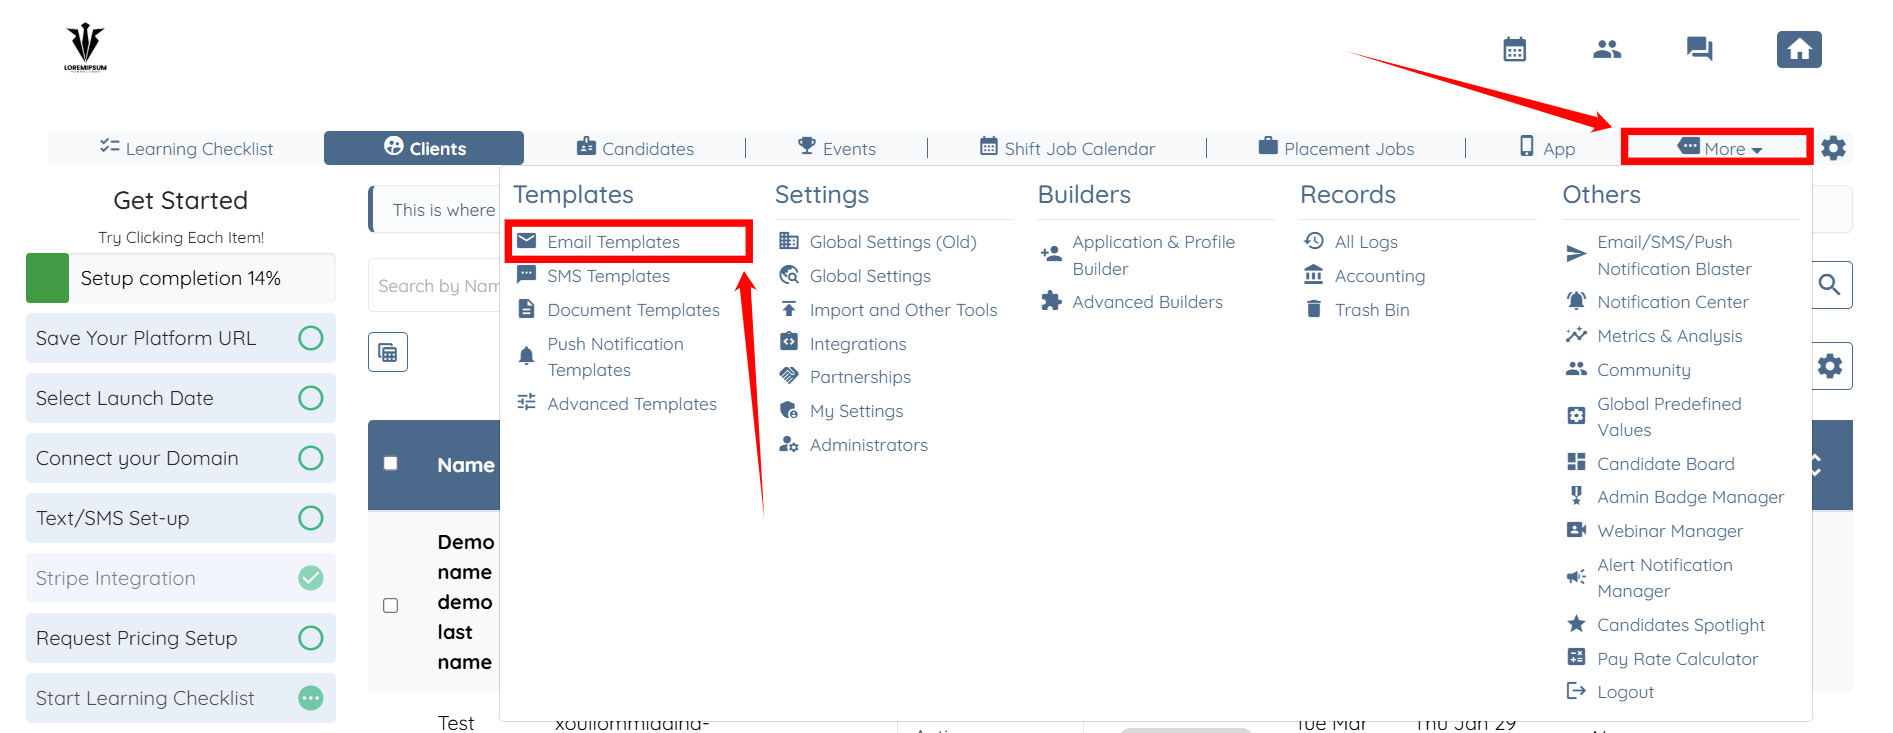
Step 1: Log in to your agent dashboard, then click More > Email Templates, as shown in the screenshot below.
Step 2: Click the Add Template button to start adding an email template.

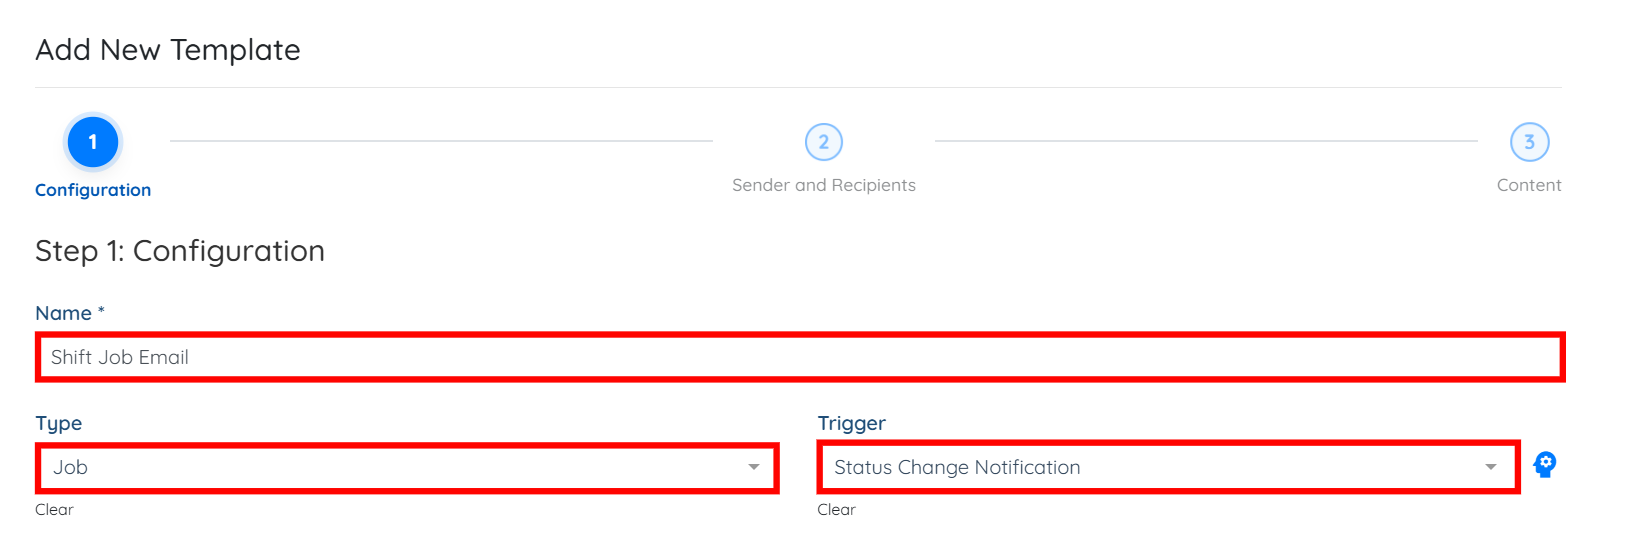
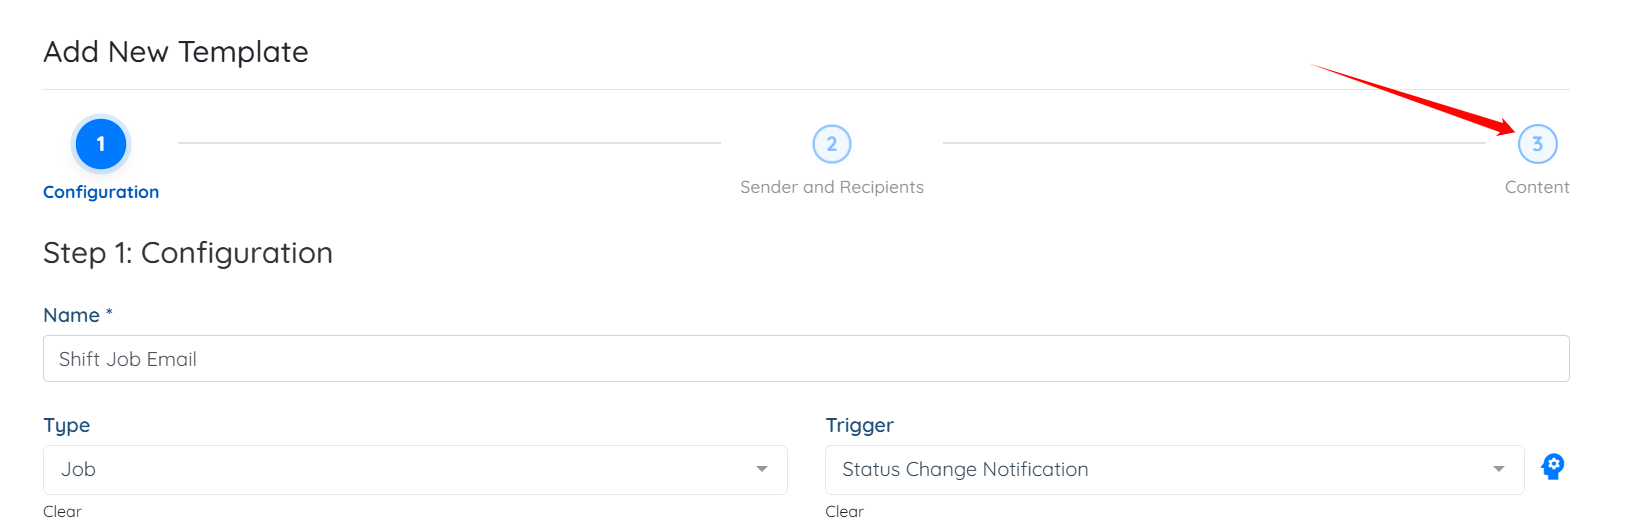
Step 3: Enter a name for the template, select Job as the Type, and then select the Status Change Notification trigger.
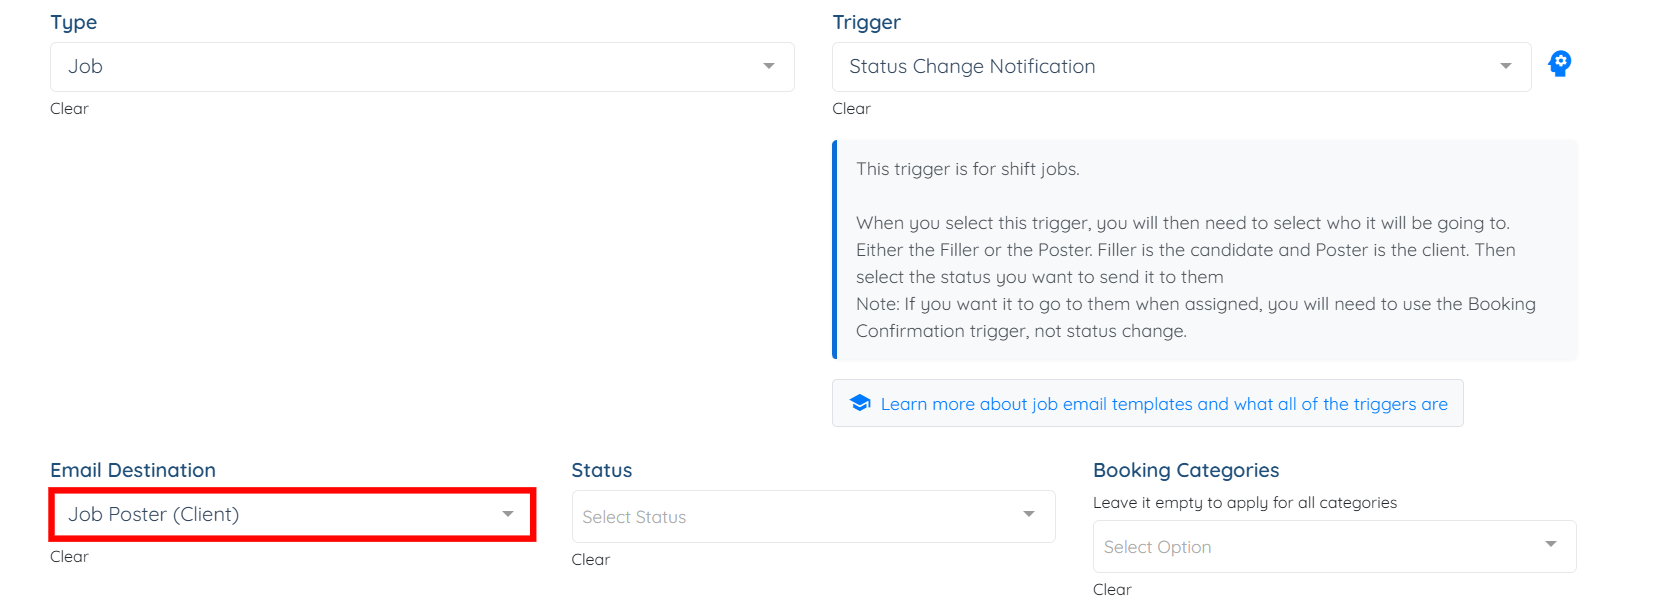
Step 4: Select the Job Poster (Client) option in the Email Destination field.
Step 5: Click the Content button to go directly to the template content.
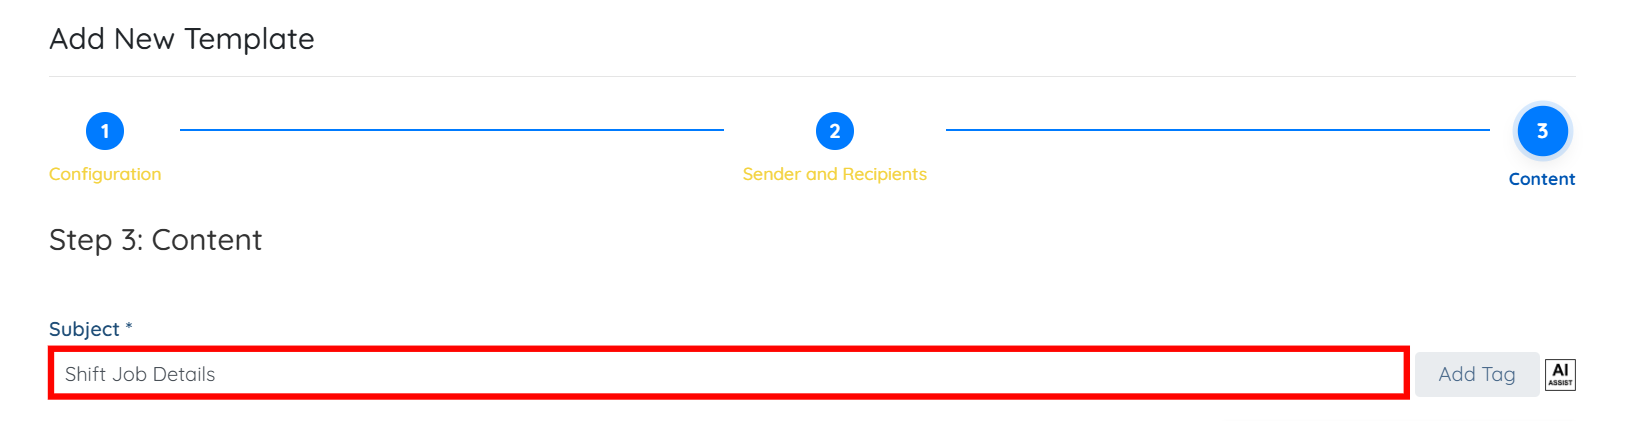
Step 6: Enter the Subject for your email template.
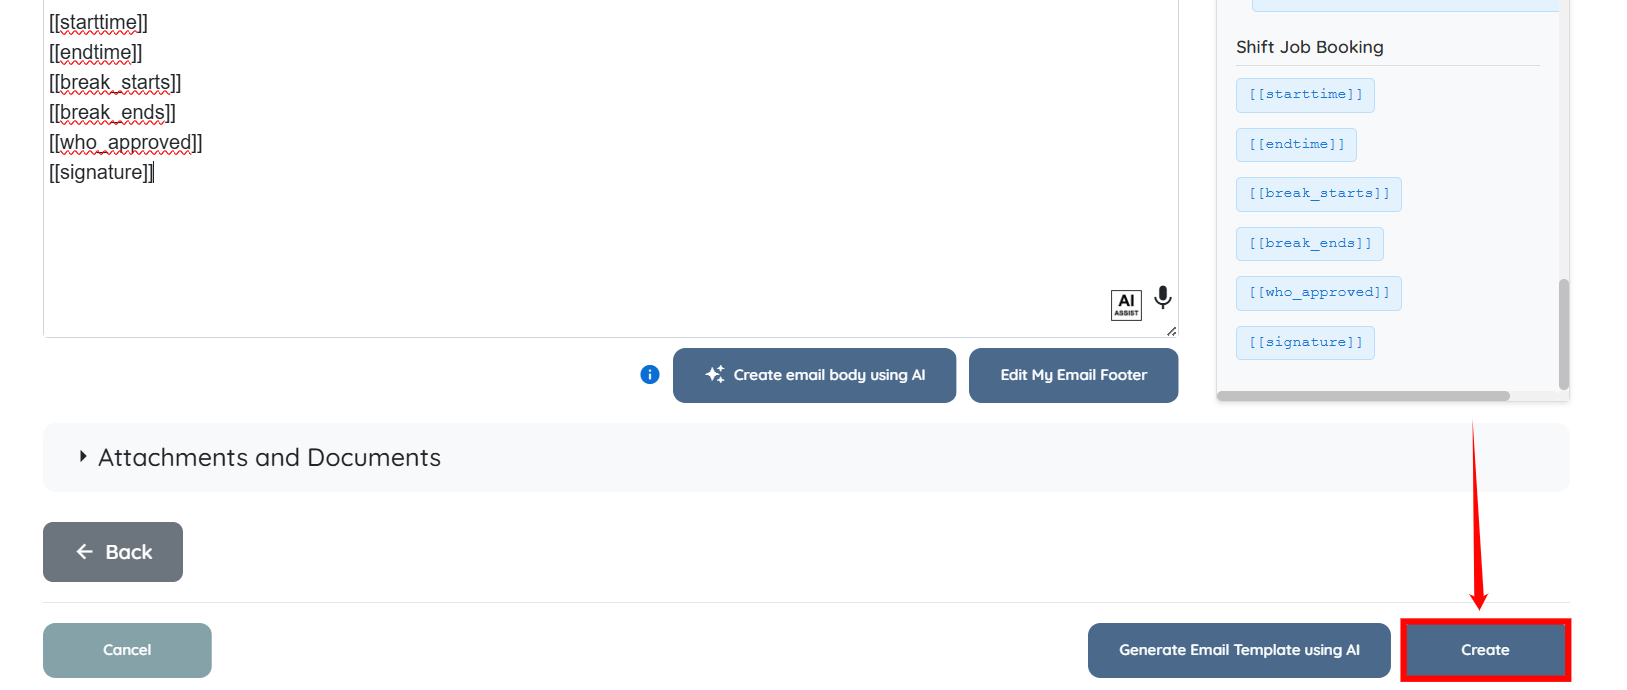
Step 7: Scroll down and prepare the email body by adding the Shift Job Booking tags. To add a tag, click it to copy, then paste it into the email body.
Step 8: After adding all the required tags, click the Create button to proceed.
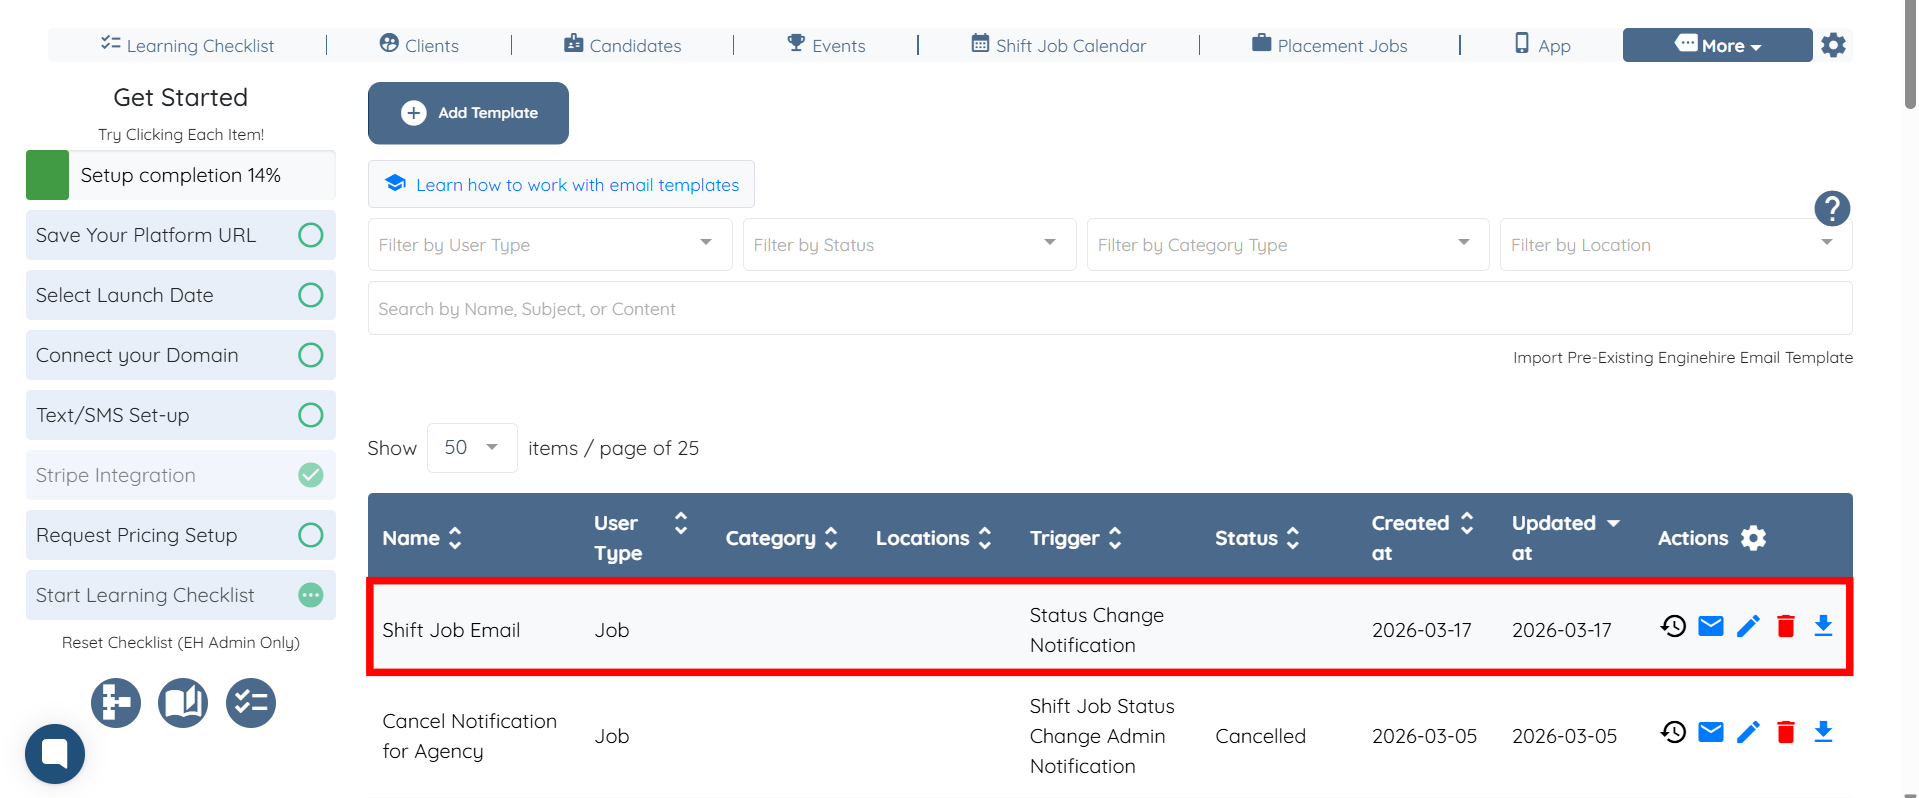
The email template will be successfully created using the shift job detail tags.