Let’s get started 🚀
Unsubscribe a Client
Update the client’s profile to stop them from receiving automated or marketing emails. Follow the steps below to unsubscribe a client.
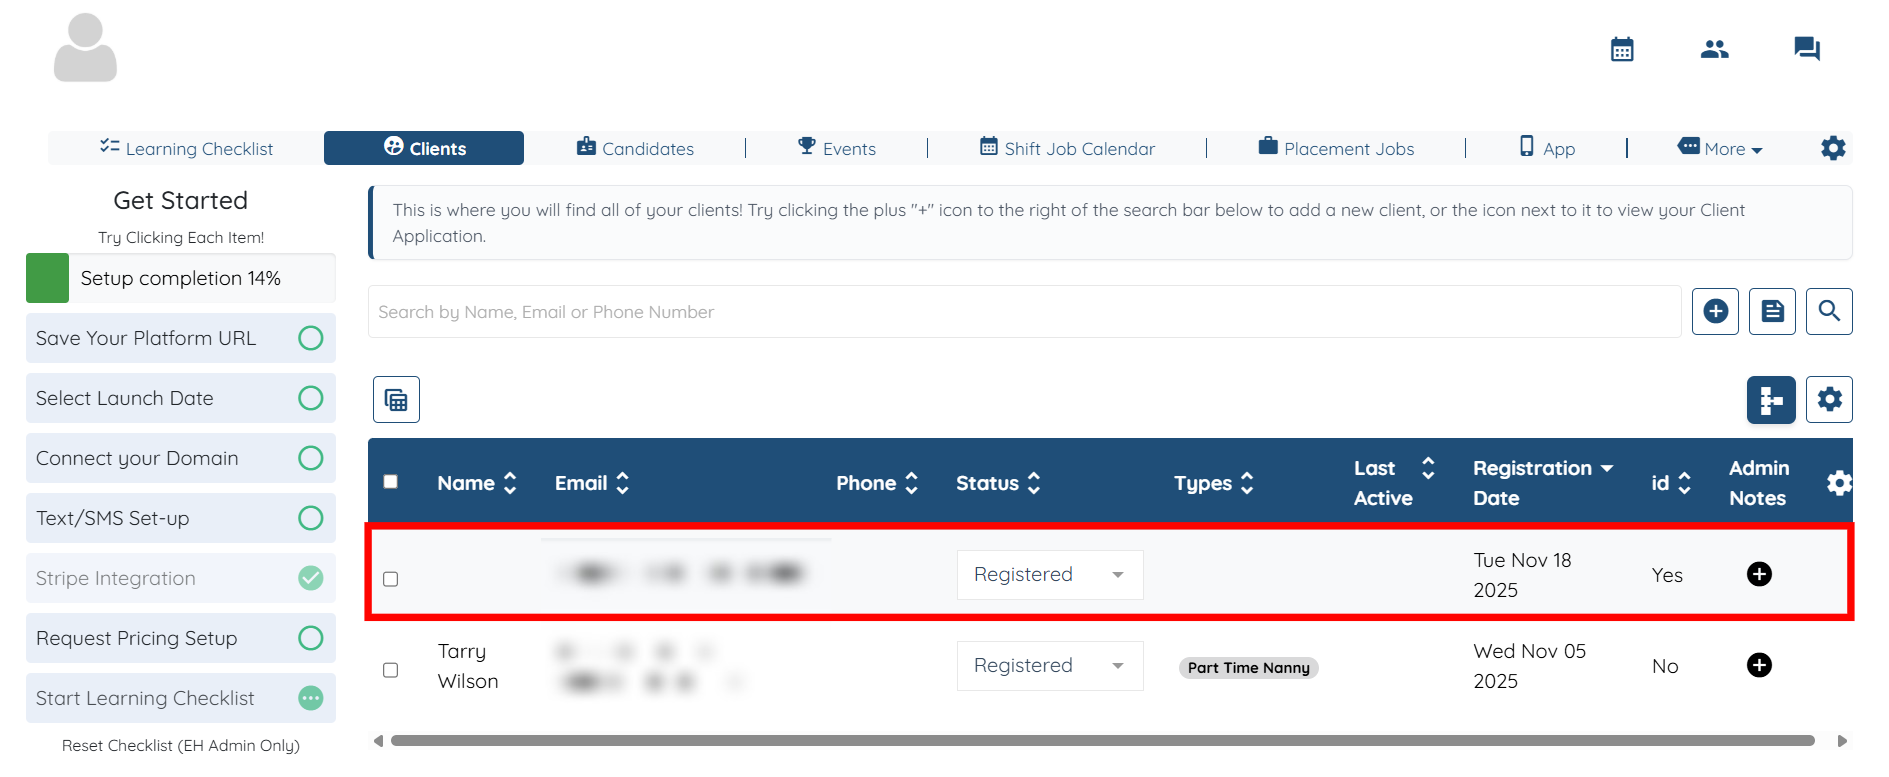
Step 1: Log in to your agent dashboard and click Clients in the top navigation bar.

Step 2: Click any client in the list to open its details.
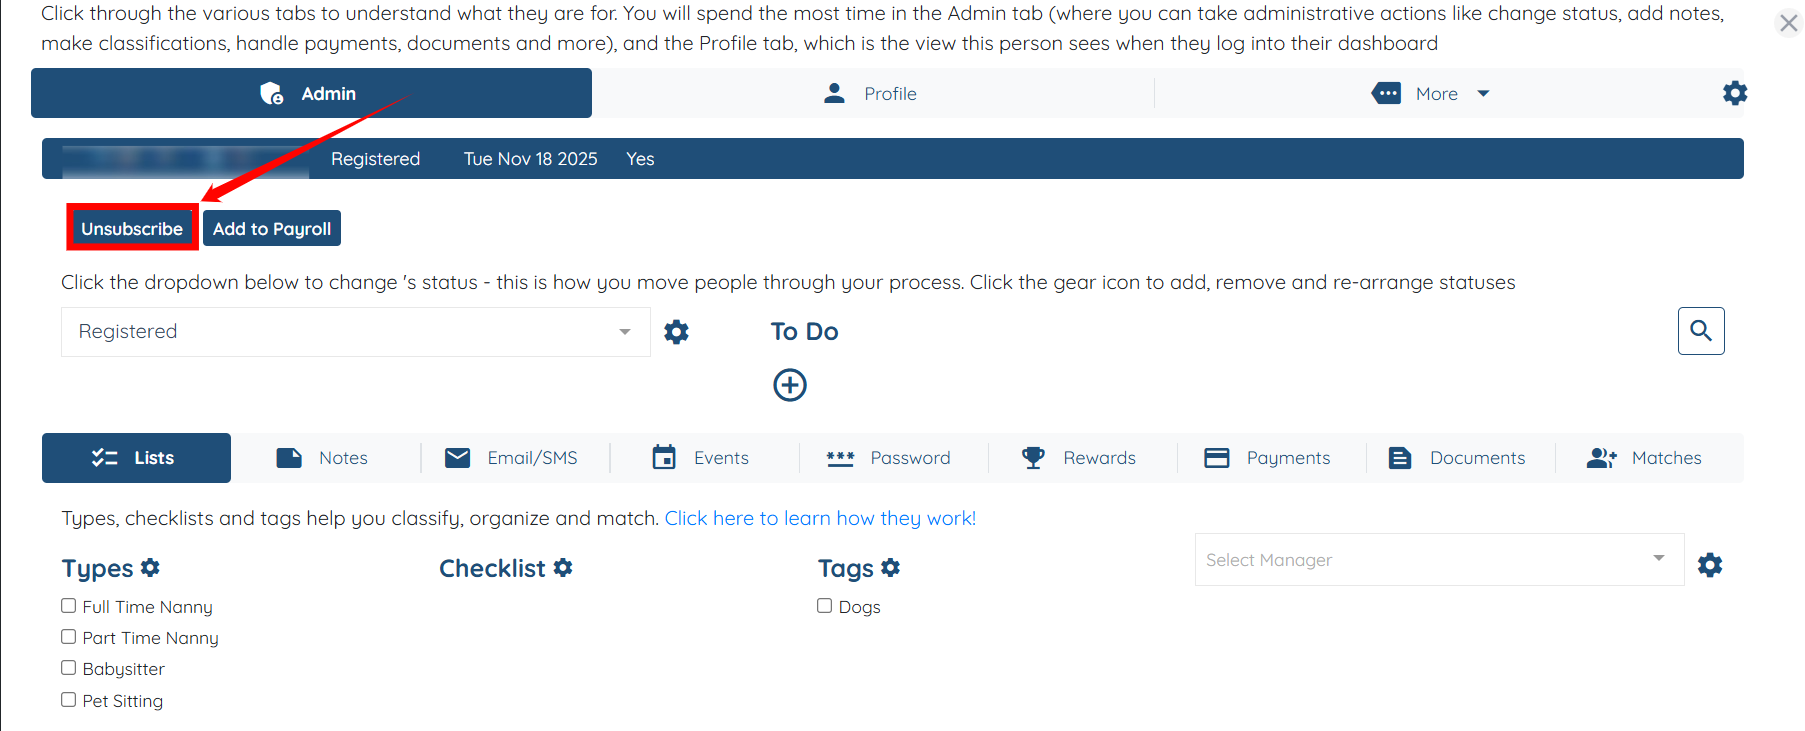
Step 3: Click the Unsubscribe button to remove the client from receiving emails.
Step 4: Click the Unsubscribe button to continue.
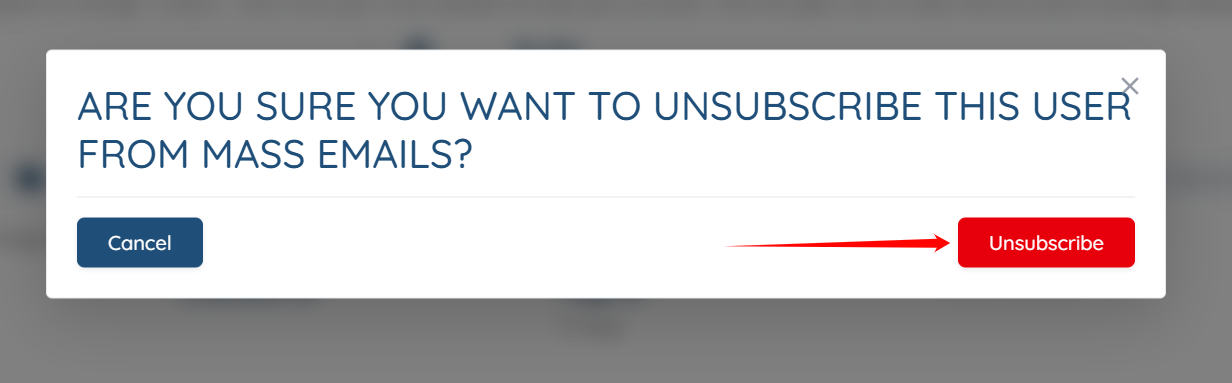
The selected client will be successfully unsubscribed from mass emails.

Add Unsubscribed Column in Client Table
Enable the Unsubscribed column in the client table to quickly identify which clients have been unsubscribed. Follow the steps below to turn on this column.
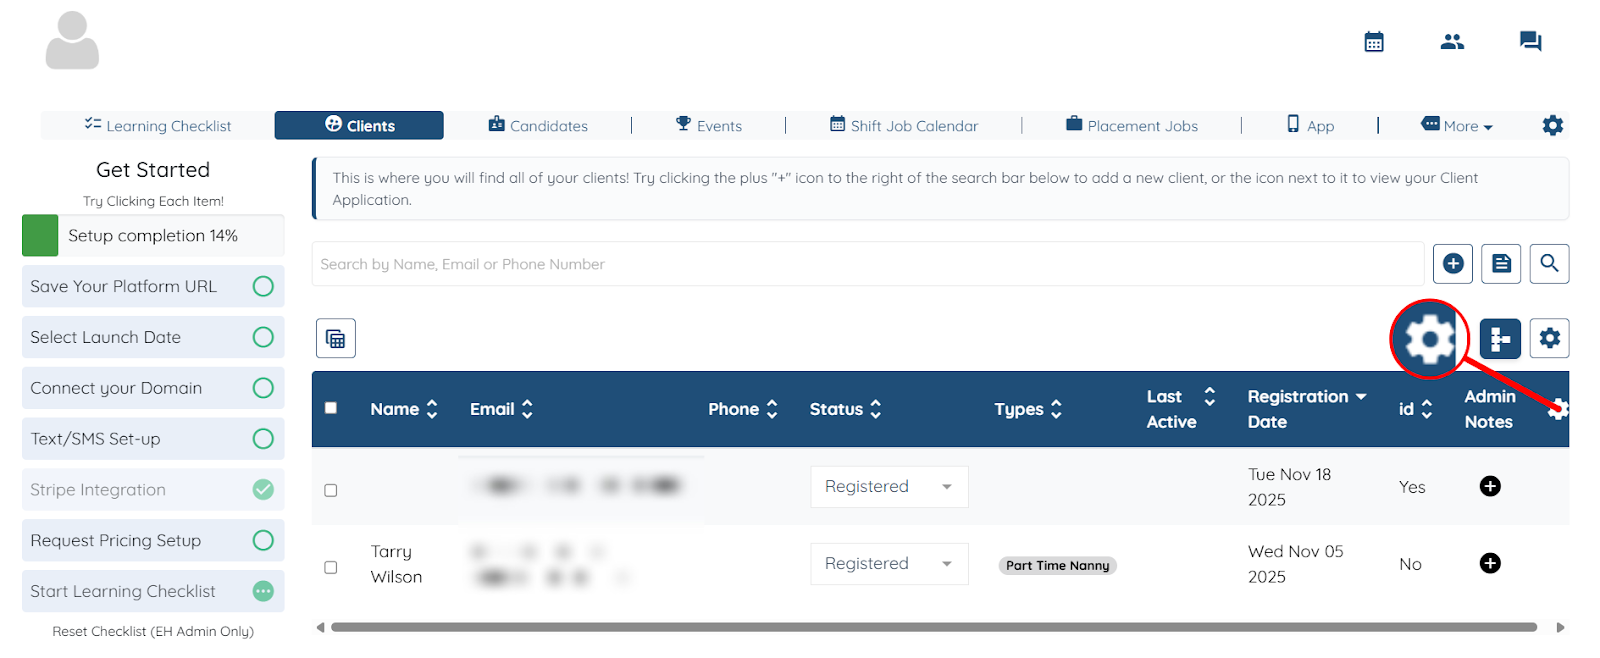
Step 1: On your agent dashboard, click the Gear icon shown in the screenshot below.
Step 2: Type and select the Unsubscribed column to add it to the client table.
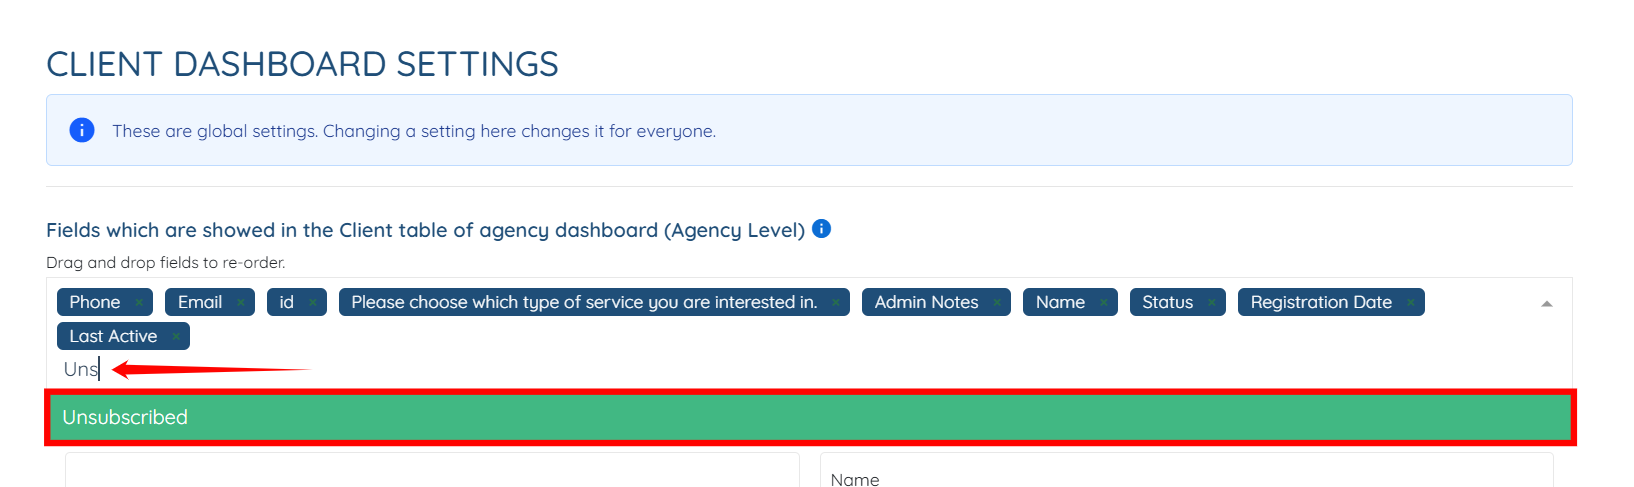
Step 3: Click the Submit button to save the changes.

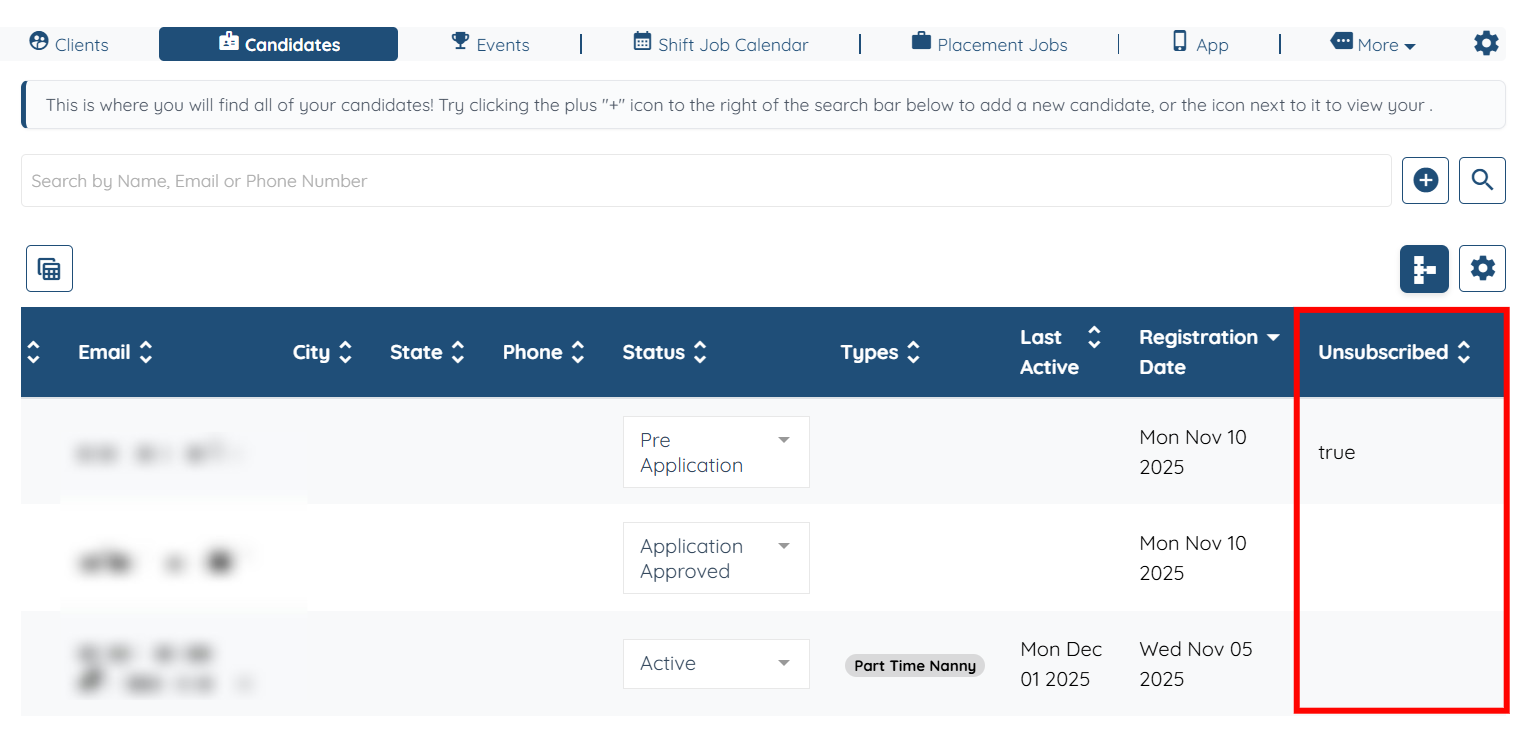
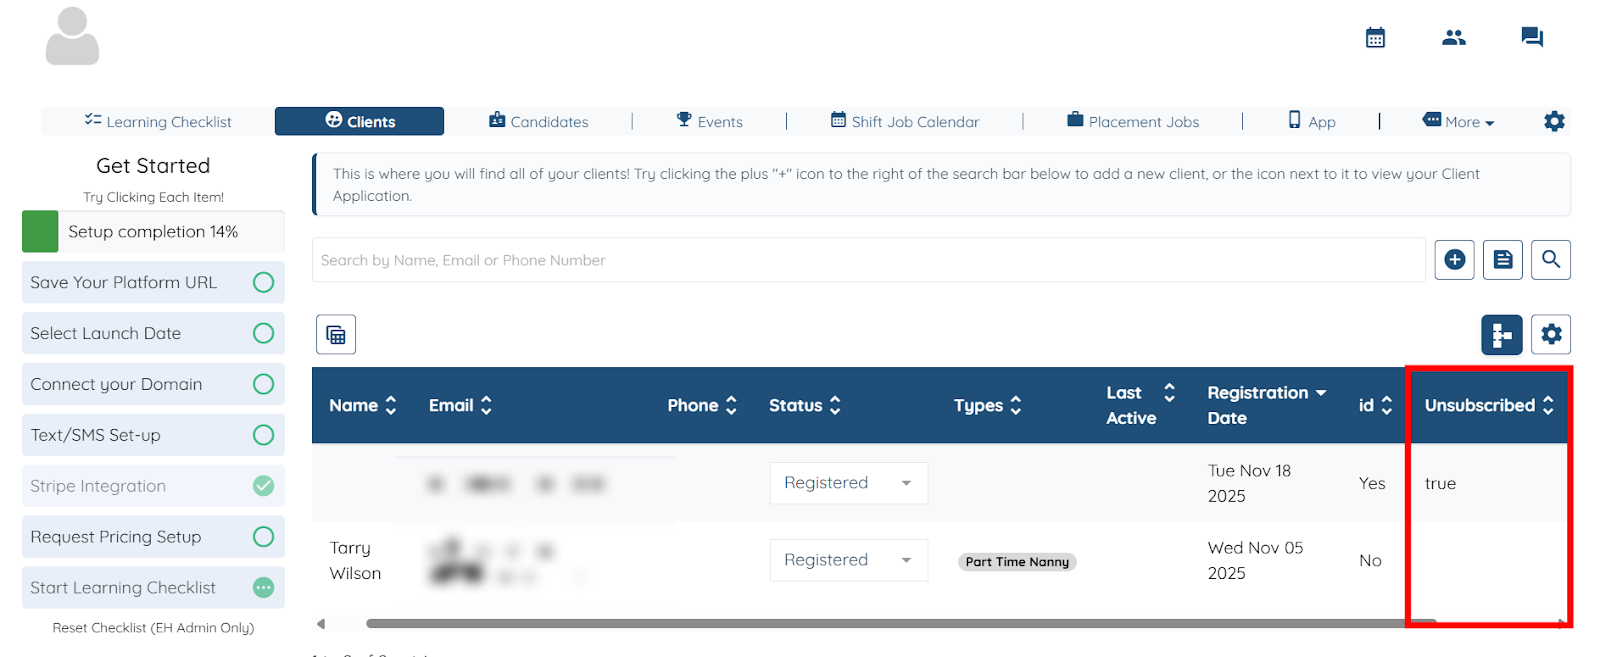
Now, you can see the clients who are no longer receiving mass emails because they have been unsubscribed.
Unsubscribe a Candidate
Remove the candidate from email communication by updating their profile. Follow the steps below to unsubscribe a candidate.
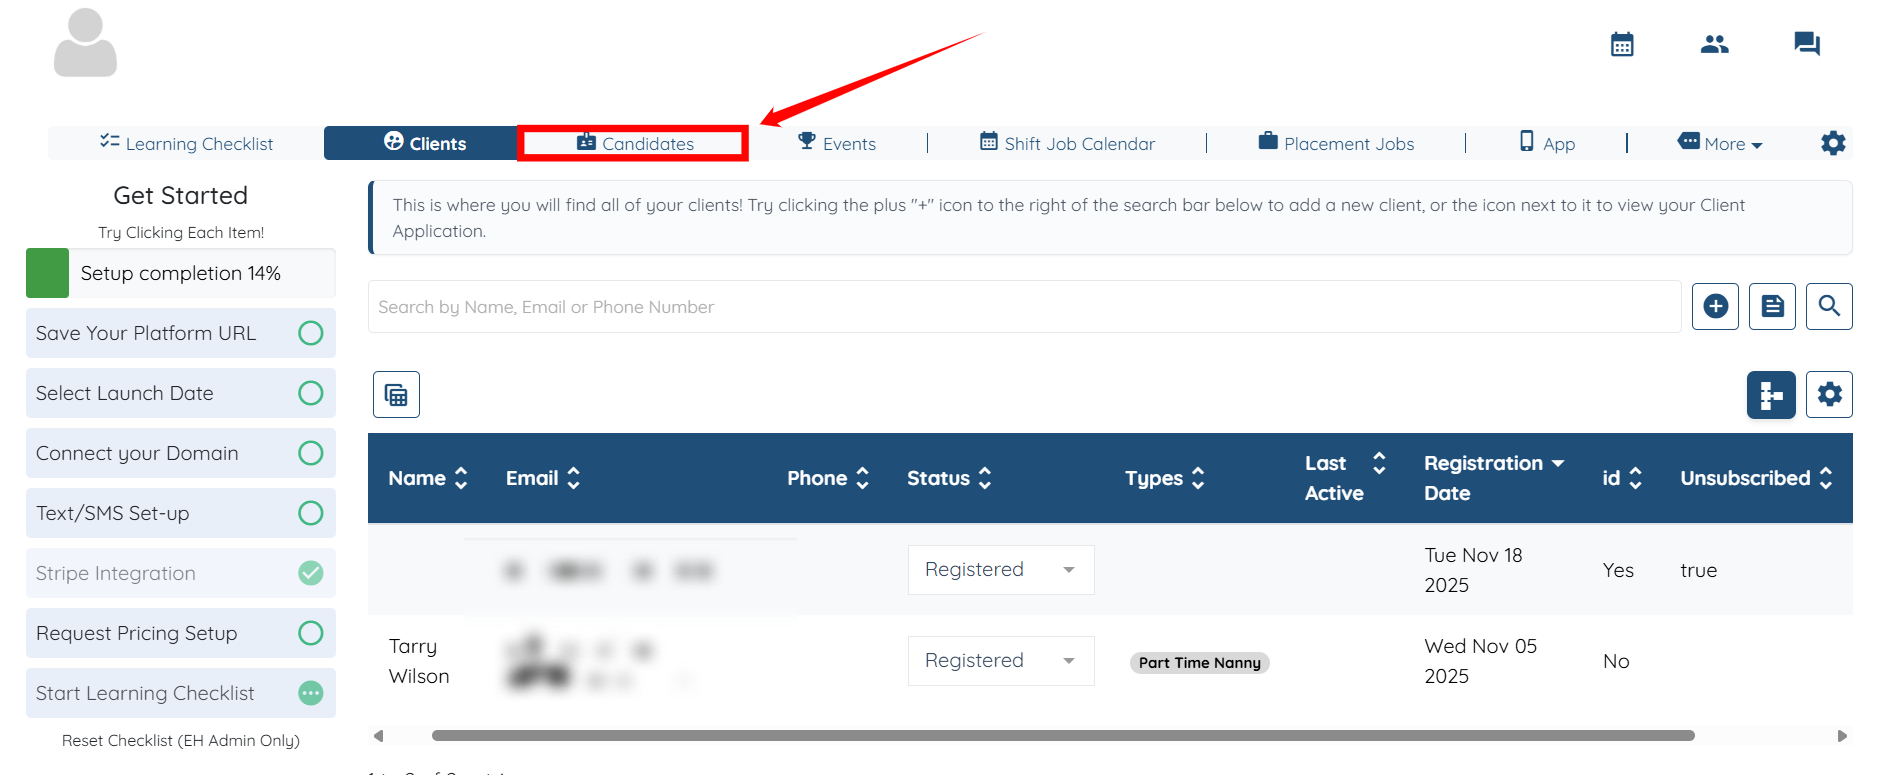
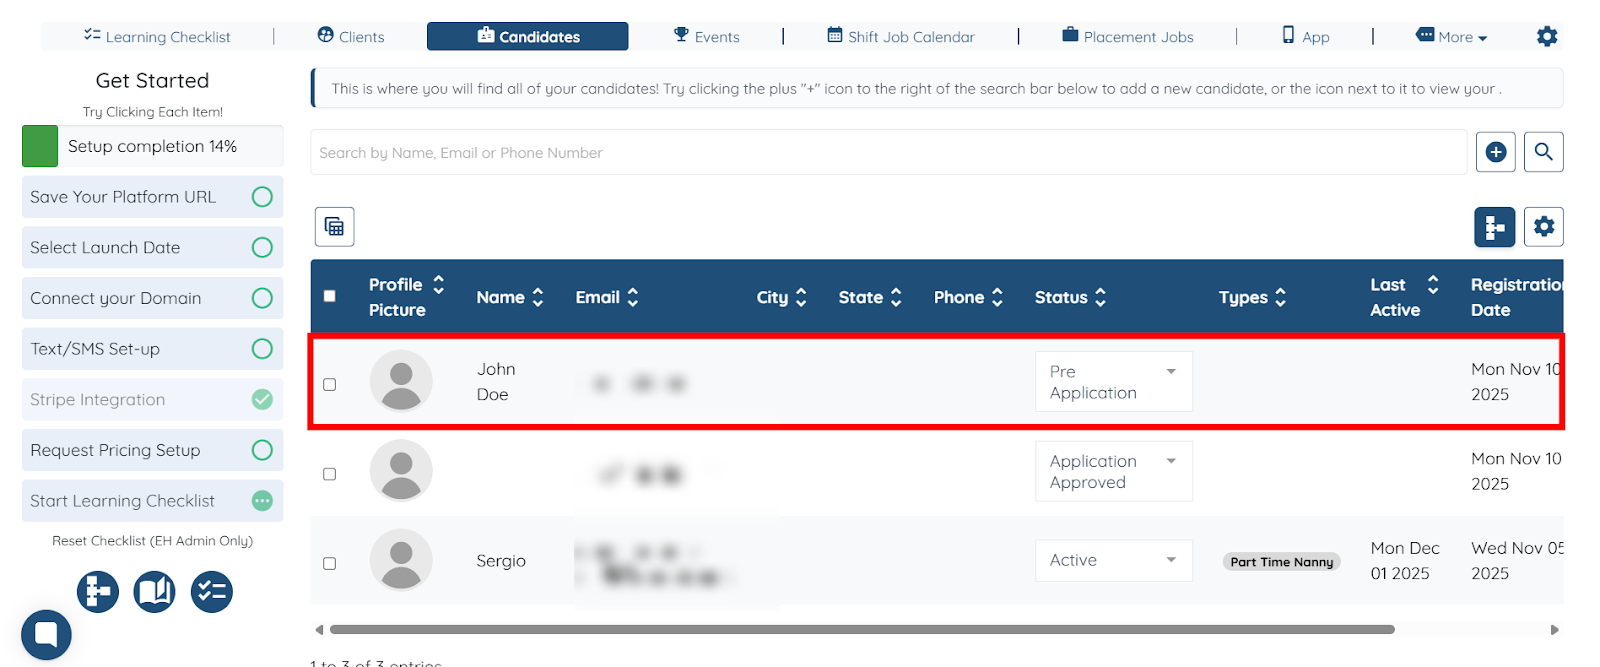
Step 1: Log in to your agent dashboard, and click Candidates in the top navigation bar.
Step 2: Click any candidate in the list to open its details.
Step 3: Click the Unsubscribe button to remove the candidate from receiving emails.
Step 4: Click the Unsubscribe button to continue.

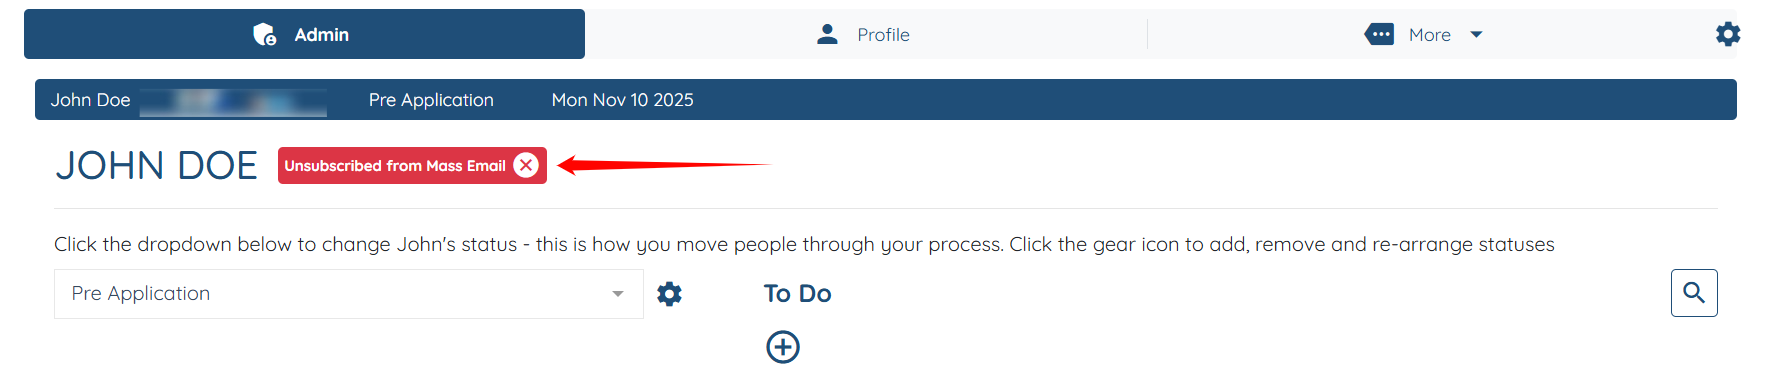
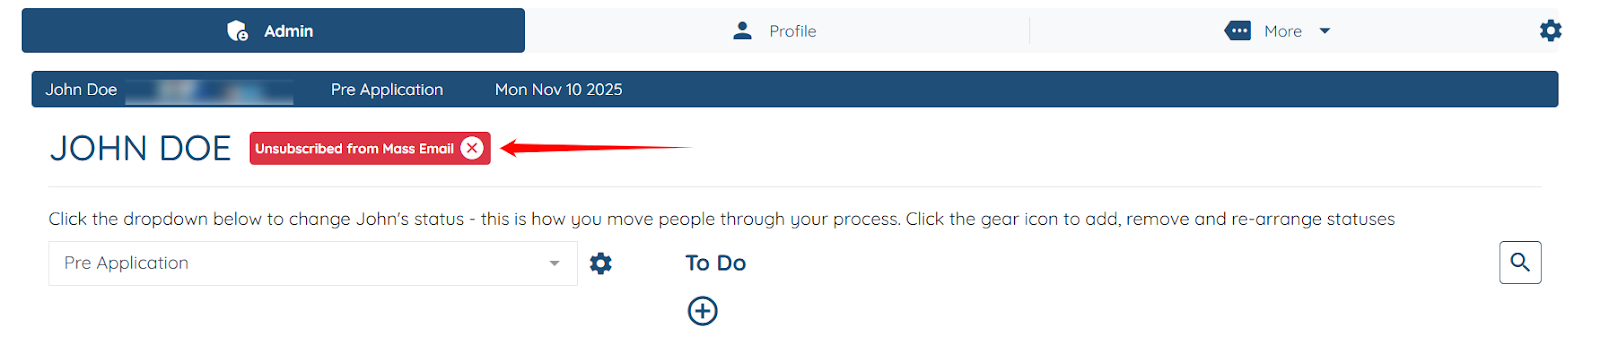
The selected candidate will be successfully unsubscribed from mass emails.
Add Unsubscribed Column in Candidate Table
Enable the Unsubscribed column in the candidate table to easily see which candidates have been unsubscribed. Follow the steps below to make this column visible.
Step 1: On your agent dashboard, click the Gear icon shown in the screenshot below.
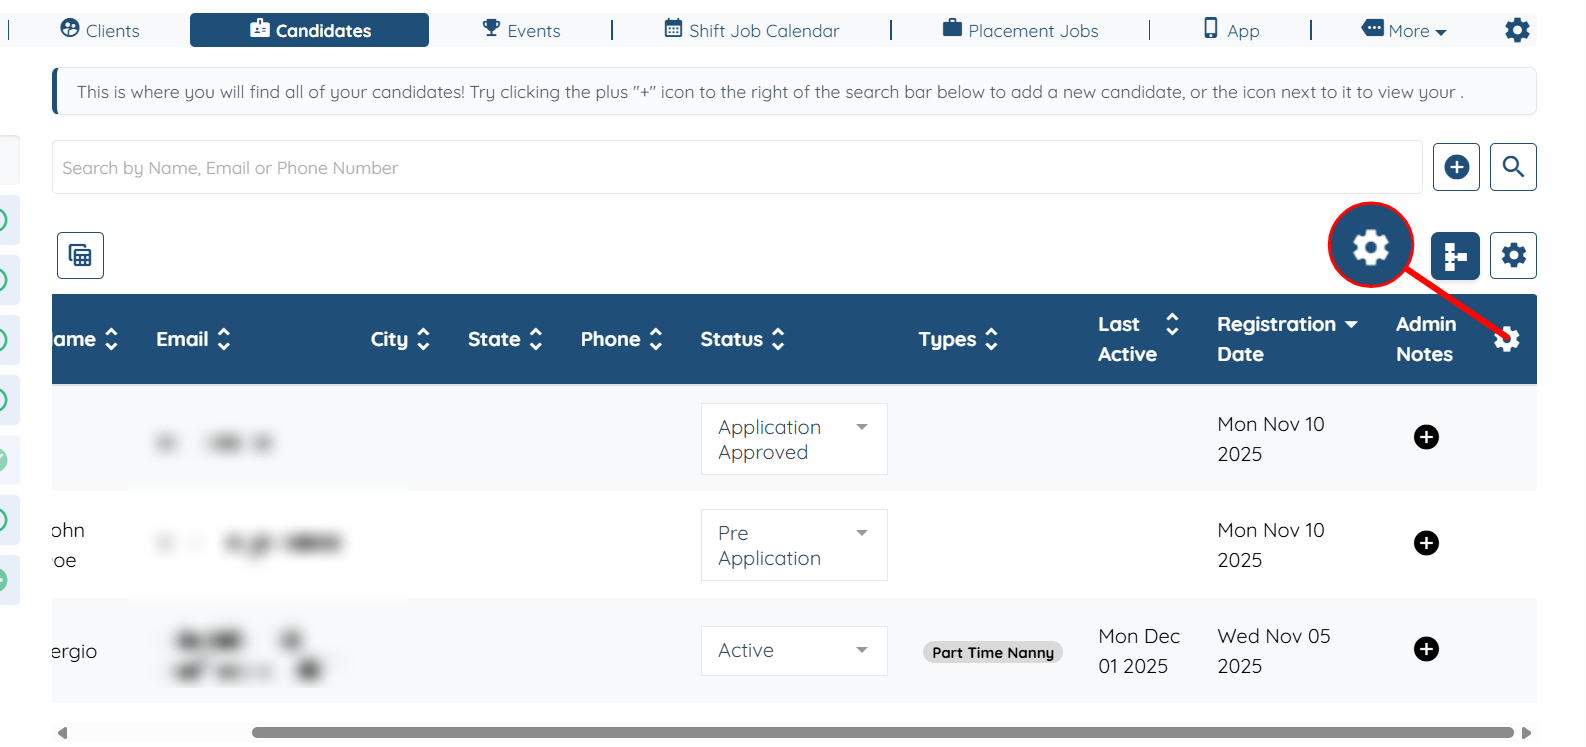
Step 2: Type and select the Unsubscribed column to add it to the candidate table.

Step 3: Click the Submit button to save the changes.

Now, you can see the candidates who are no longer receiving mass emails because they have been unsubscribed.