For demonstration purposes, this article uses clients as an example to perform bulk status updates. The same steps can also be followed to update the status of candidates.
Let’s get started 🚀
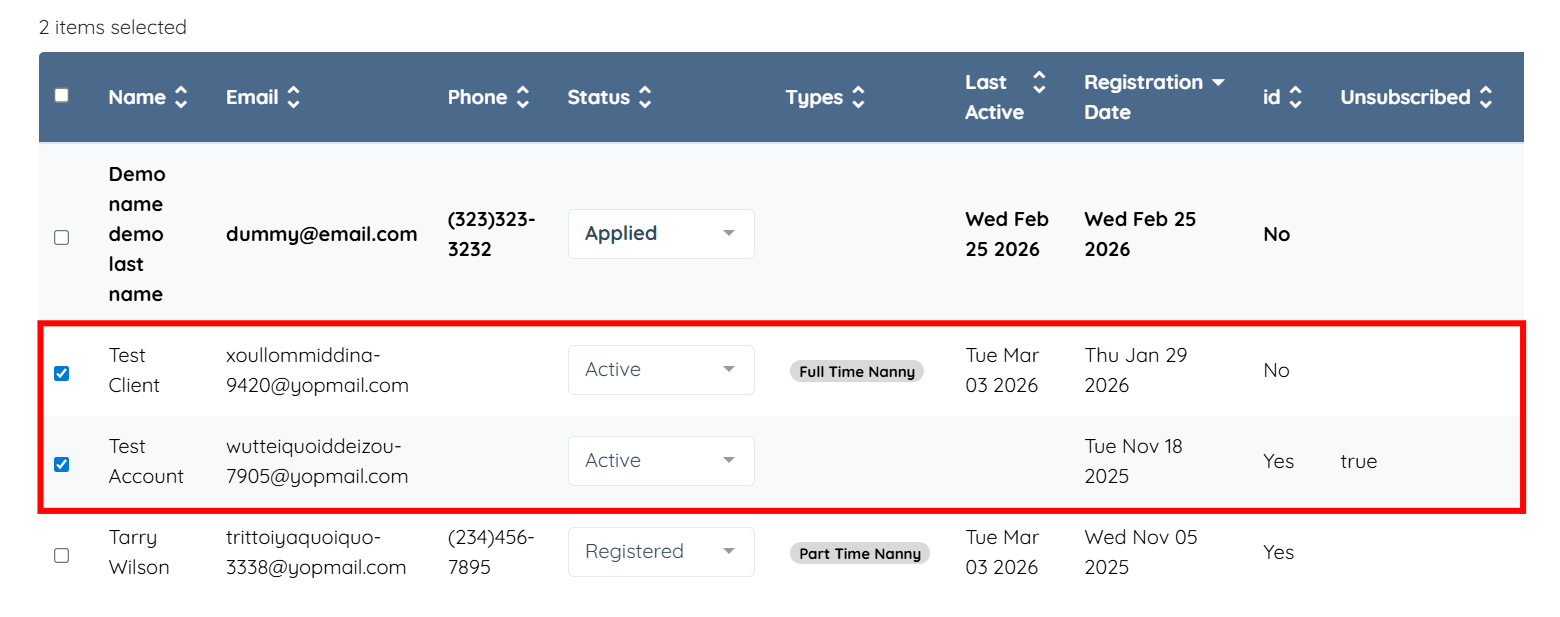
Step 1: Log in to your agent dashboard, scroll down, and select the checkboxes for the client(s) whose status you want to update.
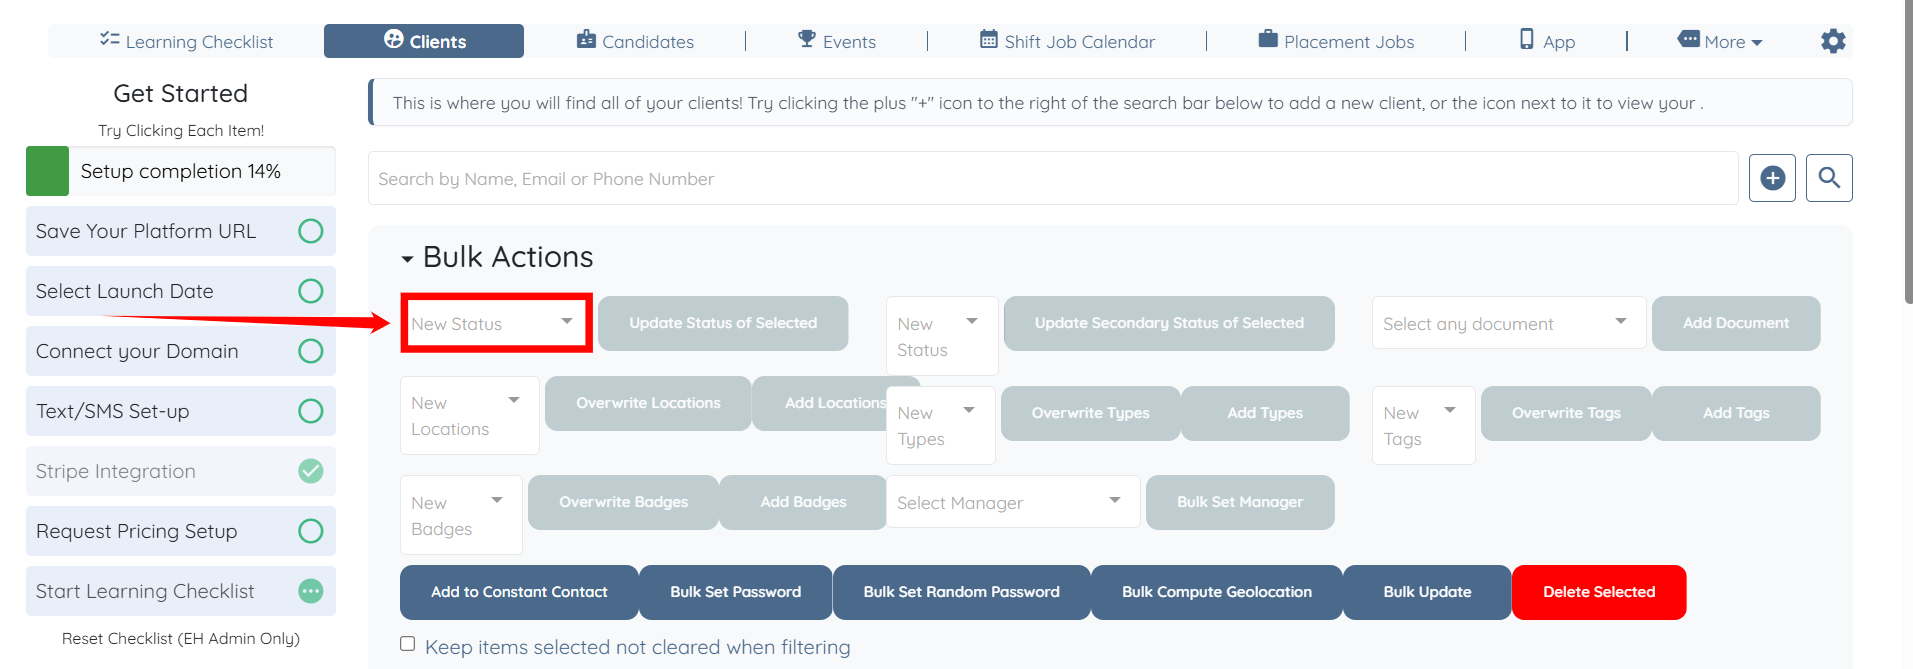
Step 2: Click the New Status box under the Bulk Actions heading to open the dropdown list.
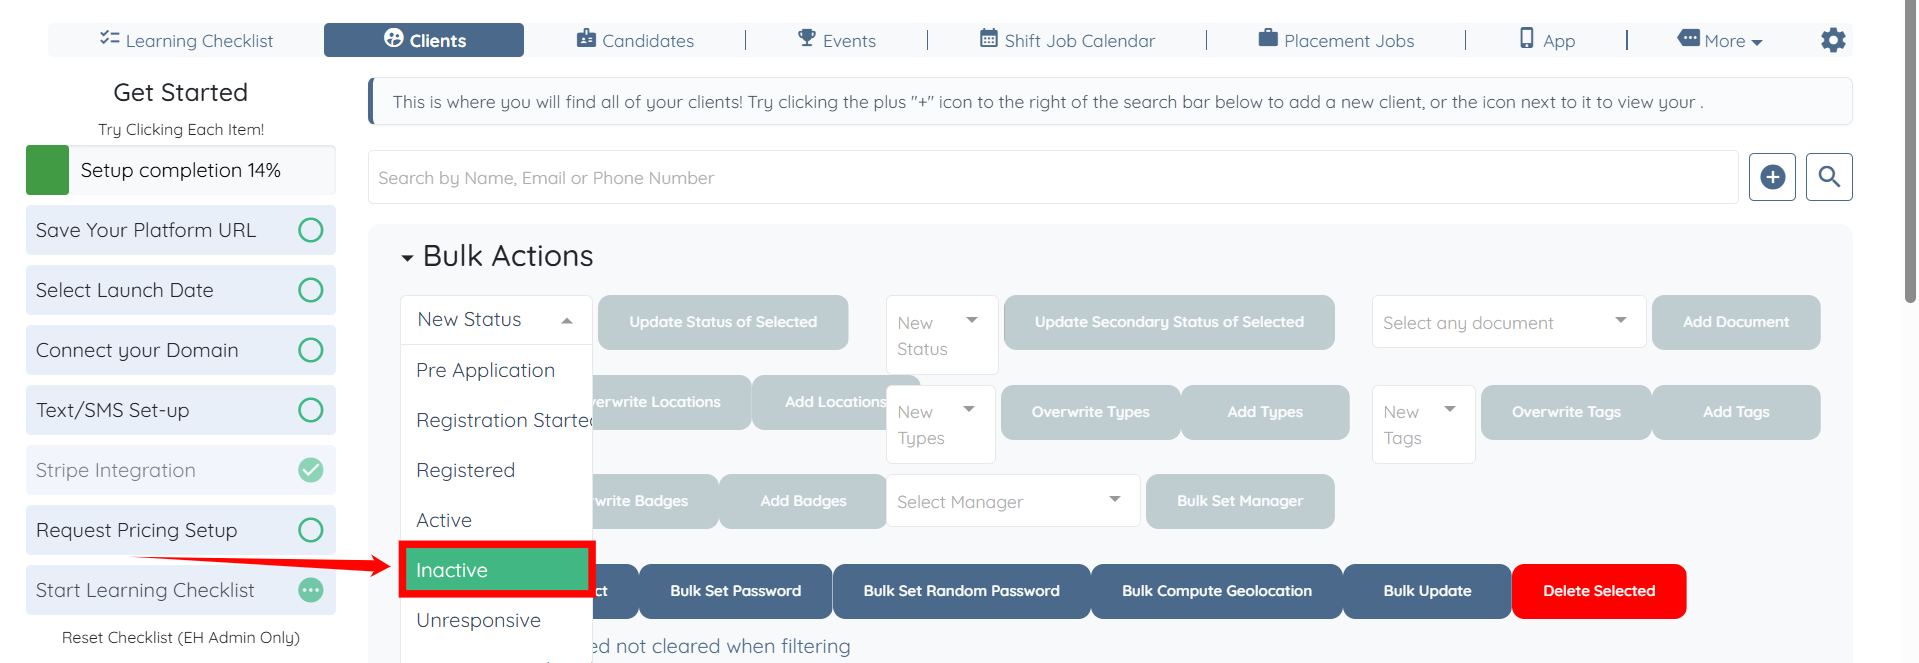
Step 3: Select the status you want to update for the clients you selected.
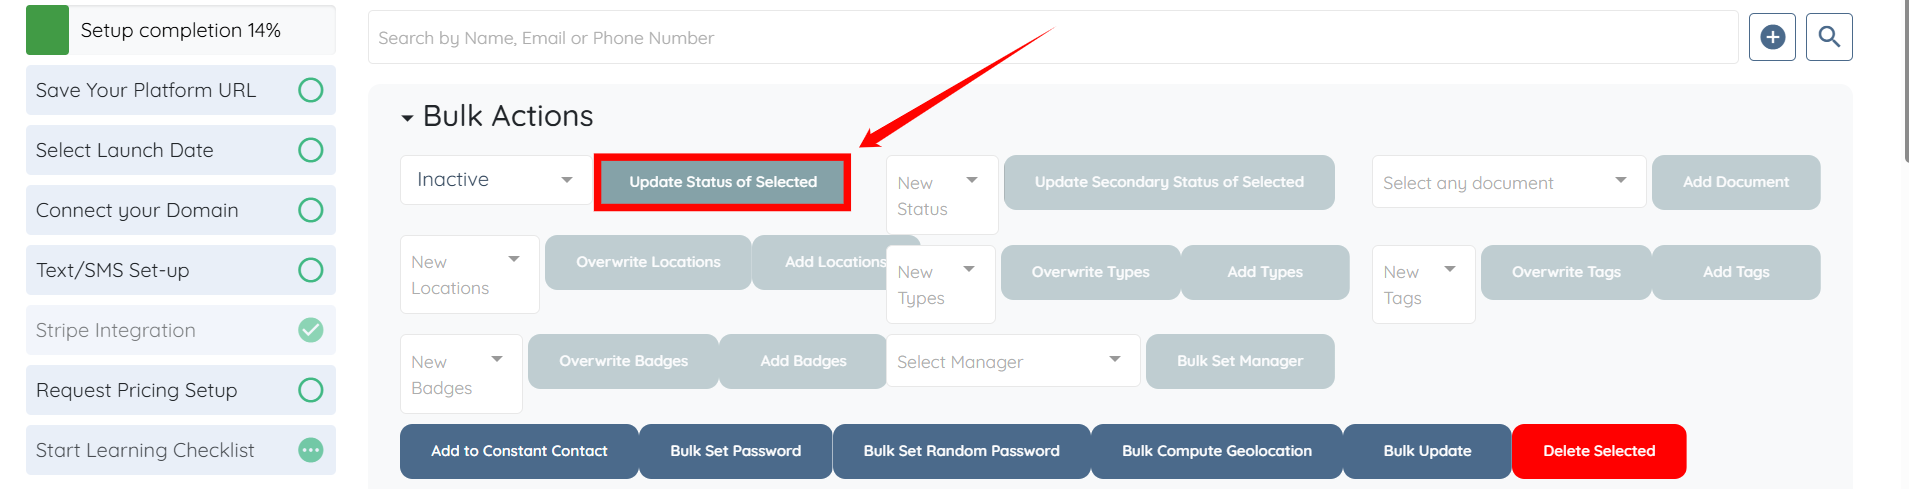
Step 4: Click the Update Status of Selected button to continue.
Step 5: Click the Do Not Send Notifications button.
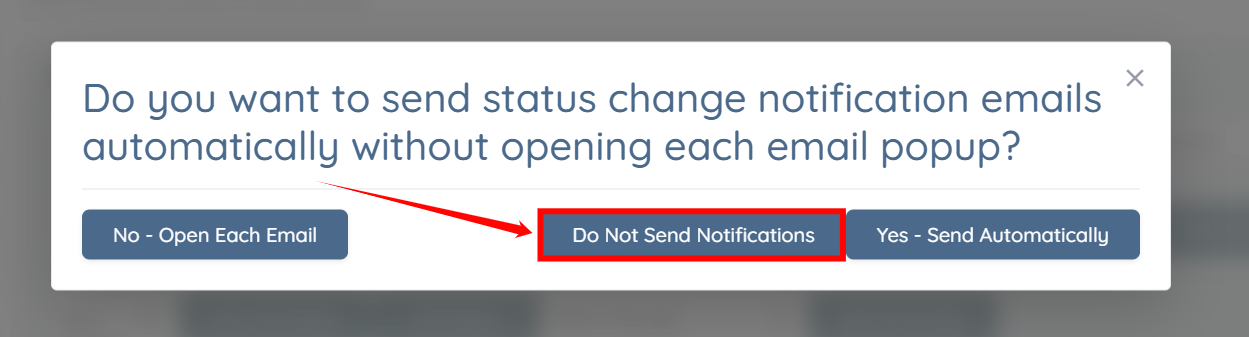
The status for the selected clients will be updated successfully, without sending any notifications.