Let’s get started 🚀
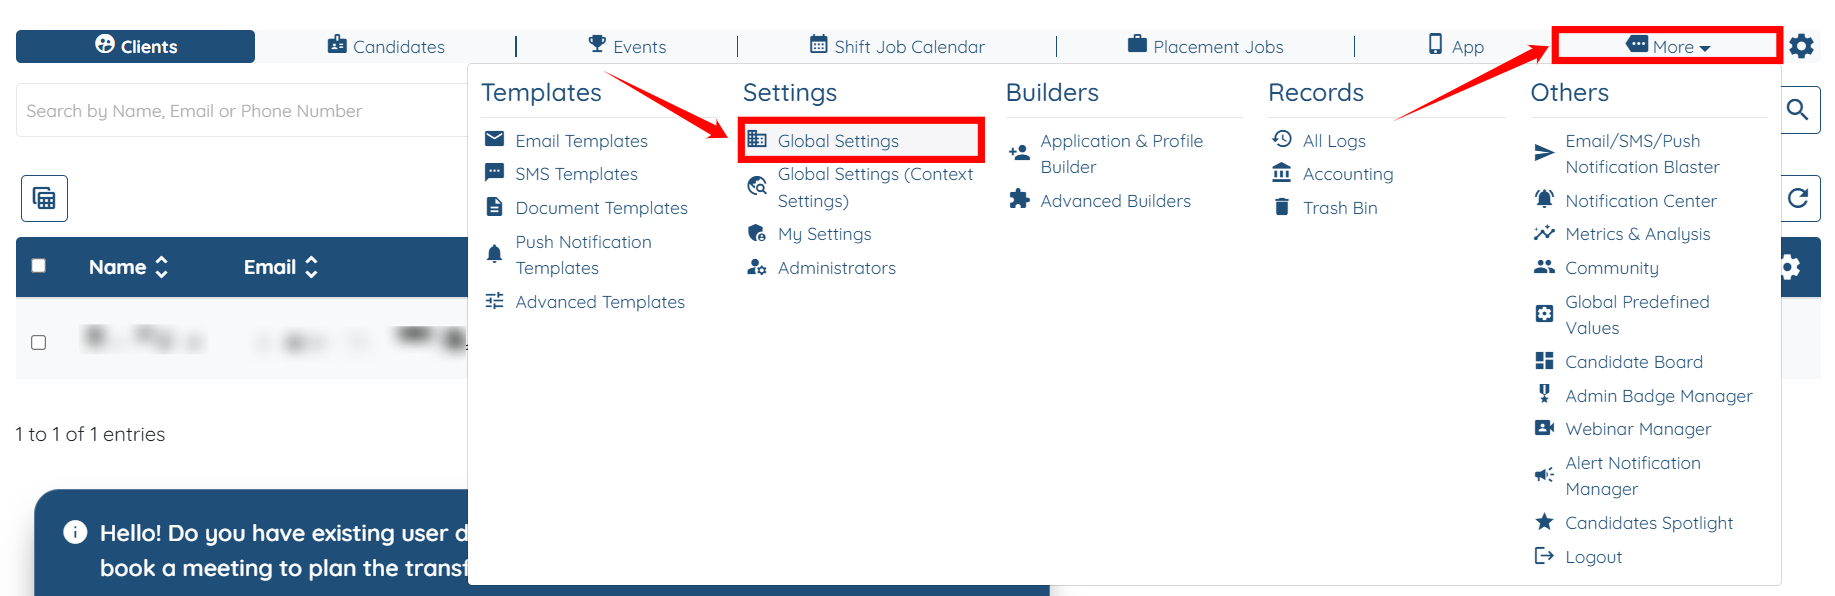
Step 1: Log in to your agent dashboard, then navigate to More > Global Settings, as shown in the screenshot below.
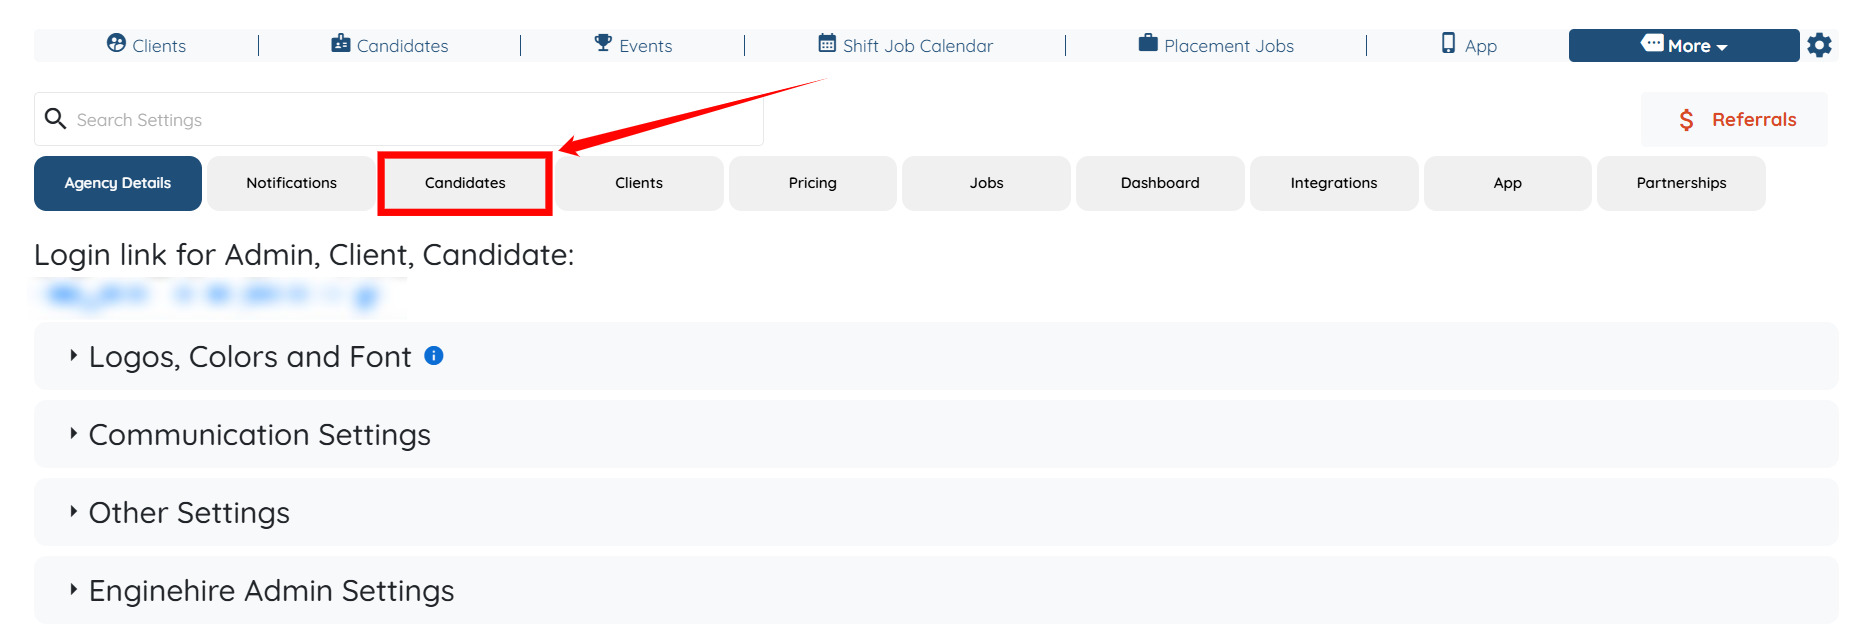
Step 2: Click on the Candidates tab from the list of all available tabs.
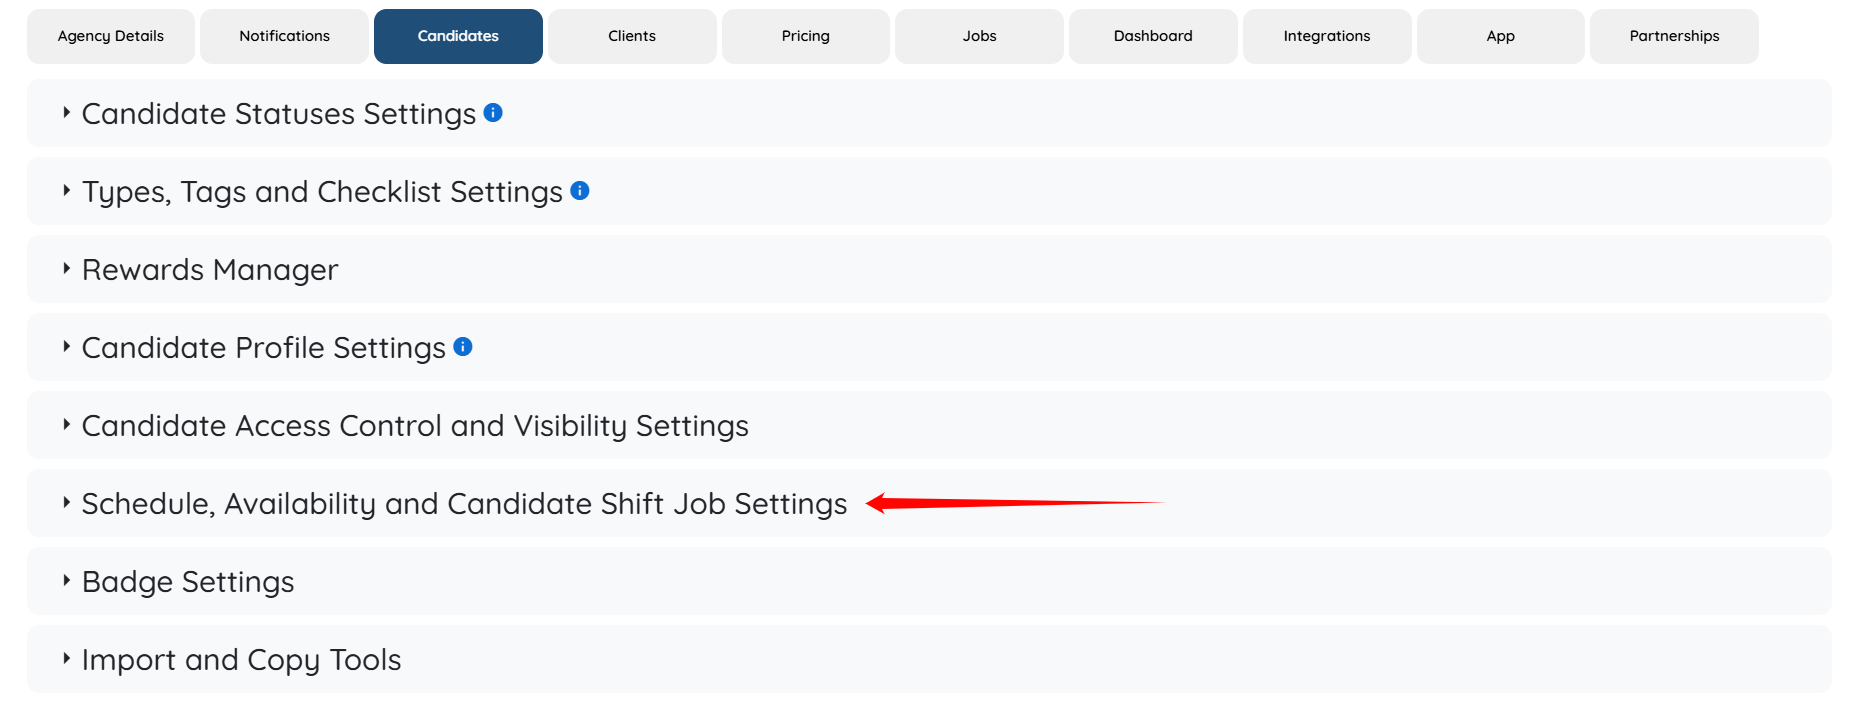
Step 3: Click on the Schedule, Availability, and Candidates Shift Job Settings option to expand its details.
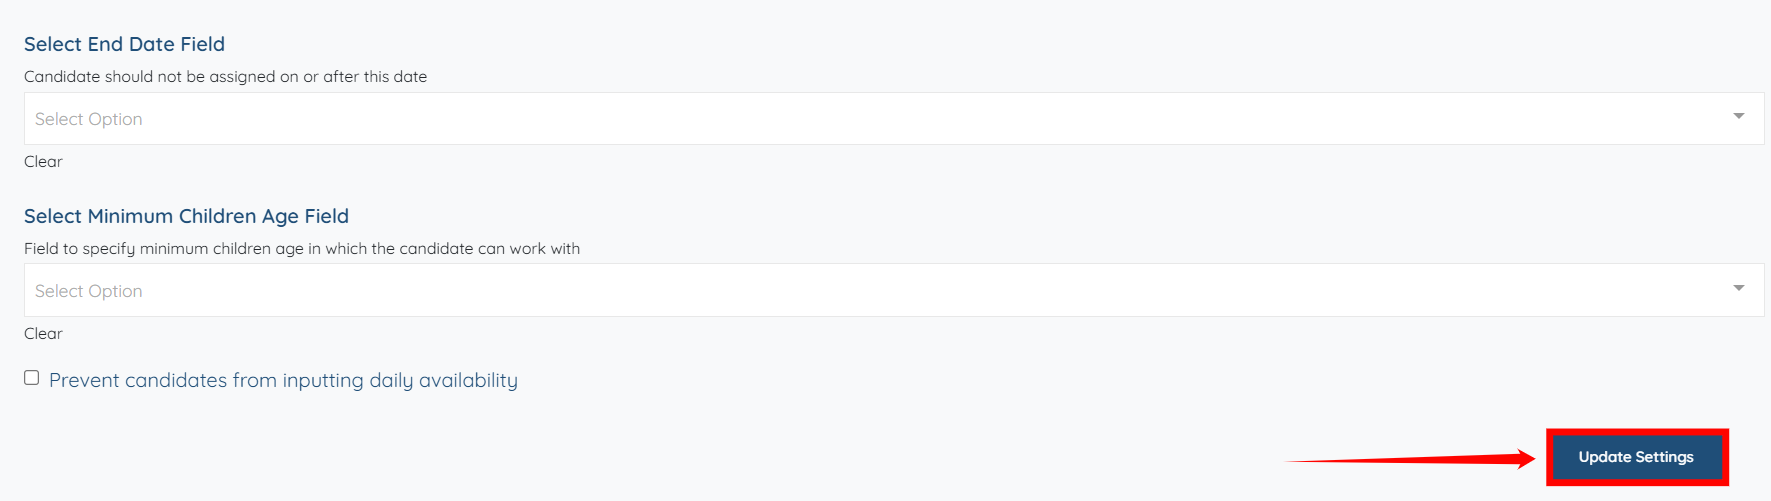
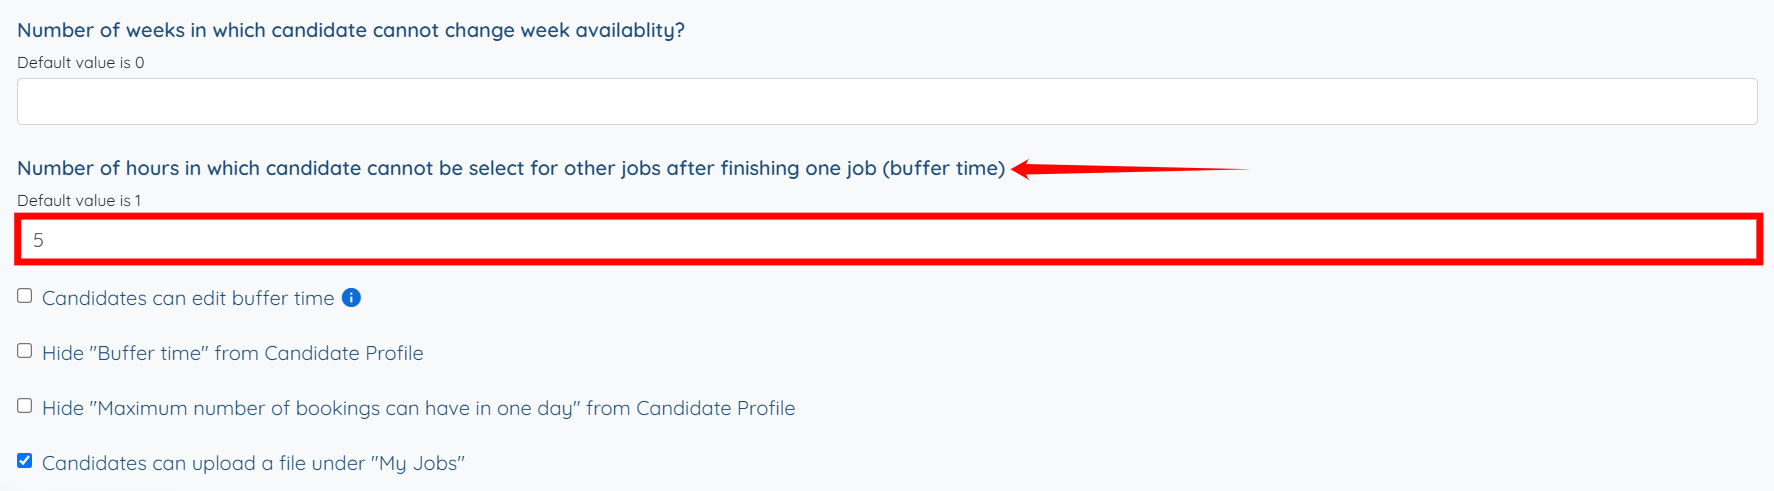
Step 4: Locate the field labelled “Number of hours in which the candidate cannot be selected for other jobs after finishing one job (buffer time)” and enter the desired number of hours as the buffer time.
Step 5: Click the Update Settings button to confirm the changes.