Often, simply changing a field's model directly will wipe out all the historical data stored within it. To safely transition to a new field model while preserving your valuable data, you need to use a strategic "export, replace, and re-import" method.
Step 1: Export Your Current Data
Before making any structural changes to your database, you must extract the existing data.
-
Navigate to your clients / candidates to export records - here is a detail guide
-
Generate an export CSV file.
-
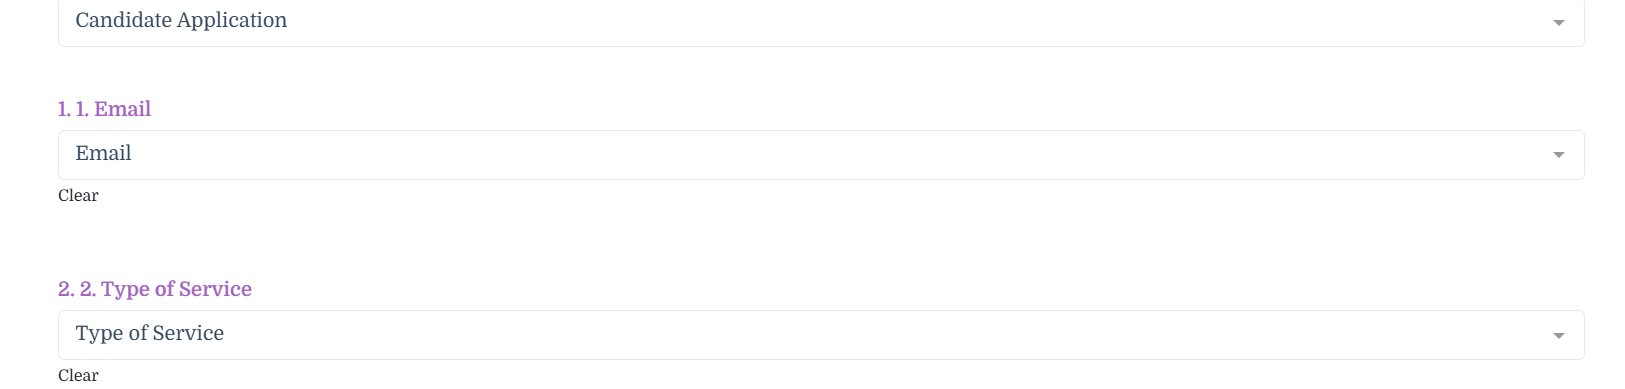
Crucial: Ensure that you include the specific field you are trying to update in your export report (for example, Type of Service), alongside a unique identifier Email Address.
Note: Treat this exported CSV as your master backup. Do not alter the data inside this file.
Step 2: Access the Profile Builder
Once your data is safely exported, you can begin making structural changes to the platform.
-
Go into your system's Profile Builder. Here is a detail guide
-
Locate the specific section where the field you want to change currently lives.
-
Click on Edit Section to make changes.
Step 3: Create the New Field & Hide the Old One
Instead of deleting the old field—which would destroy the data—you will create a brand new one and quietly archive the old one.
-
Add the New Field: Create a new field with the correct field model. Give it the exact label you want your users to see (e.g., Type of Service).
-
Rename the Old Field: Find the original field and rename its label to designate it as an archive (e.g., Type of Service Backup).
-
Hide the Old Field: Prevent users from seeing or interacting with the old field by making it strictly internal. Add the additional property "Is admin only."
Step 4: Map the Data in the Importer
Now, it is time to push your saved data back into the system, specifically targeting the newly created field.
-
Navigate to your system's Data Importer tool.
-
Upload the CSV file you exported in Step 1.
-
Begin the mapping process:
-
Map the Email column in your CSV to the system's Email field. (This is how the system knows who to update).
-
Map the data from your old field column (from the CSV) directly into your newly created Type of Service field.
-
Step 5: Enable "Update Existing Users"
This is the most critical step to update existing records.
-
Scroll down to the Advanced Options section of the importer.
-
Locate and check the box labeled Update Existing Users.
By enabling this, the system will look at the Email addresses in your CSV, find the matching existing profiles, and simply overwrite the empty new field with your historical data.

Step 6: Execute the Import
Double-check your field mapping to ensure everything aligns correctly. Once you are confident:
-
Hit the Import button.