![enginehire logo thin dark 1.0.png]](https://learn.enginehire.io/hs-fs/hubfs/enginehire%20logo%20thin%20dark%201.0.png?height=40&name=enginehire%20logo%20thin%20dark%201.0.png)
Let’s get started 🚀
Step 1: Log in to your agent dashboard and click the client in the list whose payment information link you want to share. 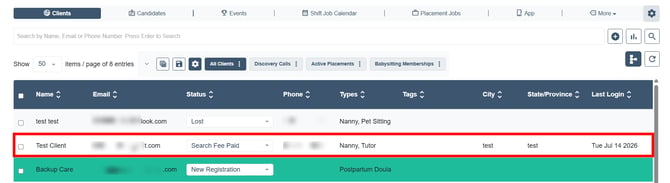
Step 2: Under the Admin tab, click the Payments tab from the available tabs. 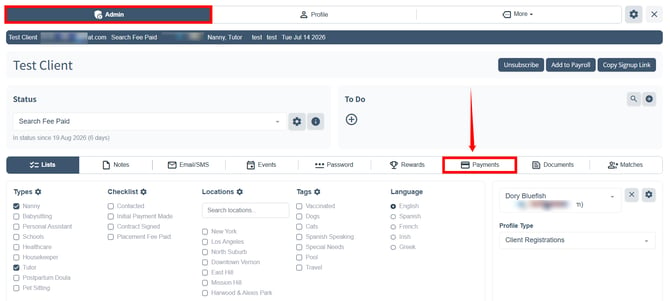
Step 3: Copy the shareable link to collect the client's payment information, then share it with the client.
This is a public payment link that is unique to the client. The client can access this link to enter their payment information directly without logging in.
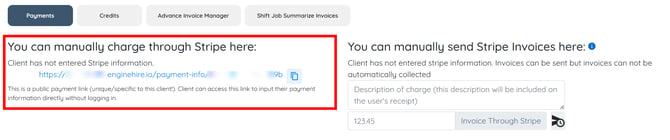
Step 4: In the same way, you can also copy and share the Update Payment Information link with the client. 
If you want the unique payment link to be automatically included in an email template, use the [[public_payment_link]] tag in the template. To know more on how to do this check the Add the Payment Link to an Email Template section below.
Add the Payment Link to an Email Template
You can also use the [[public_payment_link]] tag in a client email template to automatically include the client’s unique payment link.
Step 1: On your agent dashboard, click More > Email Templates, as shown in the screenshot below. 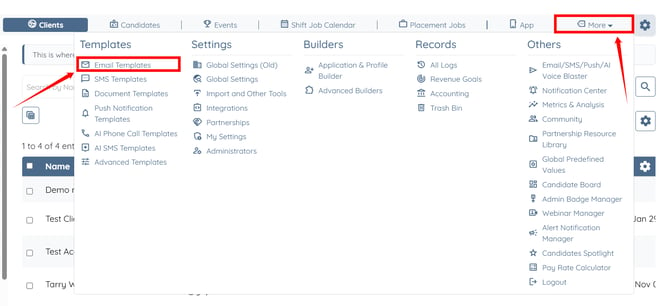
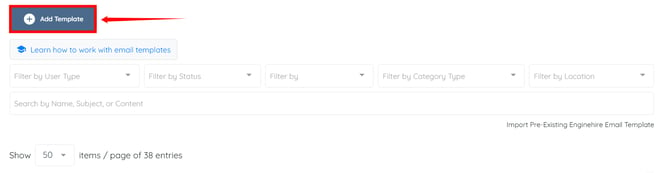
Step 2: Click the Add Template button.
Step 3: Enter a name for your email template.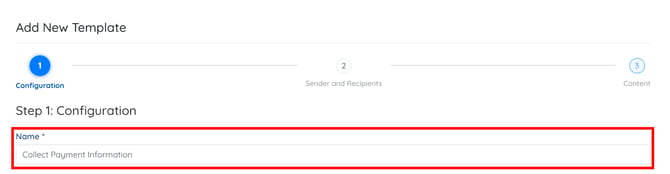
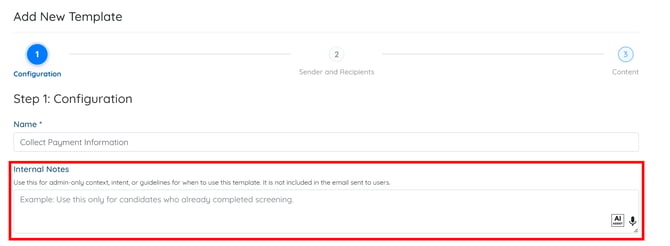
Step 4: Add internal notes for your email template if you want to.
To learn more about the internal notes in the email template, refer to the Add Internal Notes to Email Templates article.
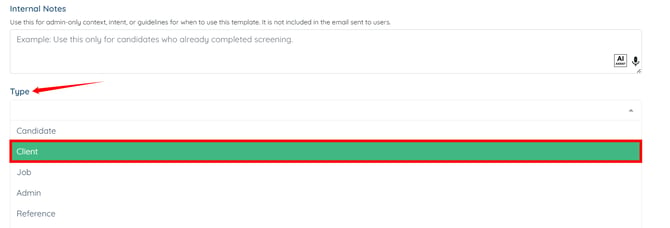
Step 5: Select Client from the dropdown list in the Type field.
Step 6: Select the Recorded Payment option as the Trigger.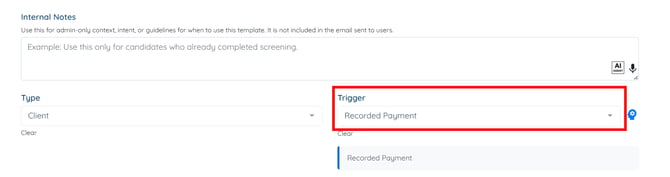
Step 7: Click the Content option to jump to the email template body.
Step 8: Enter the Subject and Body of the email template. To add the [[public_payment_link]] tag to the email body, click the tag to copy it and then paste it where required. 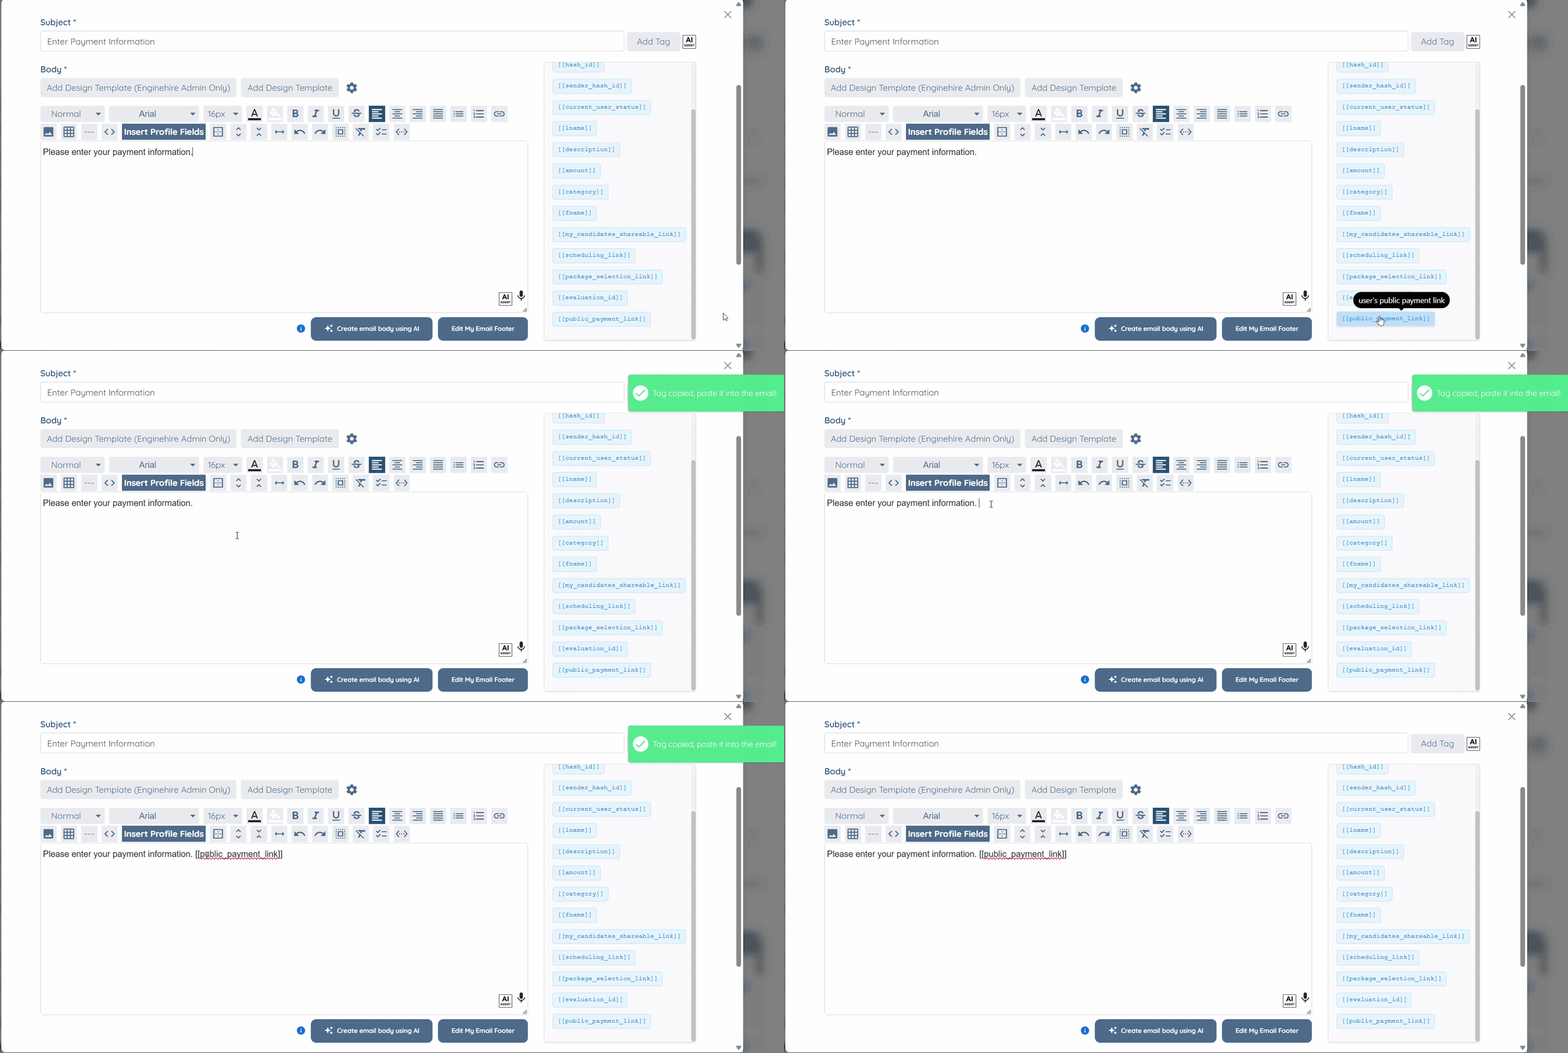
You can also use the AI option in the email template body to refine and improve your email content. For more information, refer to the Improve Email Content Using AI article.
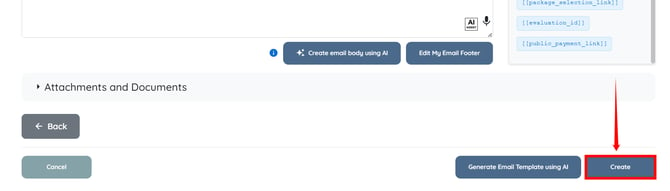
Step 9: Click the Create button to proceed.