Let’s get started 🚀
Using the Filters
Use the available filters to narrow down reimbursement records and quickly locate the information you need.
Step 1: Log in to your agent dashboard and click Reimbursements in the navigation bar.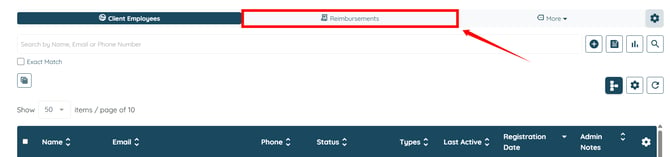
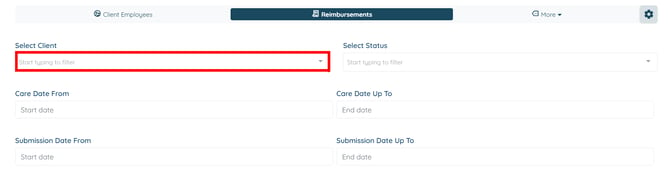
Step 2: Click the box under the Select Client field to open the dropdown list.
Step 3: Select the client from the list as required.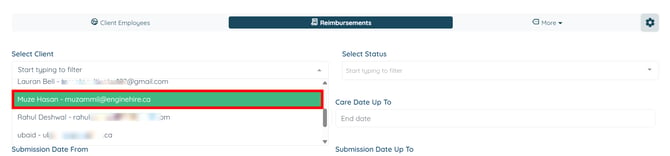
In the same way, you can apply additional filters to further narrow down the reimbursement records. For demonstration purposes, we are selecting the Approved option from the Select Status field. 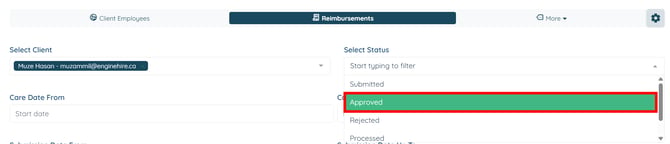
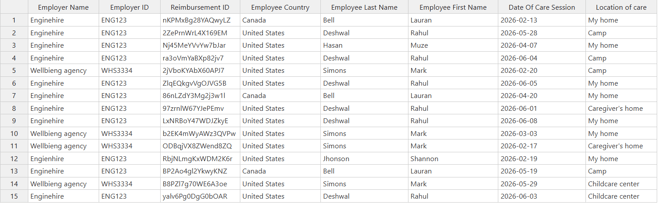
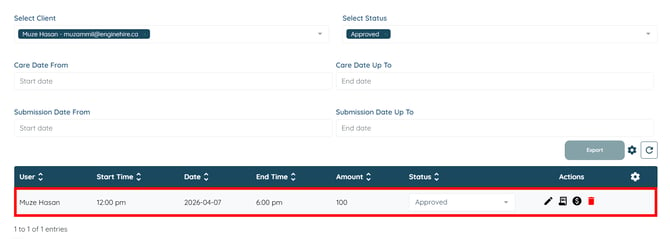
The reimbursement list will be filtered based on the selected filter criteria.
Export Reimbursement Data
After filtering the reimbursement records, export the required data by selecting the fields you want to include in the CSV file.
Step 1: On the Reimbursement page, click the Gear icon next to the Export button.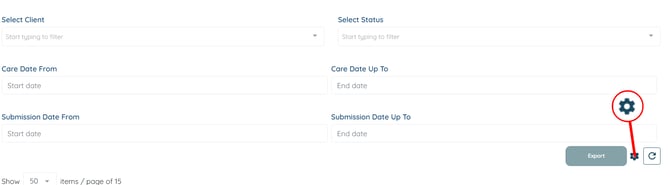
Step 2: Click the fields box under the Select fields to export reimbursement field to open the dropdown list.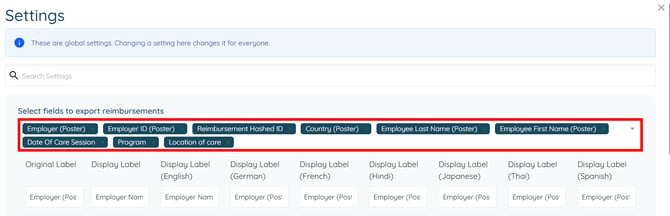
Step 3: Select the field(s) from the dropdown list that you want to export in a csv file.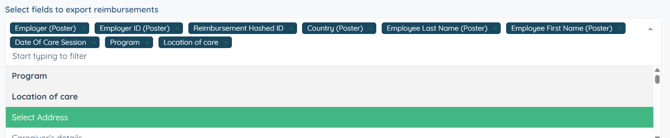
You can also remove any field by hovering over it and clicking the appeared cross icon. The settings will be saved automatically.
Step 4: After selecting the required fields, click the Export button.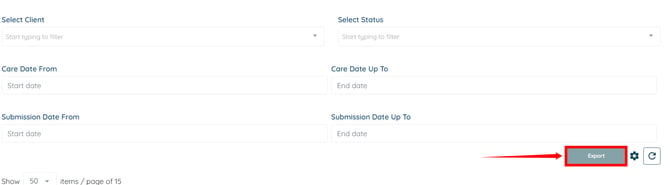
The reimbursement data will be downloaded as a CSV file containing the selected fields.