Let’s get started 🚀
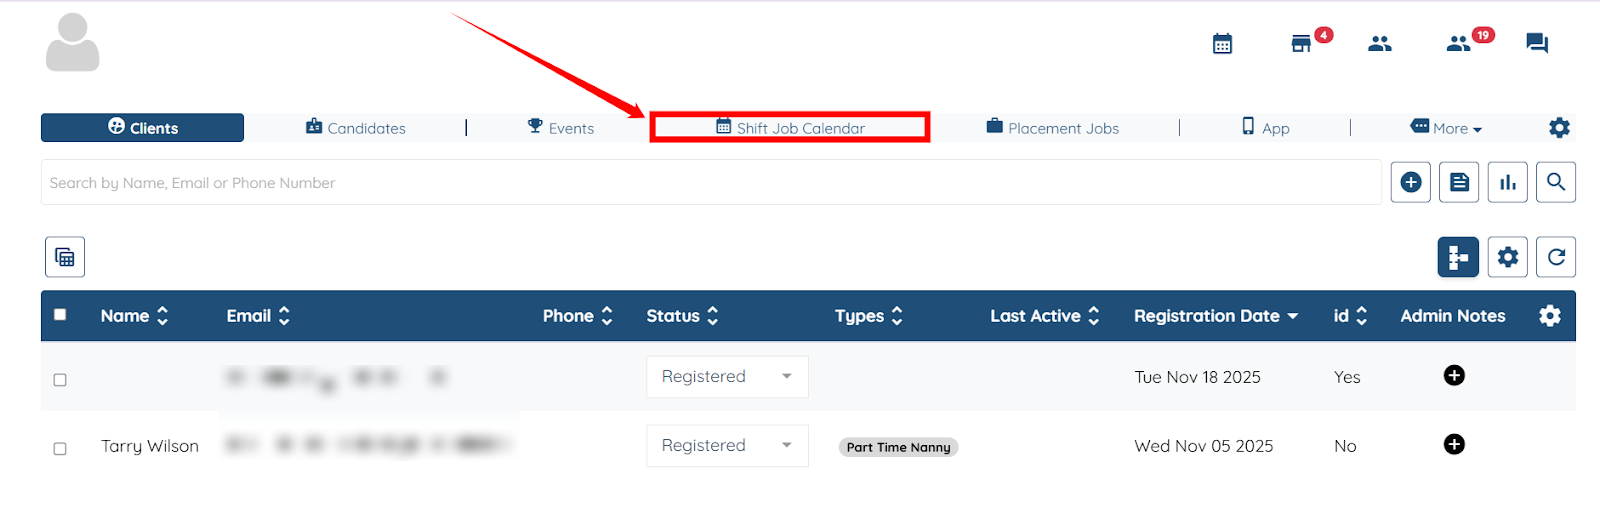
Step 1: Log in to your agent dashboard, and click the Shift Job Calendar in the top navigation bar.
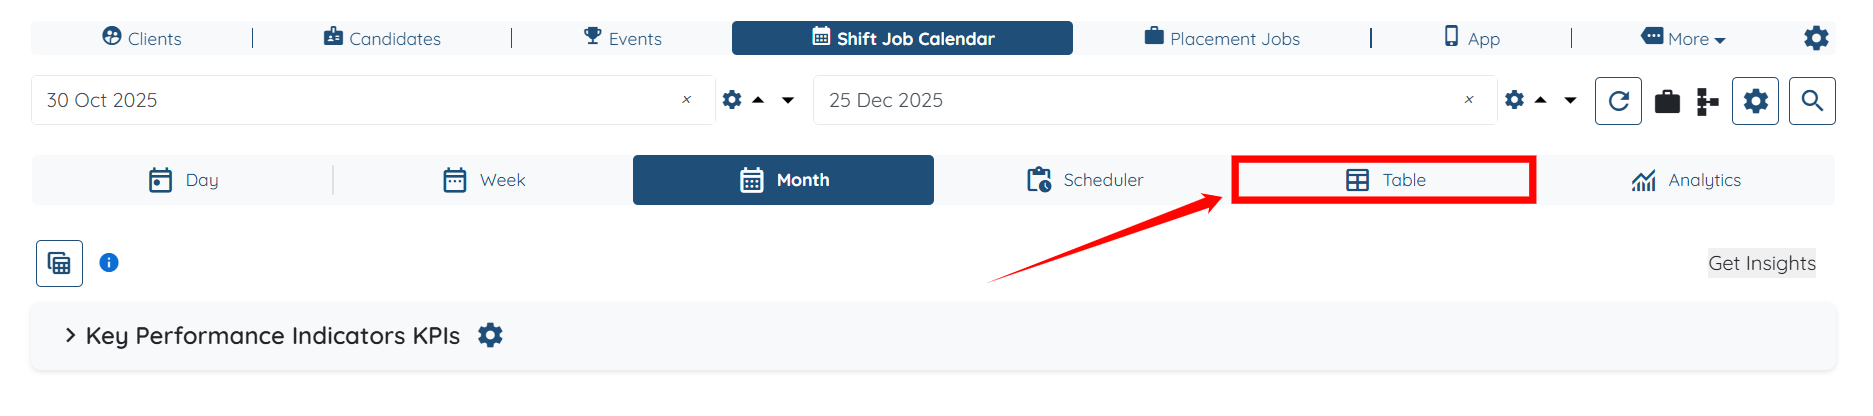
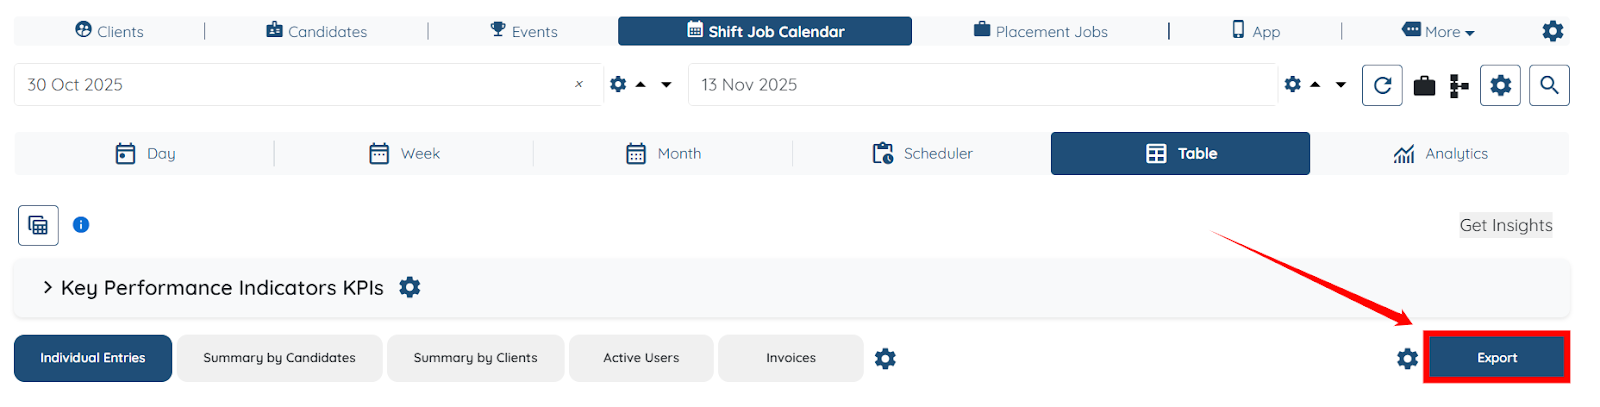
Step 2: Click the Table tab from the list of all available tabs.
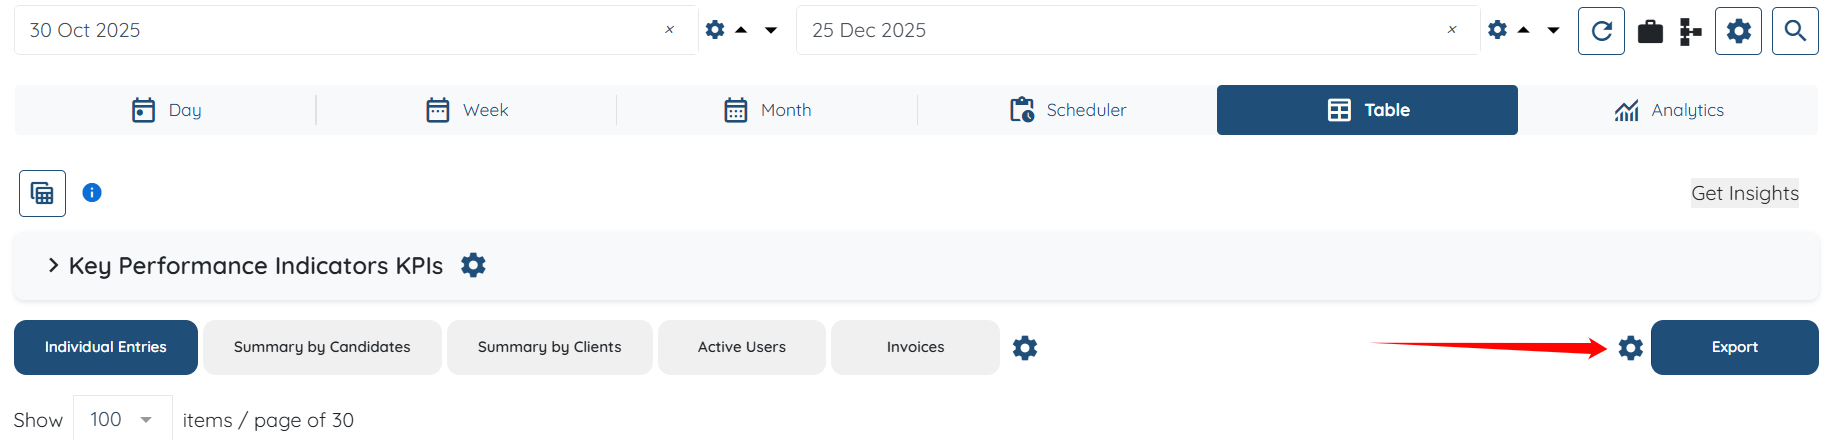
Step 3: Click the Gear icon located before the Export button, as shown in the screenshot below.
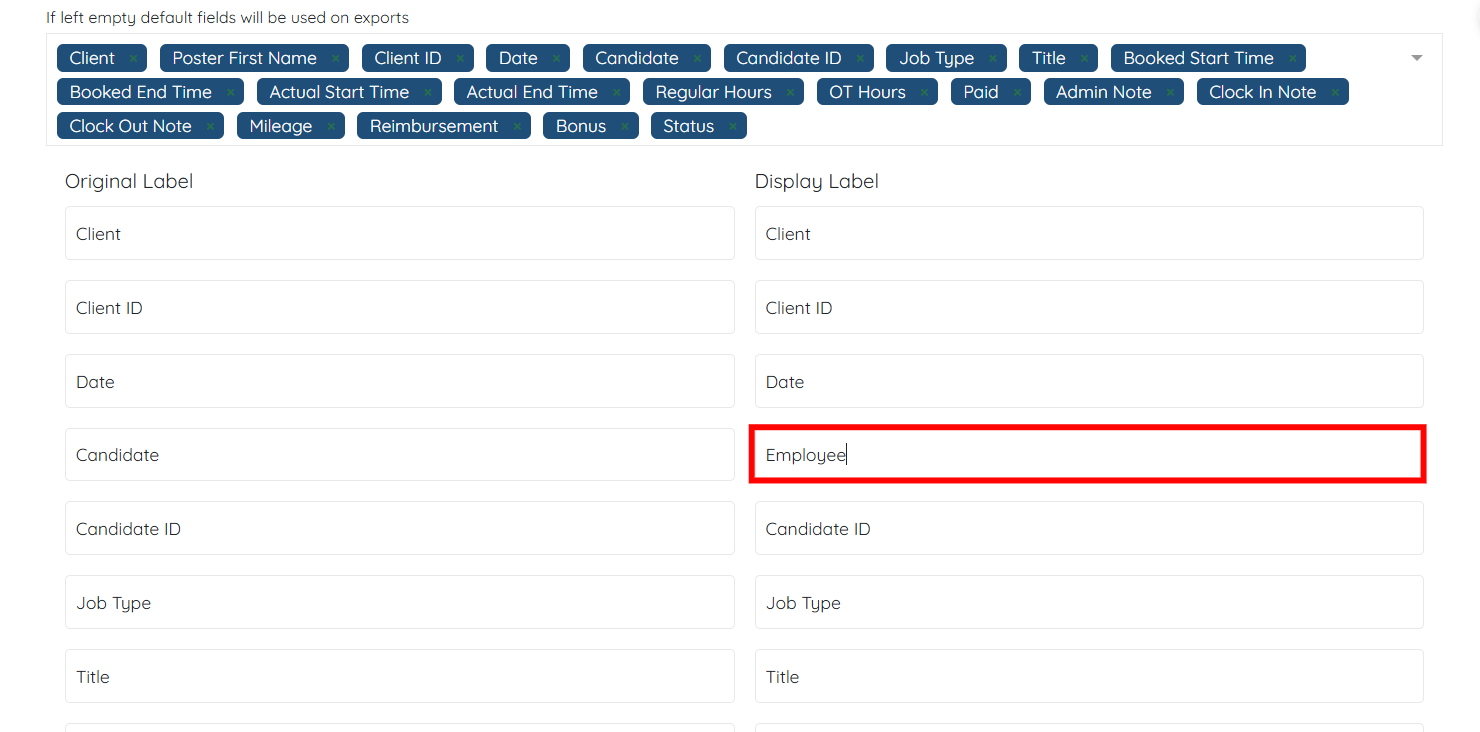
Step 4: Click the Select Fields on Job CSV Export option, and then select the fields you want to export to your spreadsheet from the dropdown.
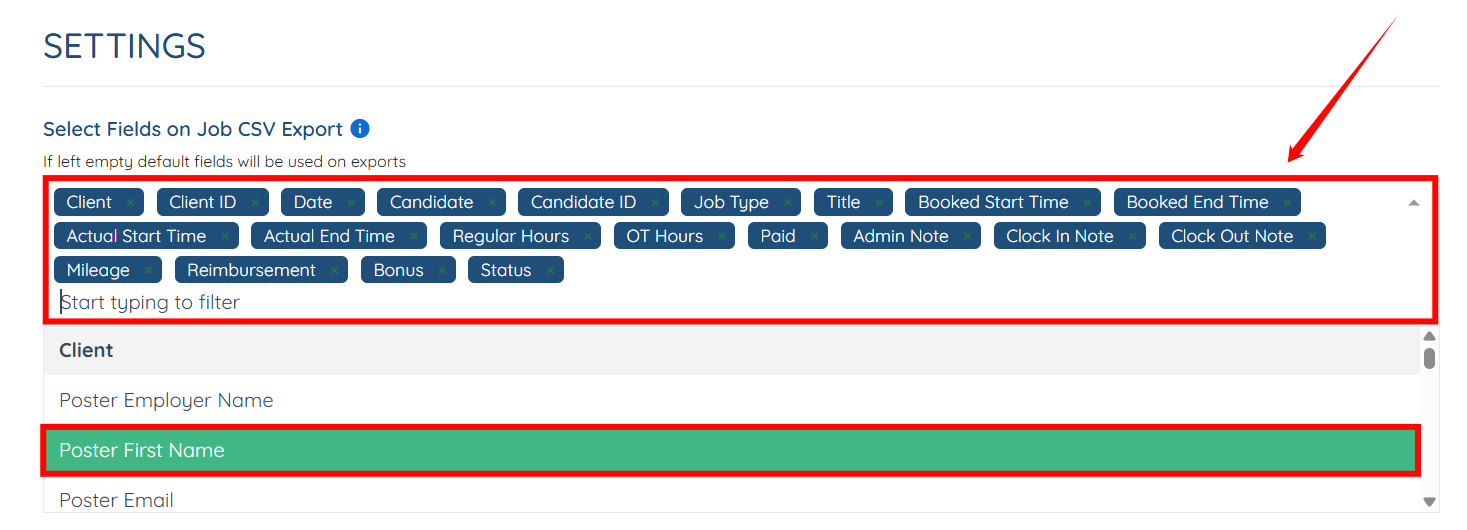
You can also remove the field if you do not need it by hovering over it and clicking the cross icon.

Step 5: (Optional) You can also change the Display Label name of the field by clicking on it and entering the new name as required.
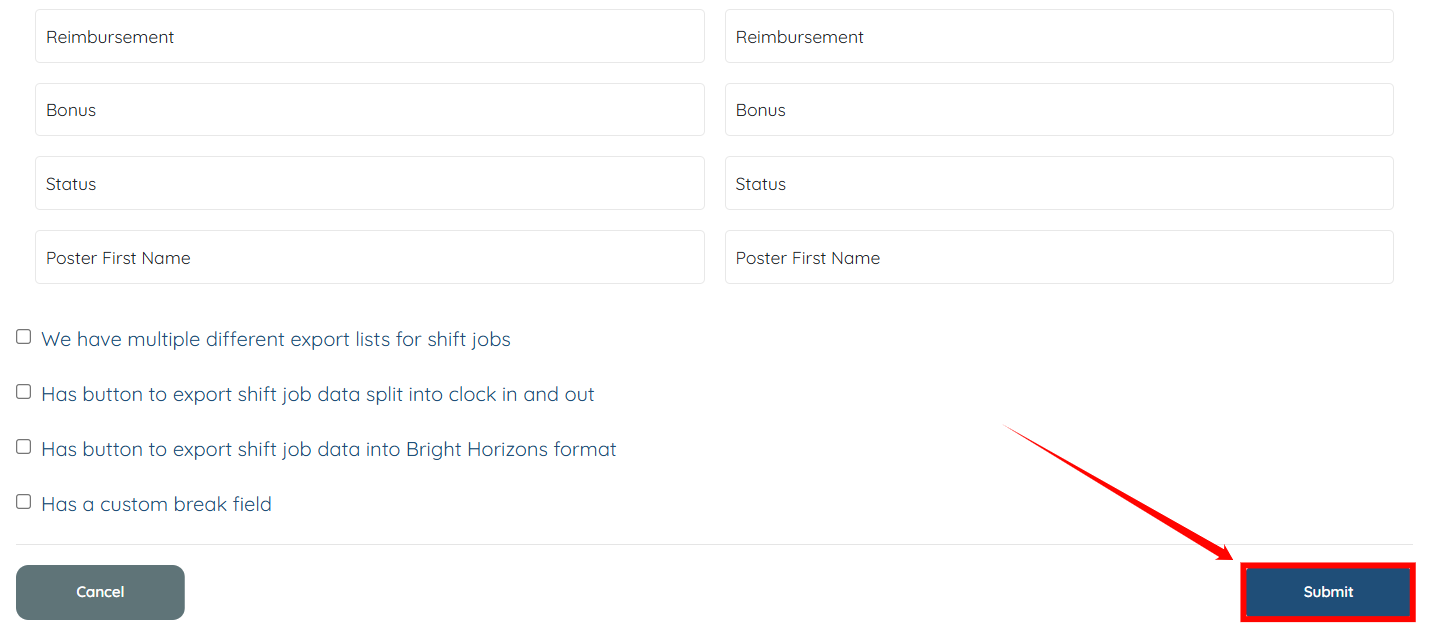
Step 6: Scroll down and click the Submit button to proceed.
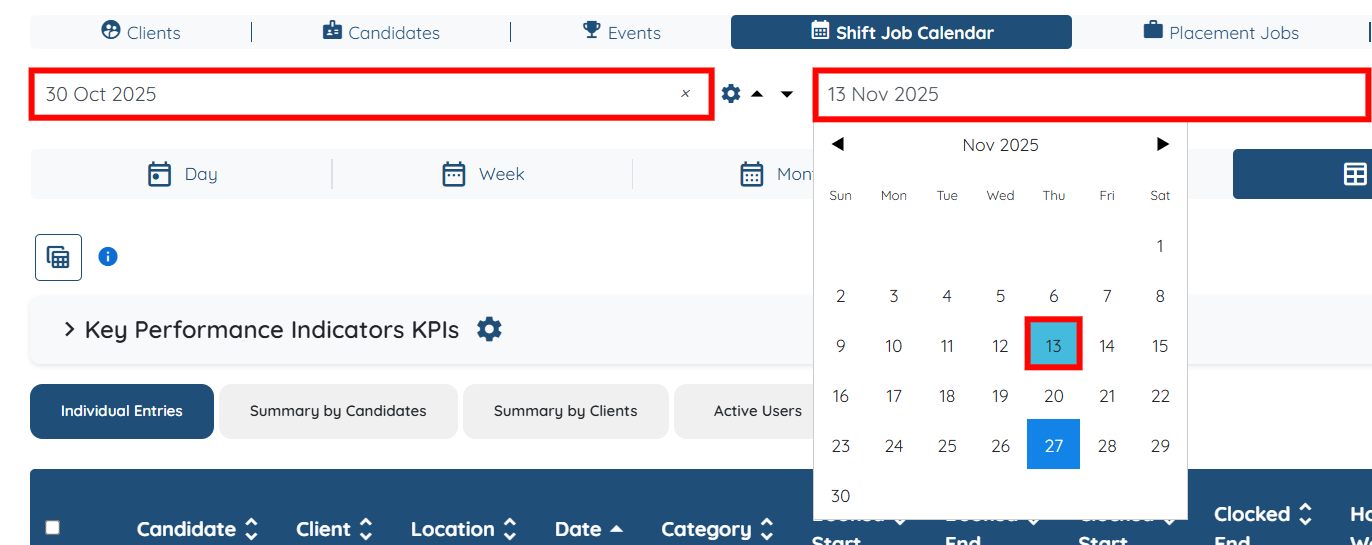
Step 7: Select the date range in which you want to export the data.
Step 8: Click the Export button to export the data as a CSV file.
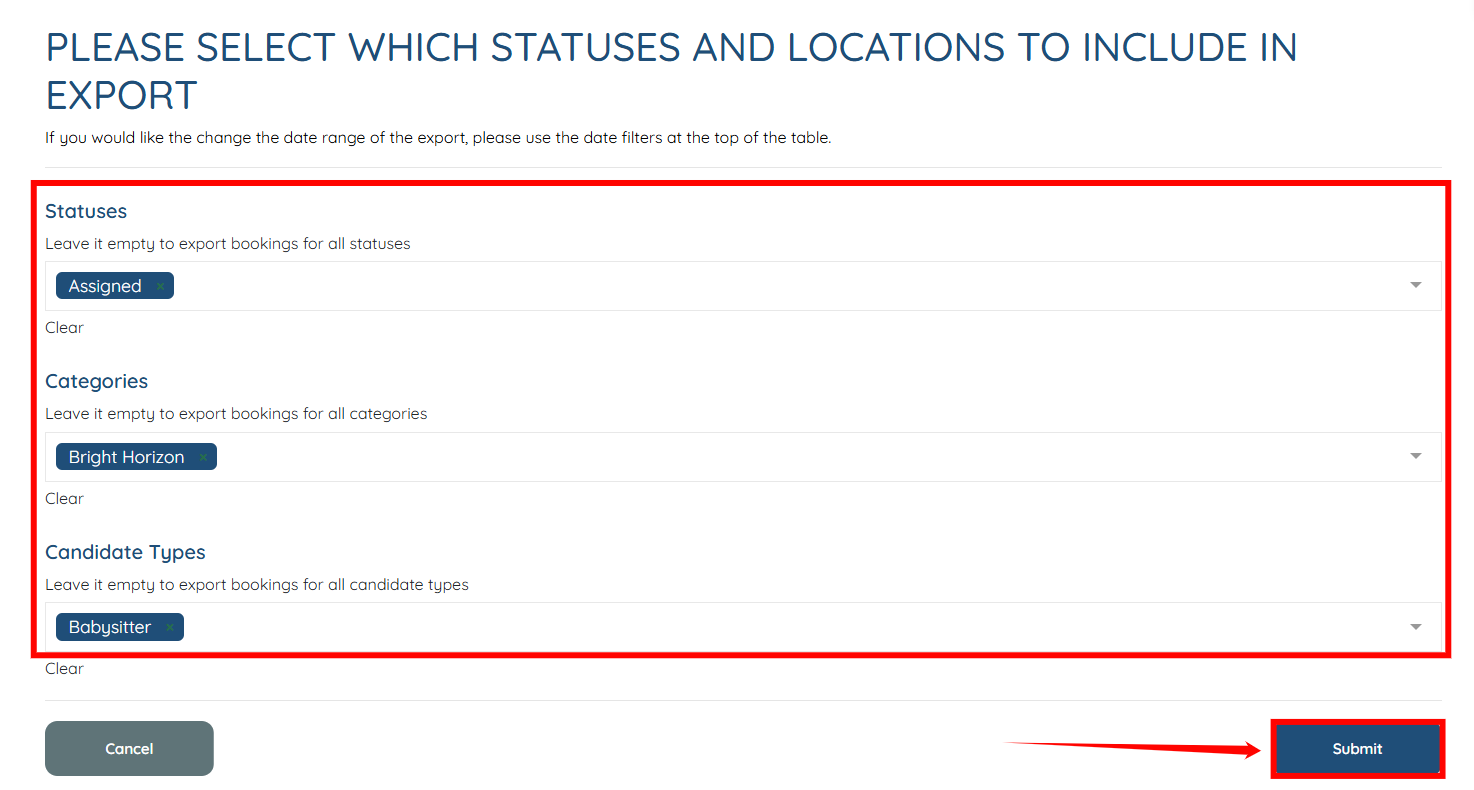
Step 9: Select the Statuses, Categories, Candidate Types you want to export in the CSV file, and then click the Submit button.
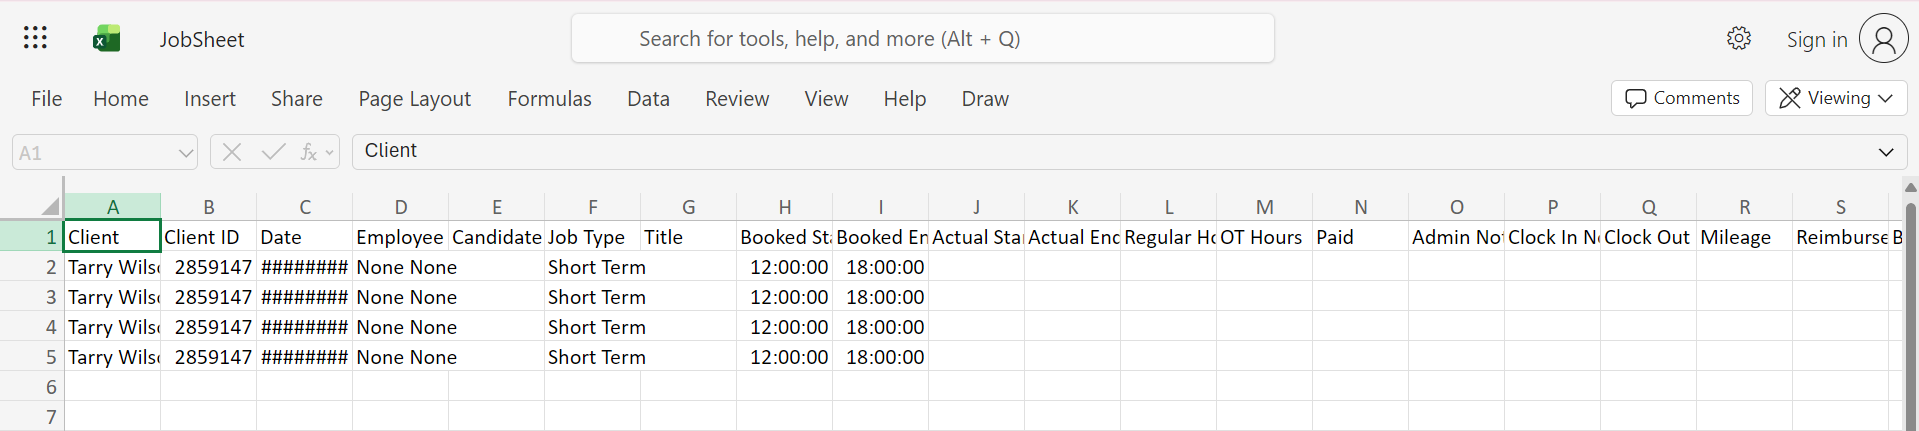
The CSV file will be exported successfully.
If this video doesn't answer your questions you can always contact us by clicking here