Let’s get started. 🚀
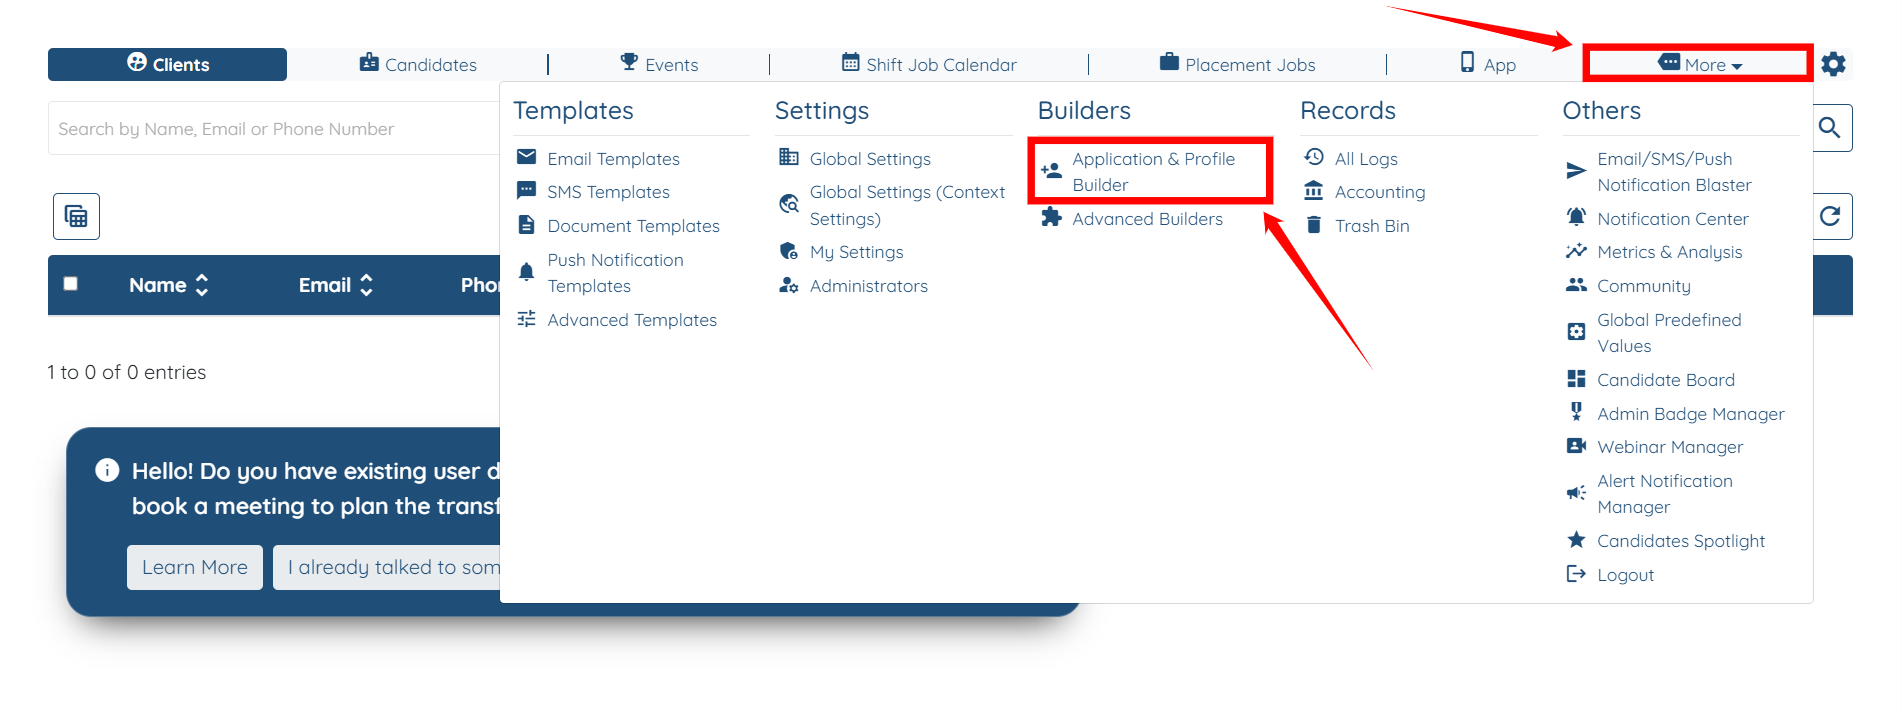
Step 1: Log in to your agent dashboard, then navigate to More > Application & Profile Builder, as shown in the screenshot below.
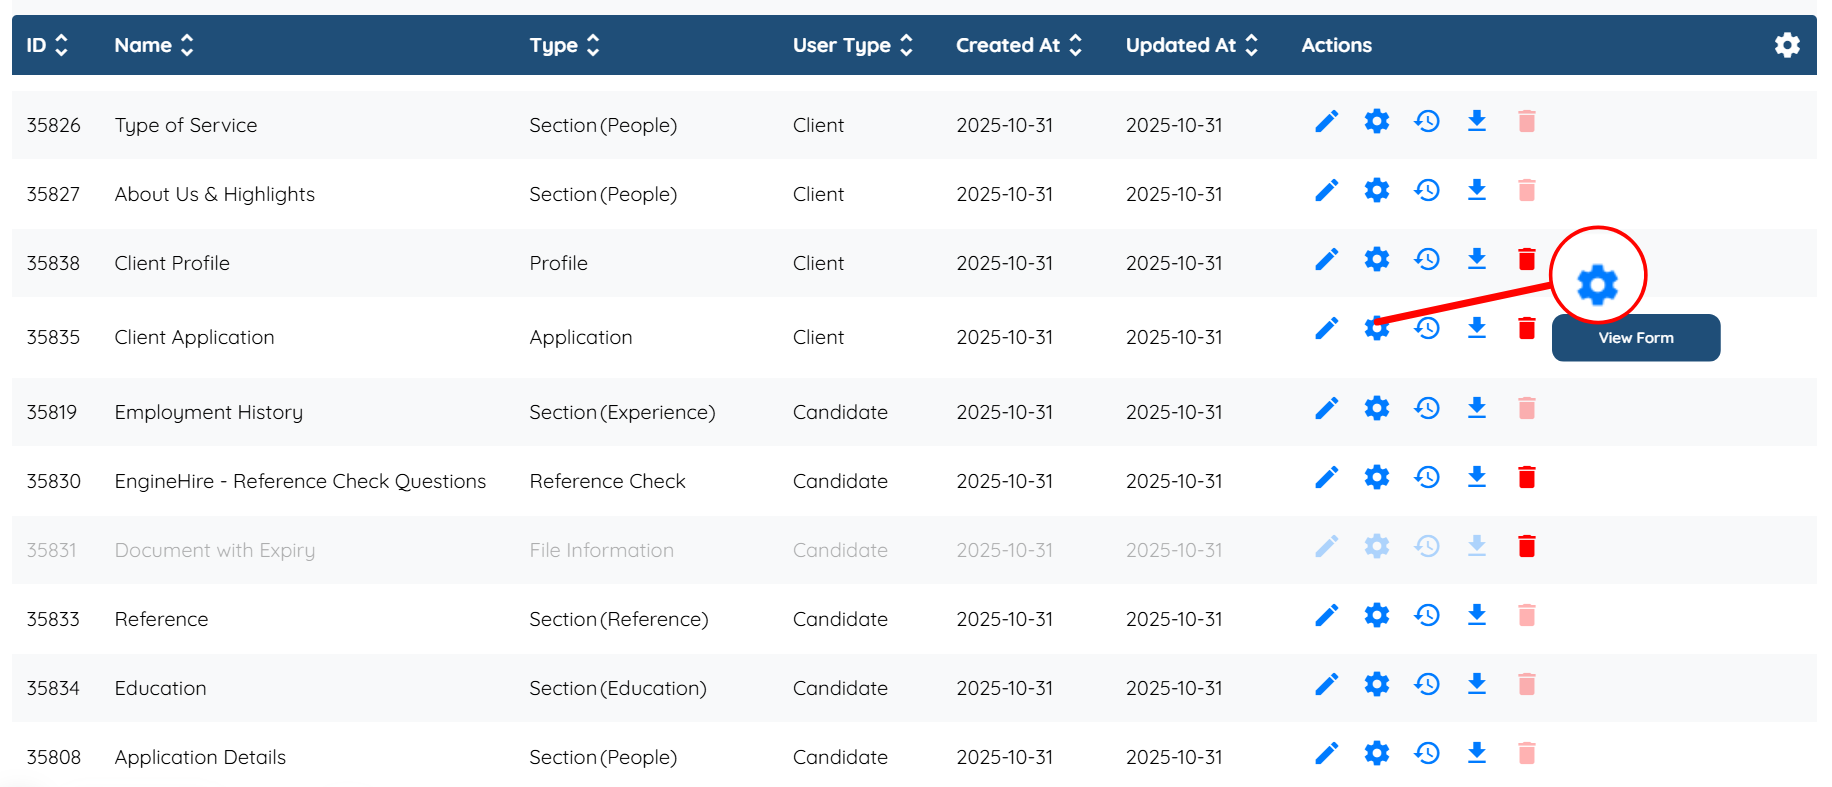
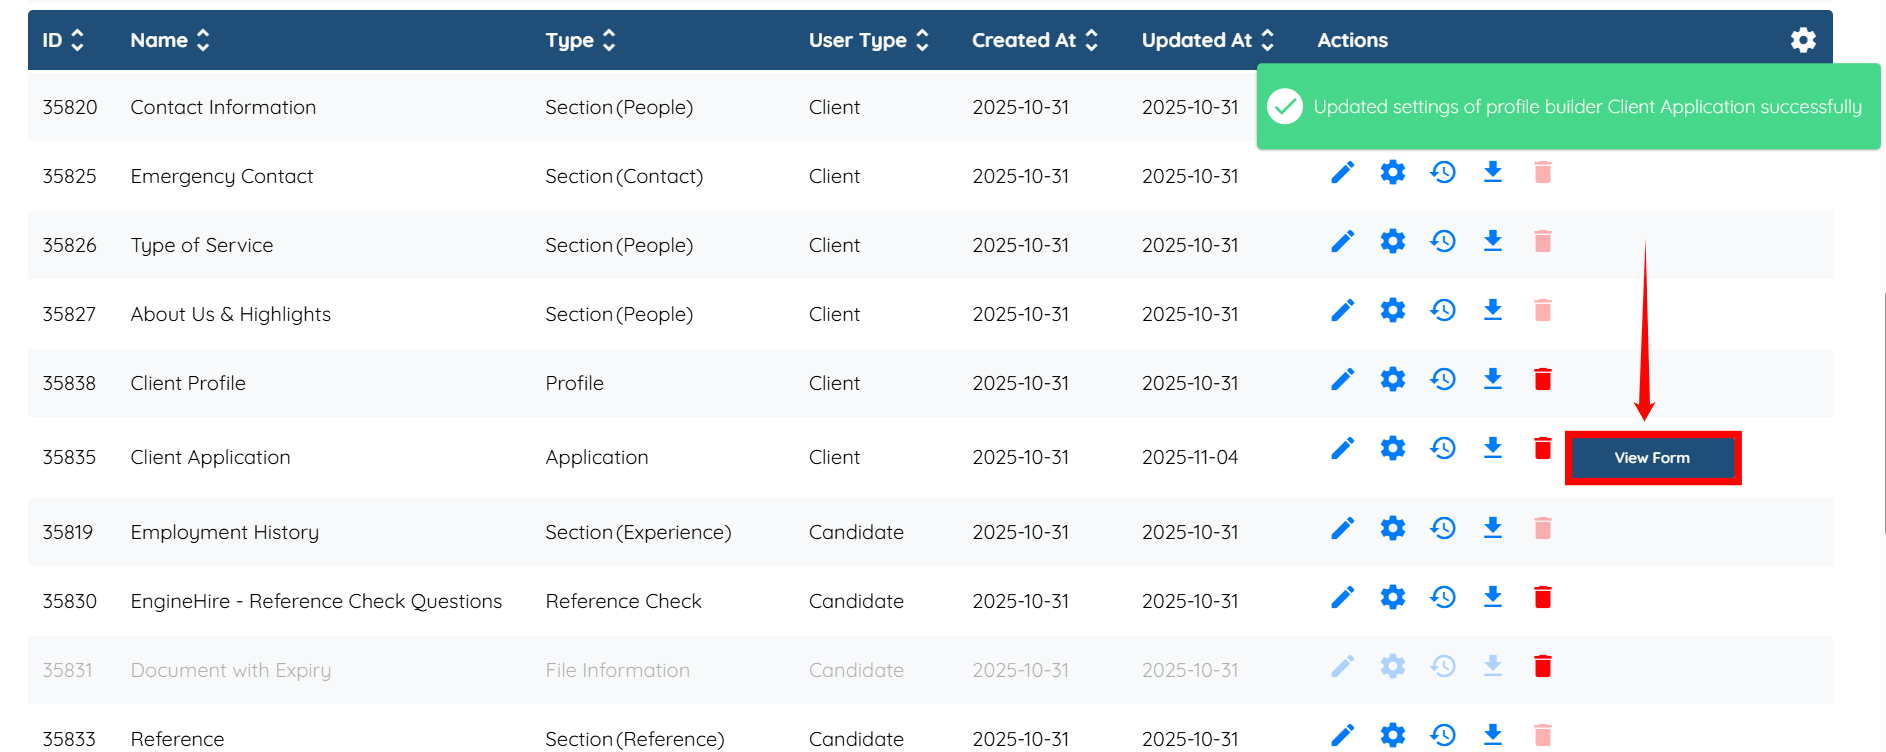
Step 2: Locate the application form where you wish to enable the captcha, and then click the Gear icon associated with that form in the Actions column.
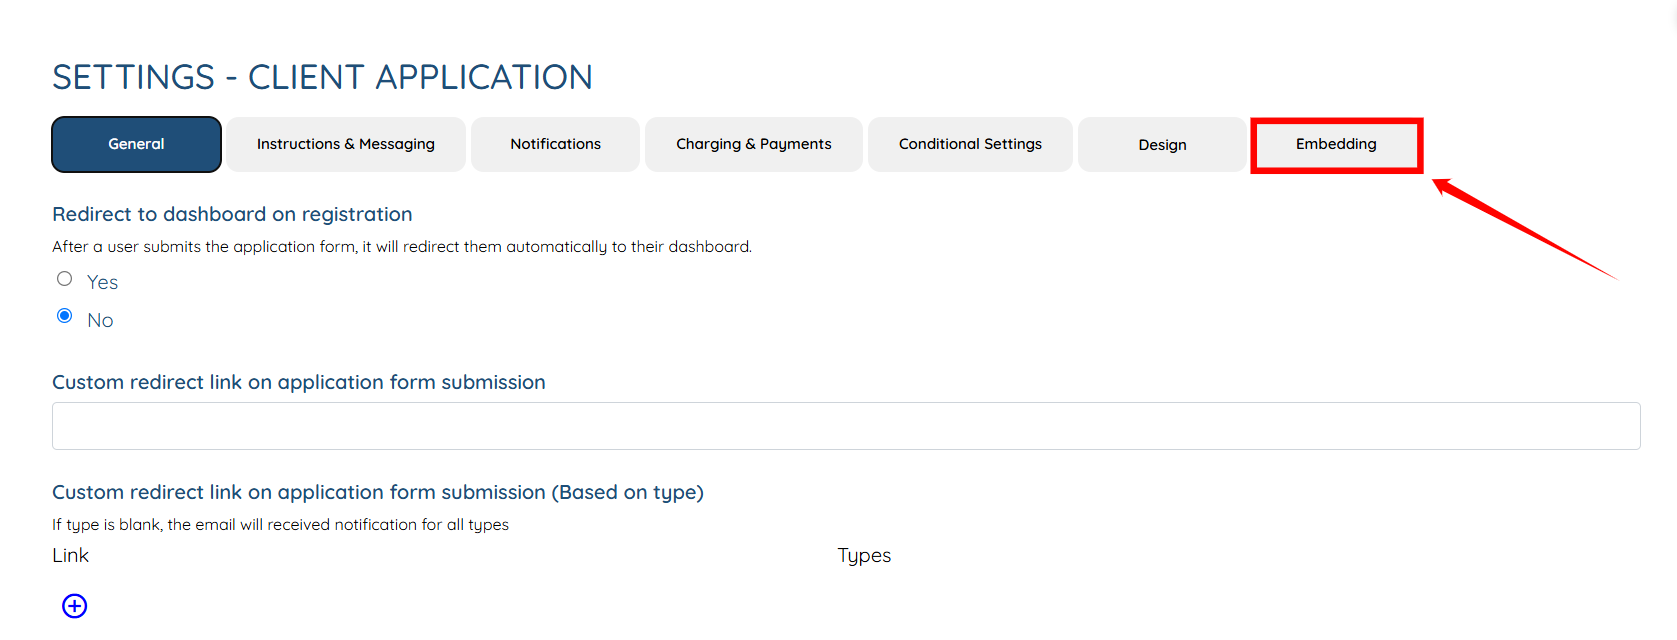
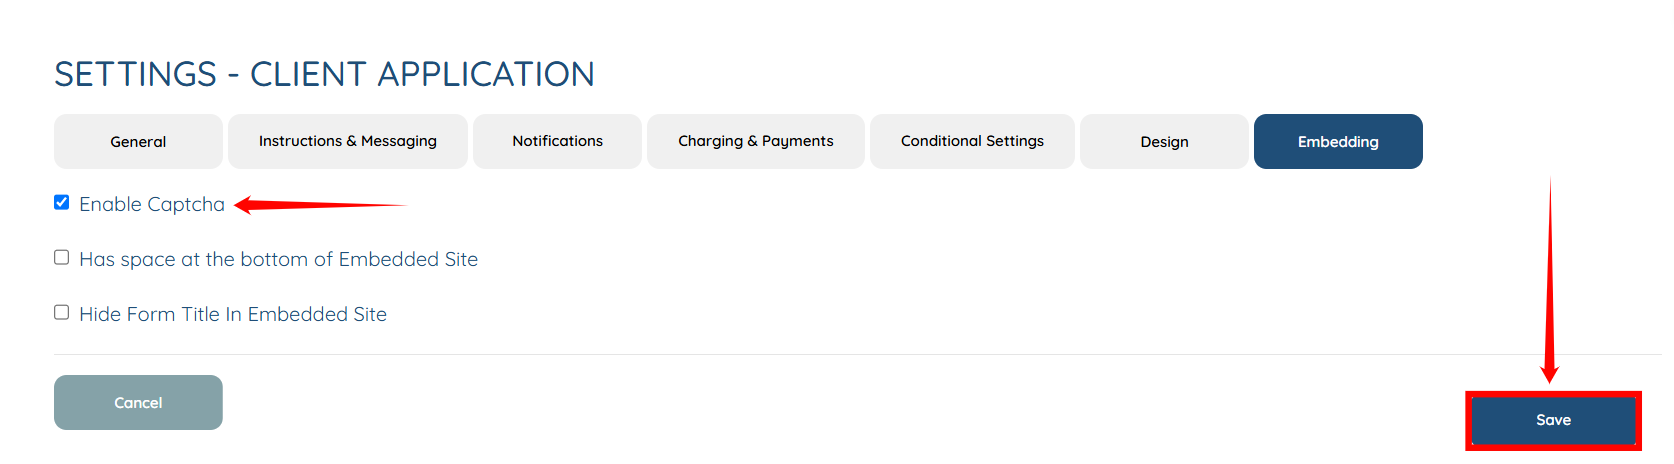
Step 3: A Settings panel will open, displaying various options to modify the application form. Click on the Embedding option located at the end.
Step 4: Check the Enable Captcha checkbox to activate it, and then click on the Save button to continue.
Step 5: Click the View Form button to preview the captcha that has been enabled in the application form.
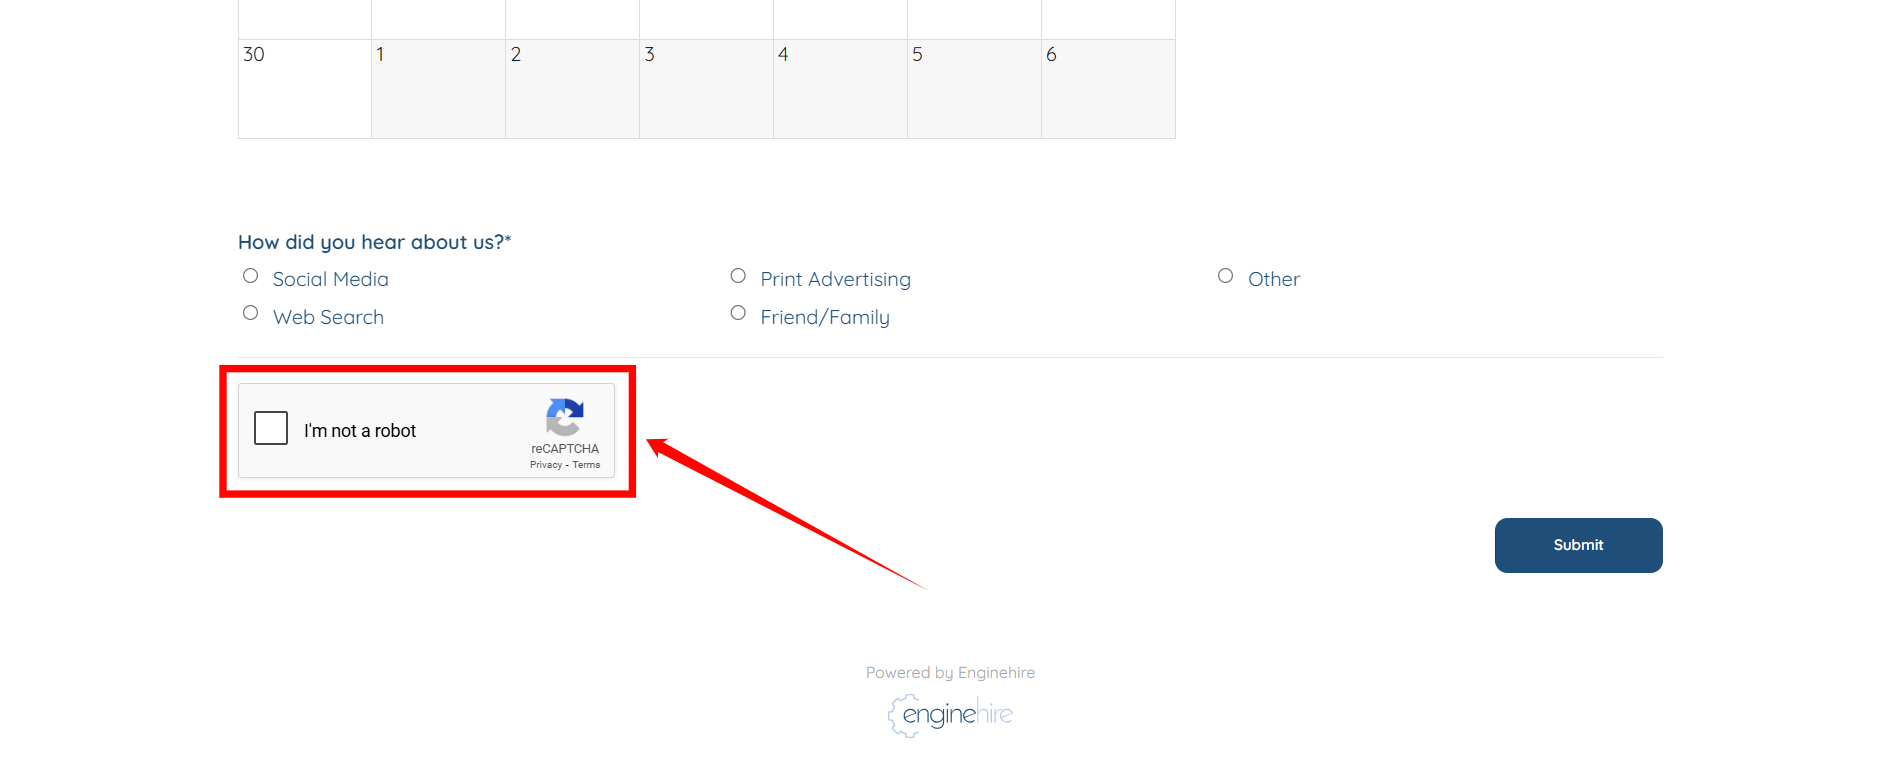
To preview the form from the client’s perspective, you will need to open it in a different browser or in an incognito window.
The activated captcha will appear on the application form as shown in the screenshot below.