This article demonstrates setup for client bookings. The same steps can be followed to configure booking calendars for candidates.
Let’s get started 🚀
Setting Availability
Set availability for admins to define when they can be booked for meetings. Availability must be configured before creating booking calendars.
Make sure all admins have availability set. If availability is not configured, bookings cannot be scheduled.
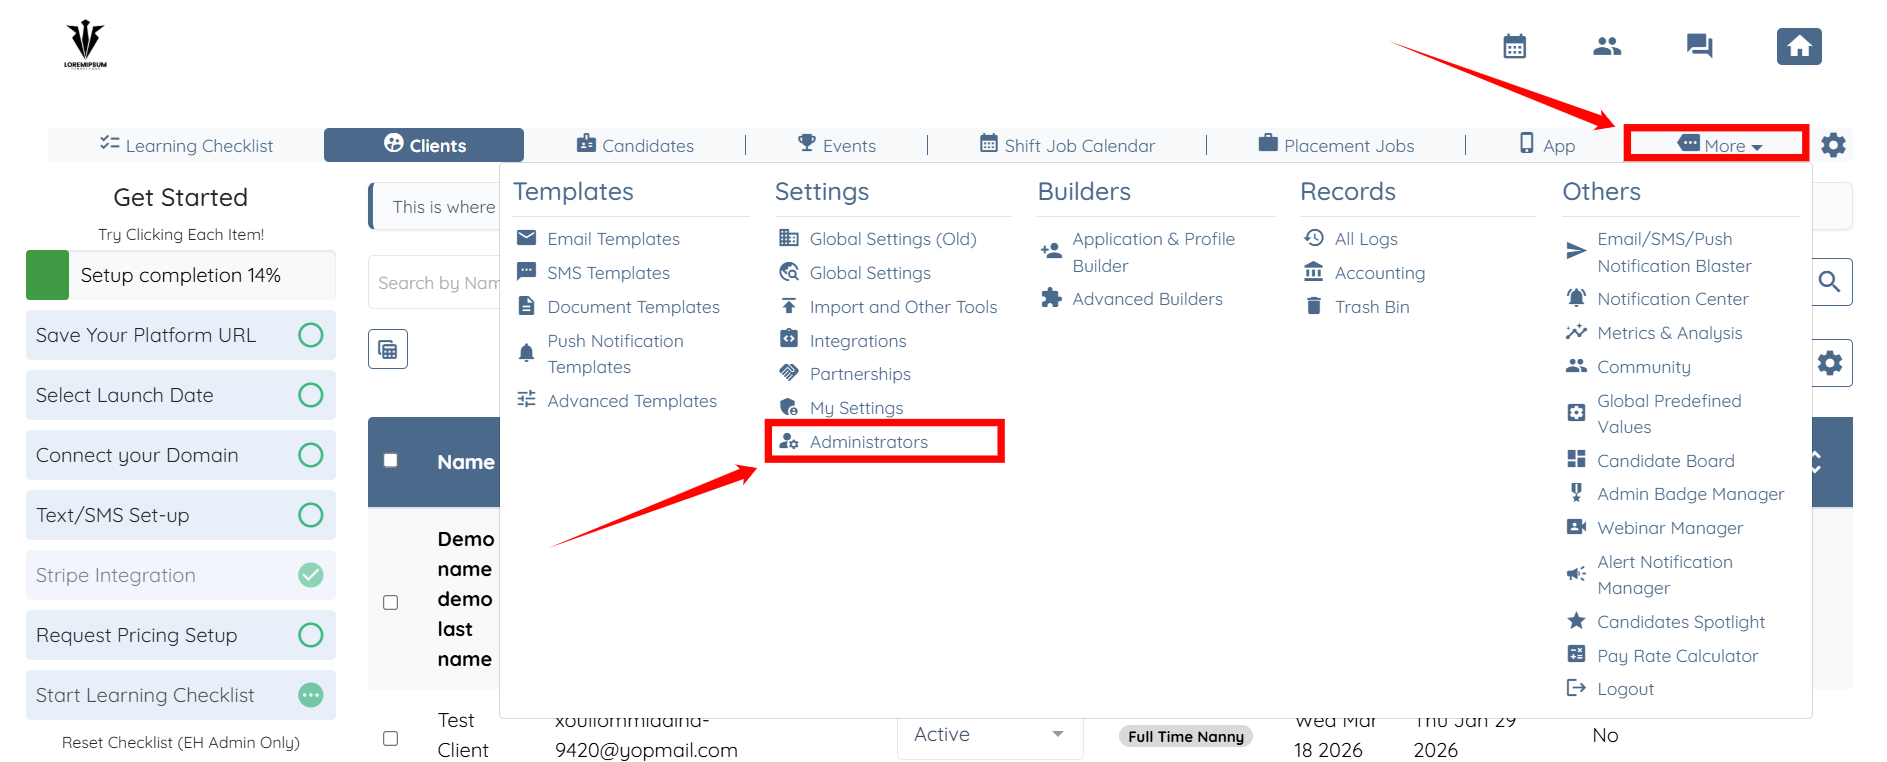
Step 1: Log in to your agent dashboard and click More > Administrators as shown in the screenshot below.
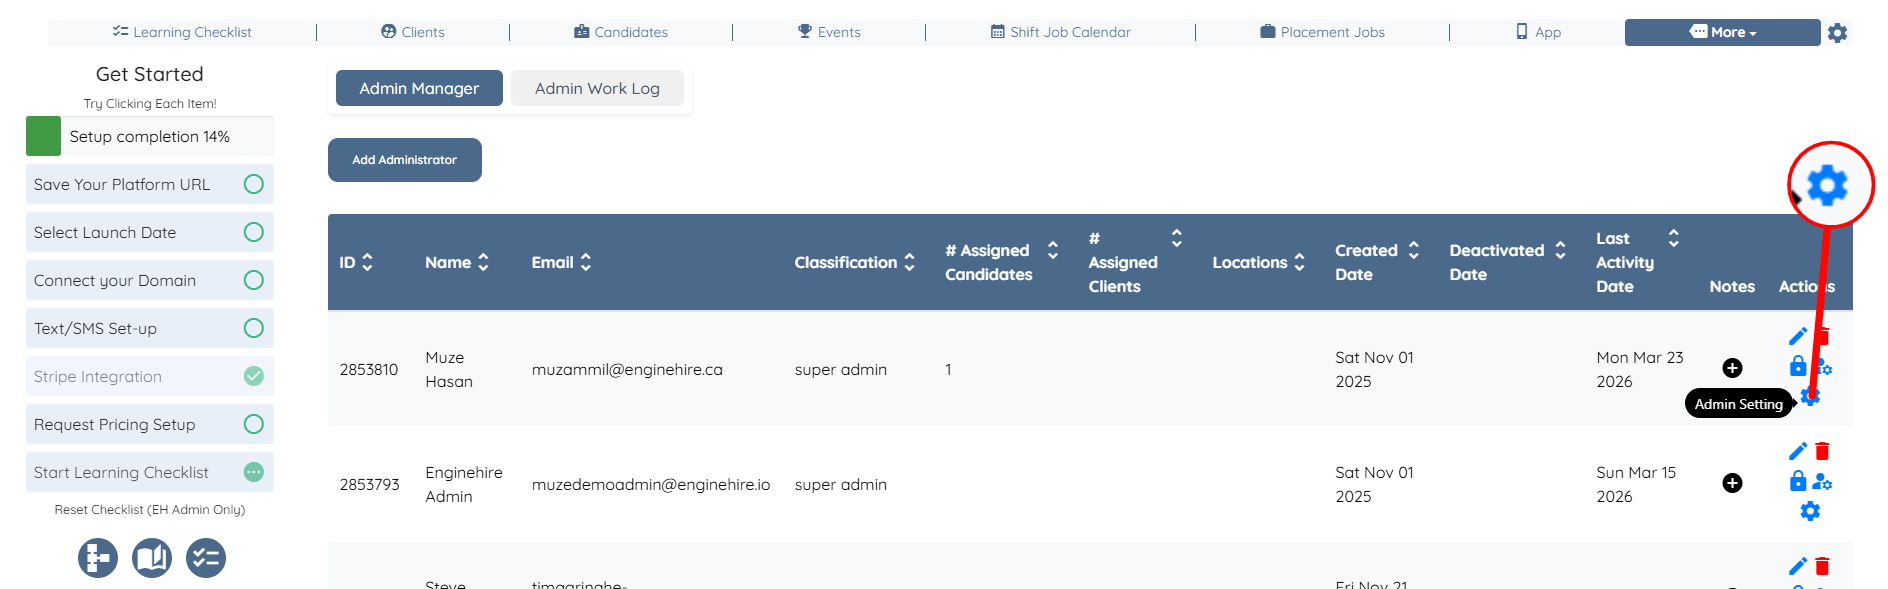
Step 2: Click the gear icon corresponding to the admin for whom you want to set availability.
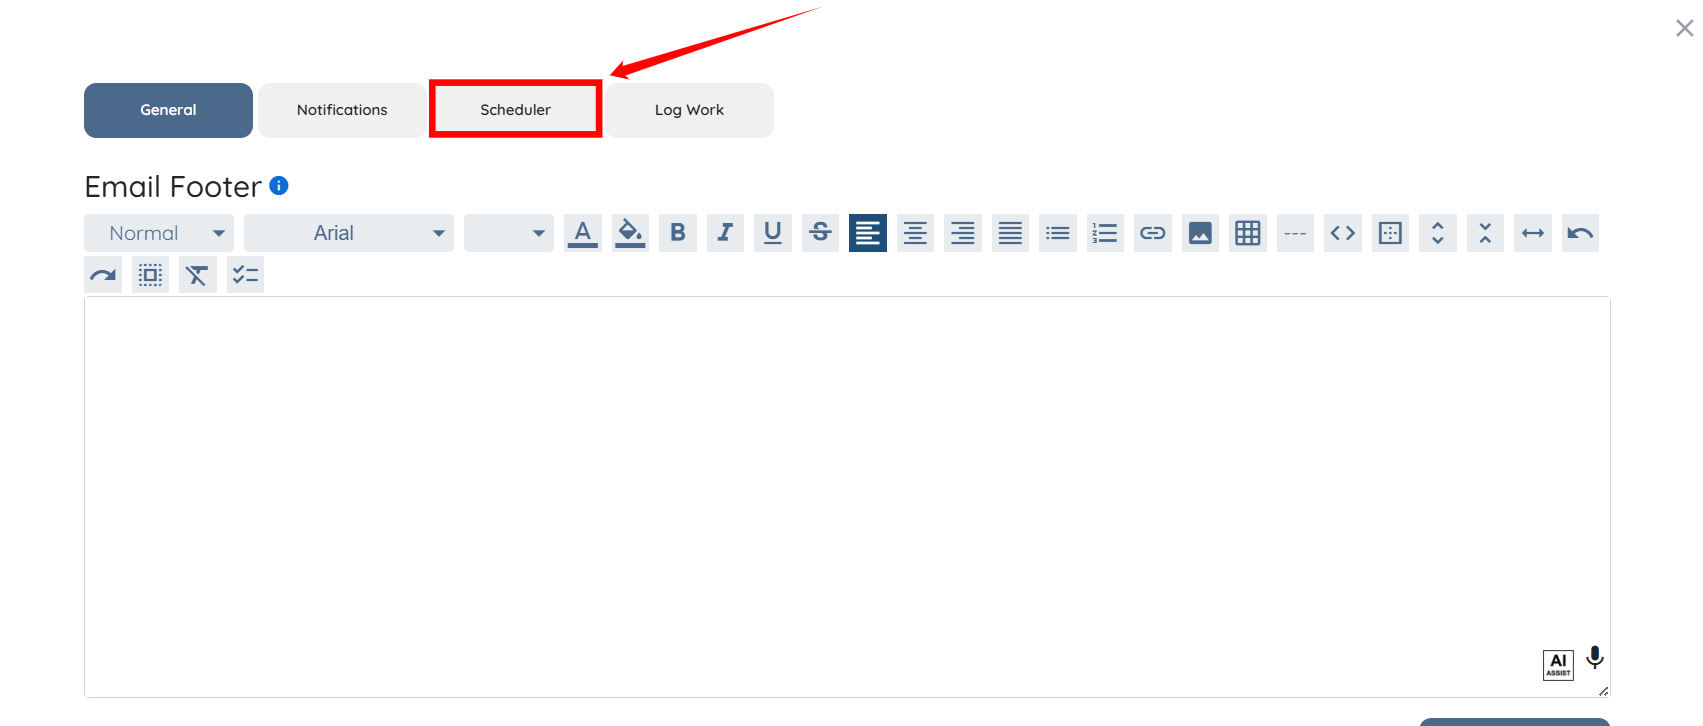
Step 3: Click the Scheduler button.
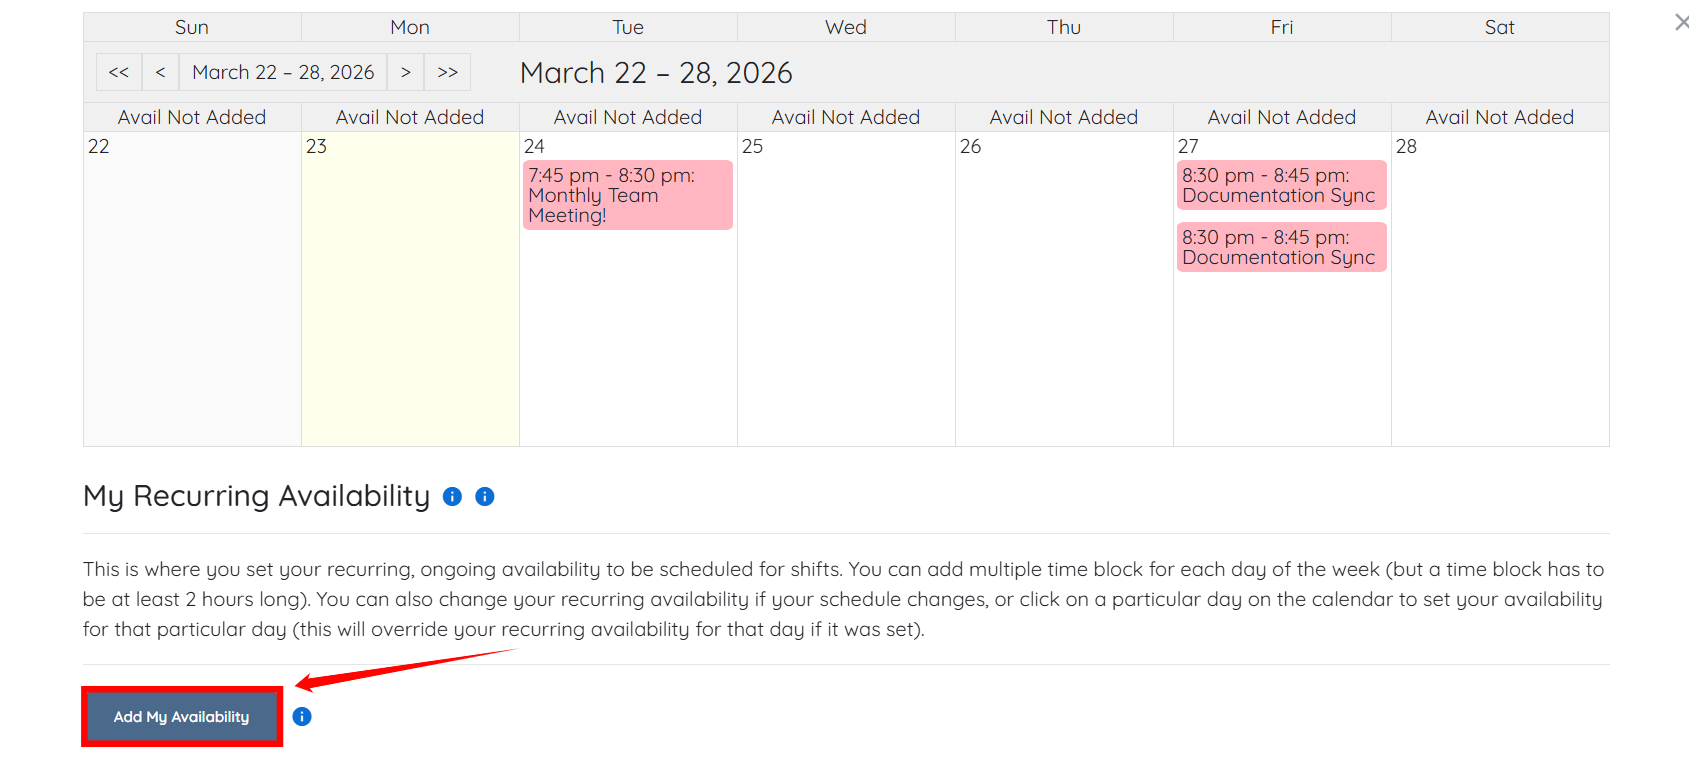
Step 4: Scroll down and click Add My Availability button.
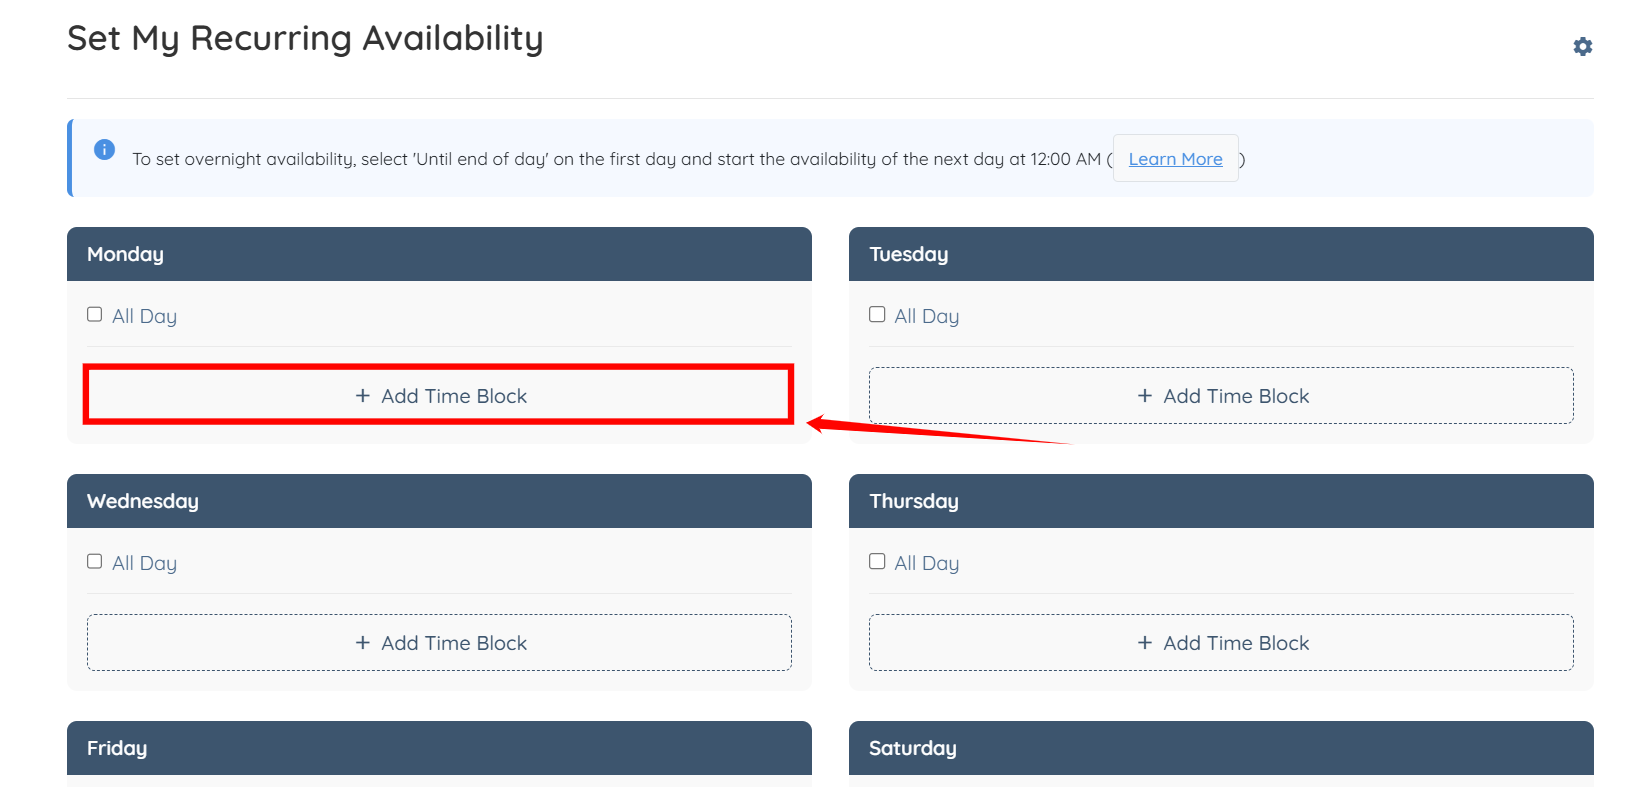
Step 5: Click Add Time Block within a day to define availability.
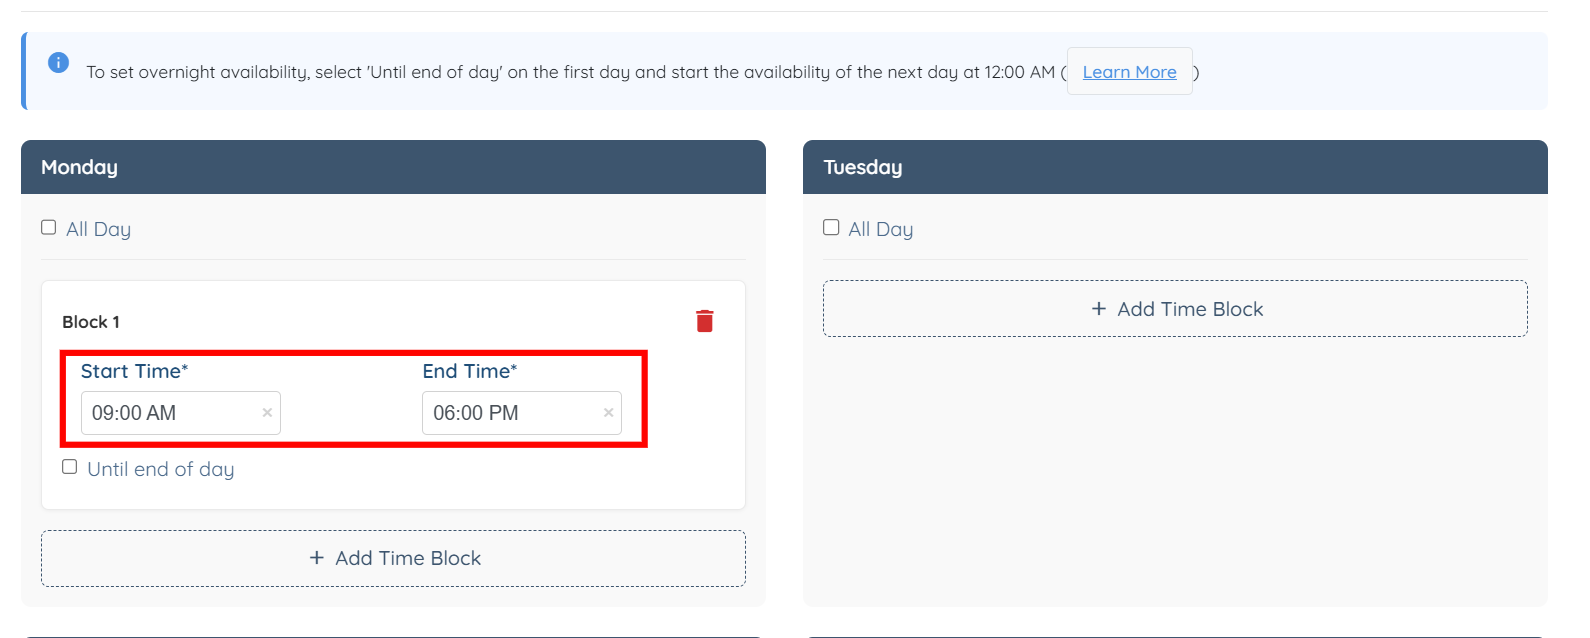
Step 6: Enter the Start Time and End Time.
You can also select the All Day checkbox to set availability for the entire day.
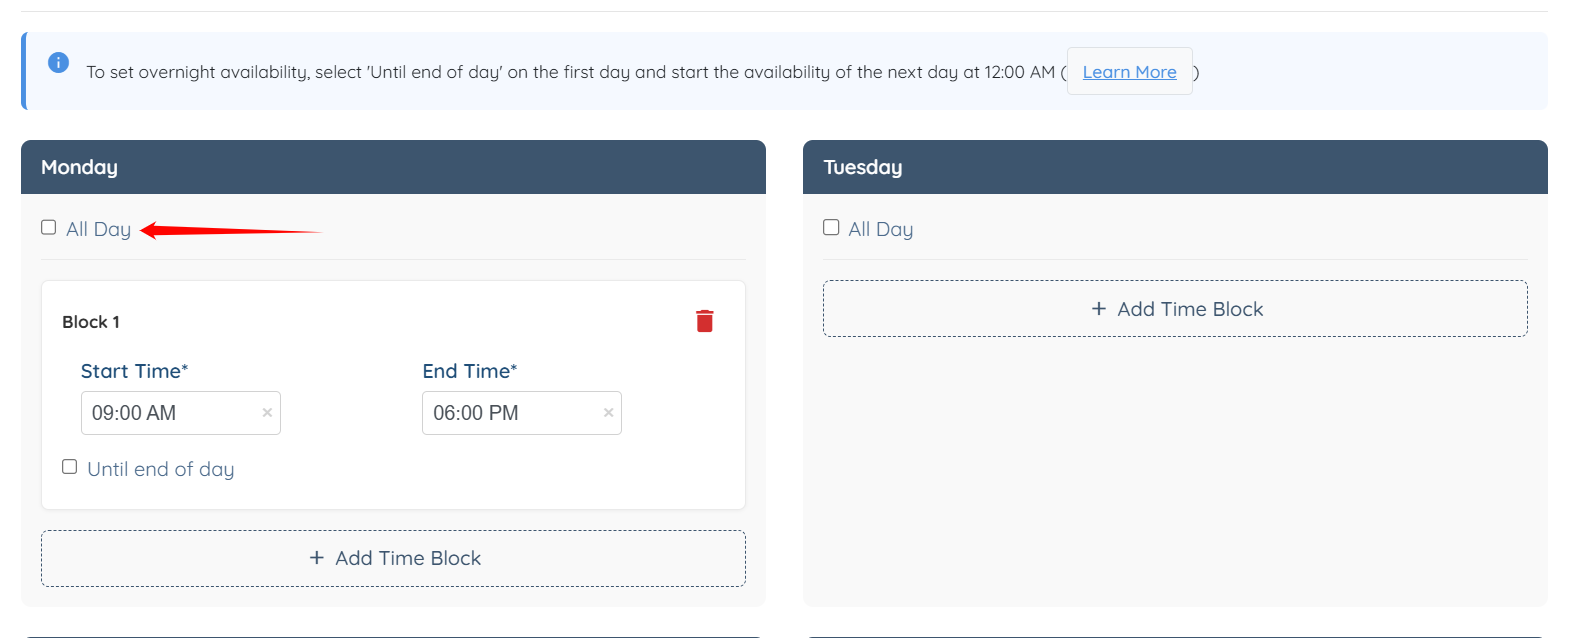
To set overnight availability, select 'Until end of day' on the first day, and then start the next day’s availability at 12:00 AM. To learn more, refer to the How to set overnight recurring availability (for candidates) article.
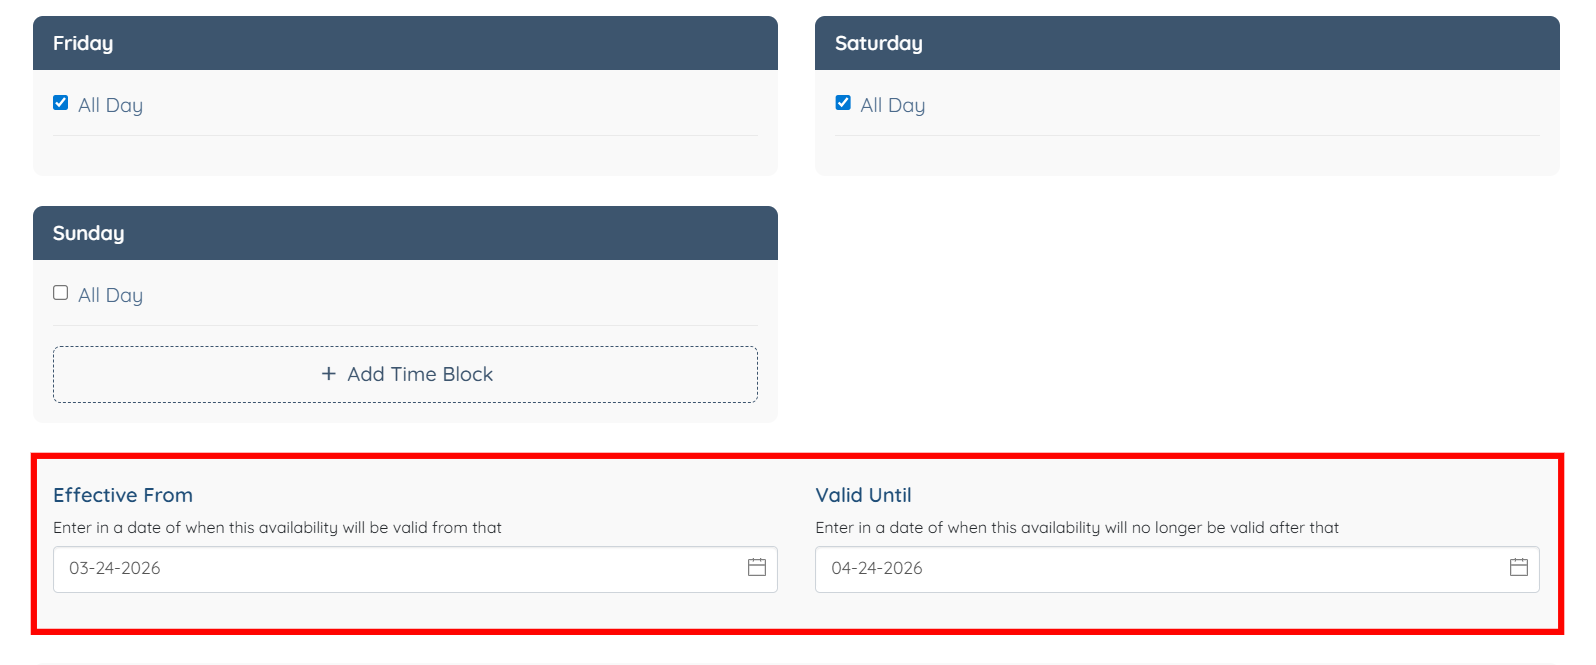
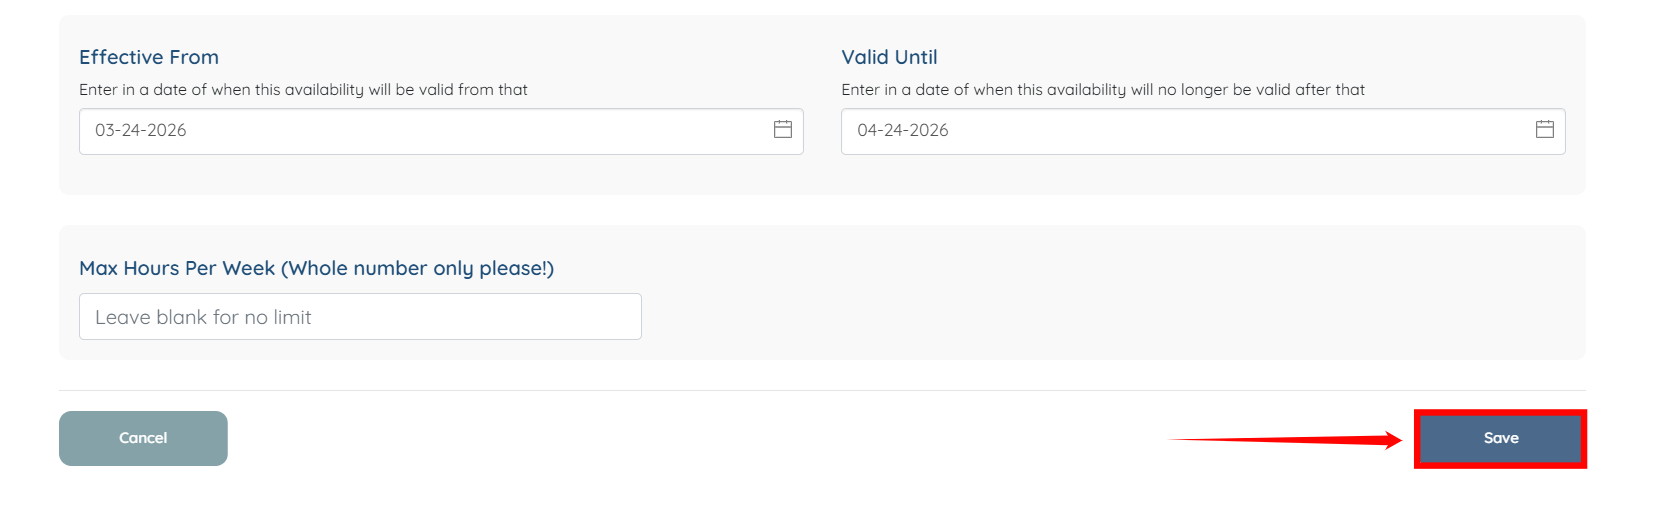
Step 7: After you enter your complete availability, enter the start date and end date for which the availability should apply.
Step 8: Click the Save button to proceed.
Step 9: Click the Confirm Availability button.
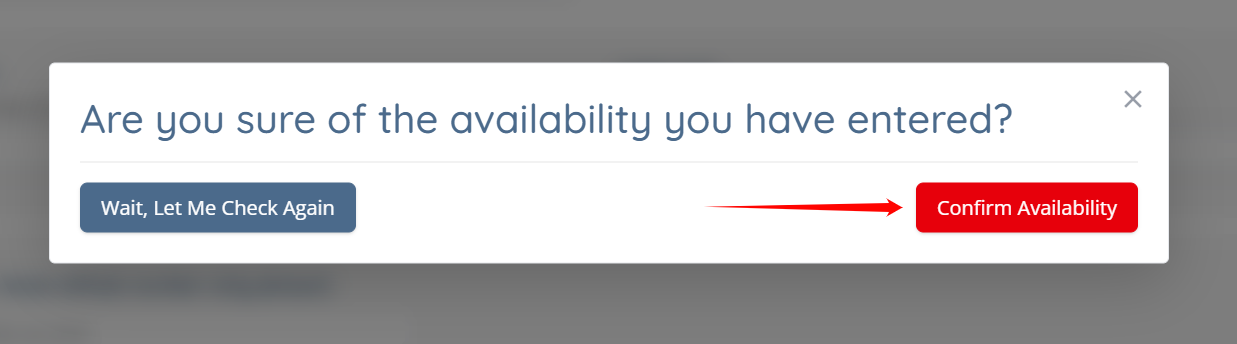
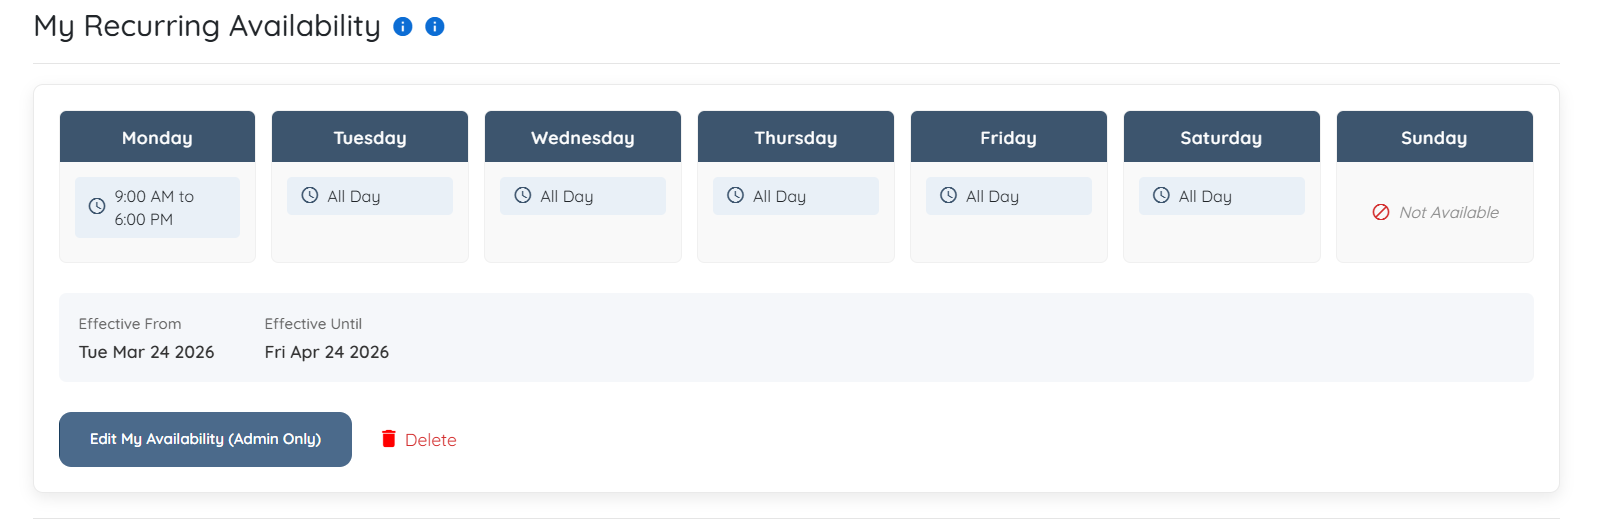
The availability will be added successfully.
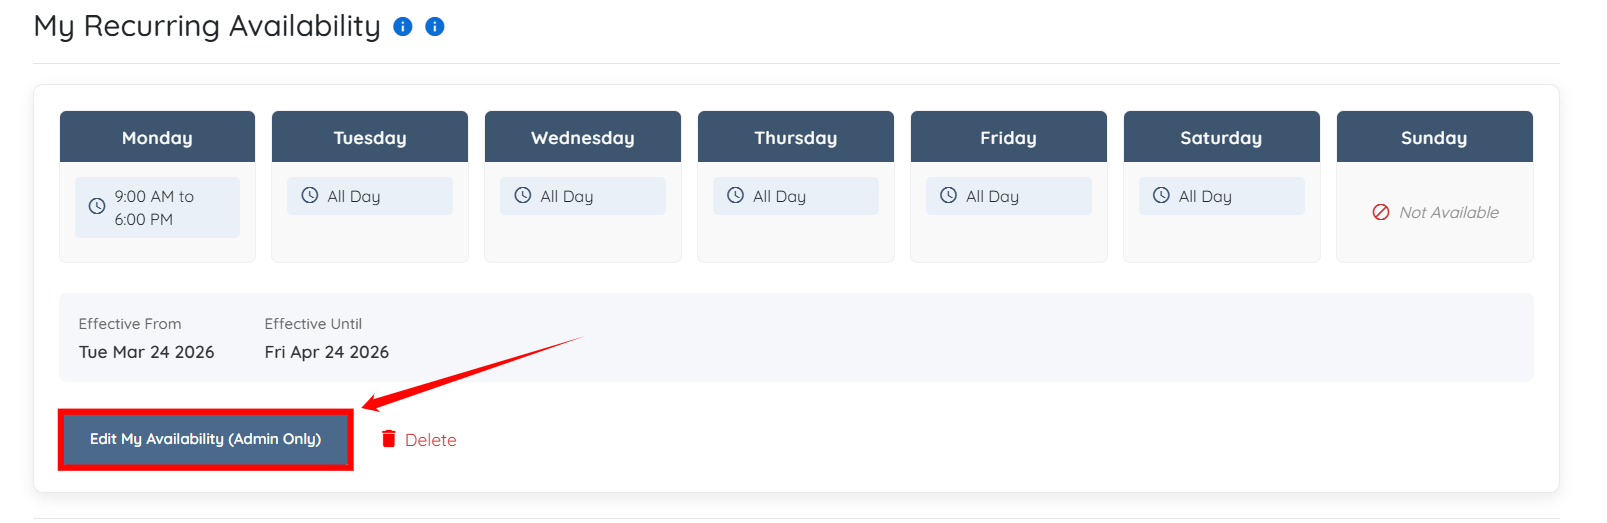
You can edit your availability at any time by clicking the Edit My Availability (Admin Only) button.
Add Admin Meeting Section in Client Profile
Add a scheduling section to the client profile to allow clients to book meetings based on admin availability.
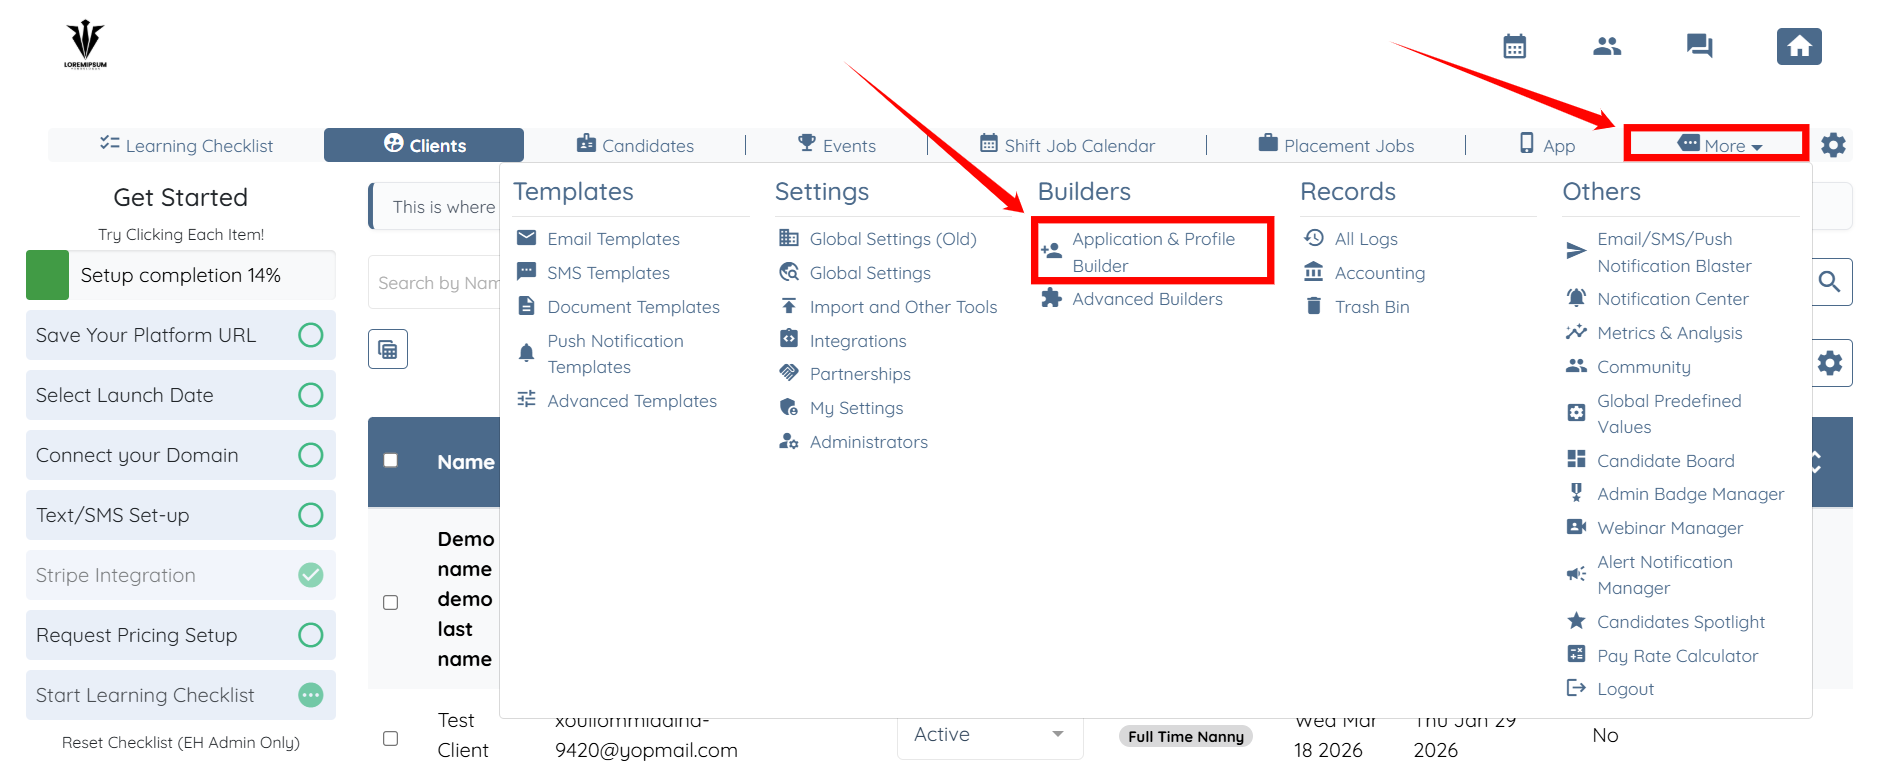
Step 1: On your agent dashboard, click More > Application & Profile Builder as shown in the screenshot below.
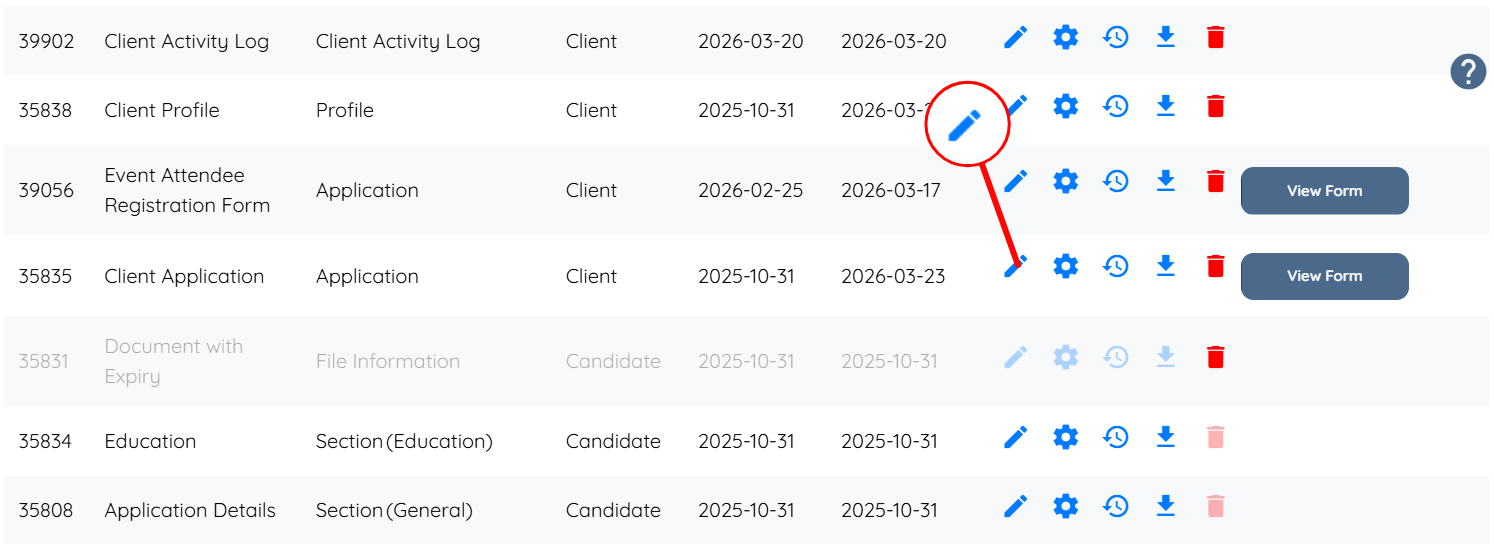
Step 2: Locate the Client Application and click the corresponding pencil icon.
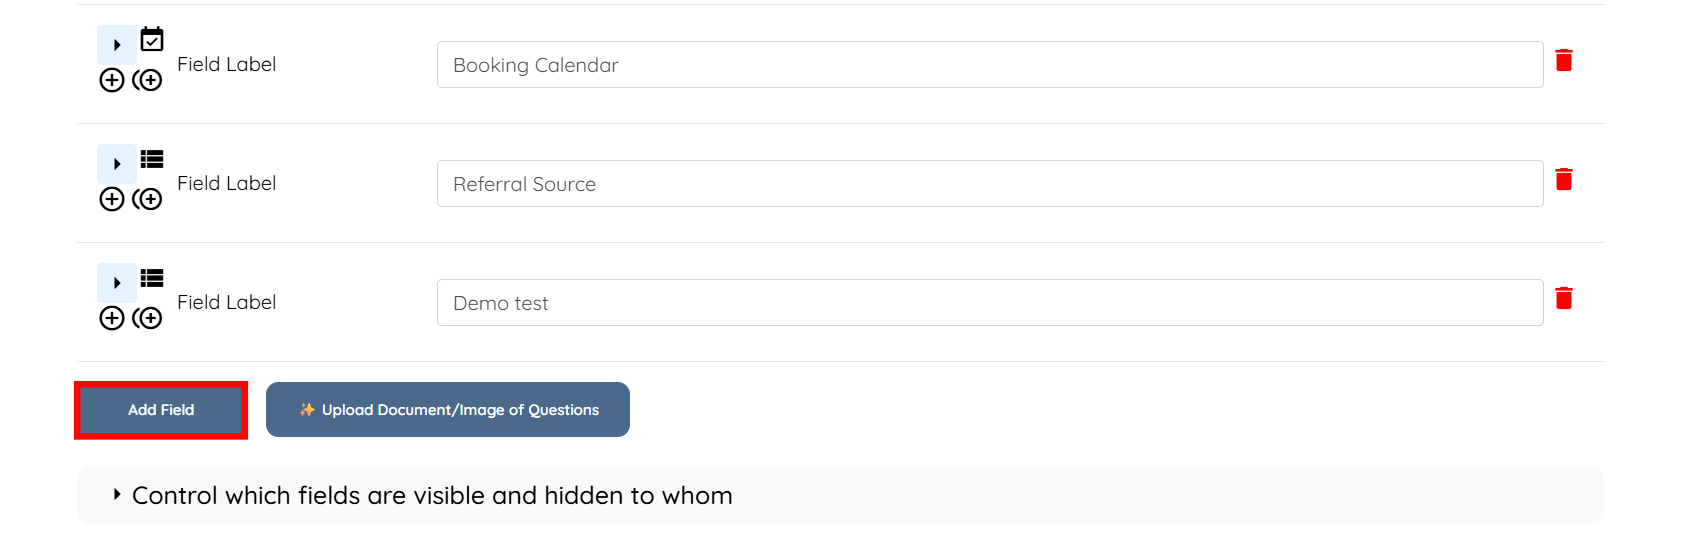
Step 3: Scroll down and click the Add Field button.
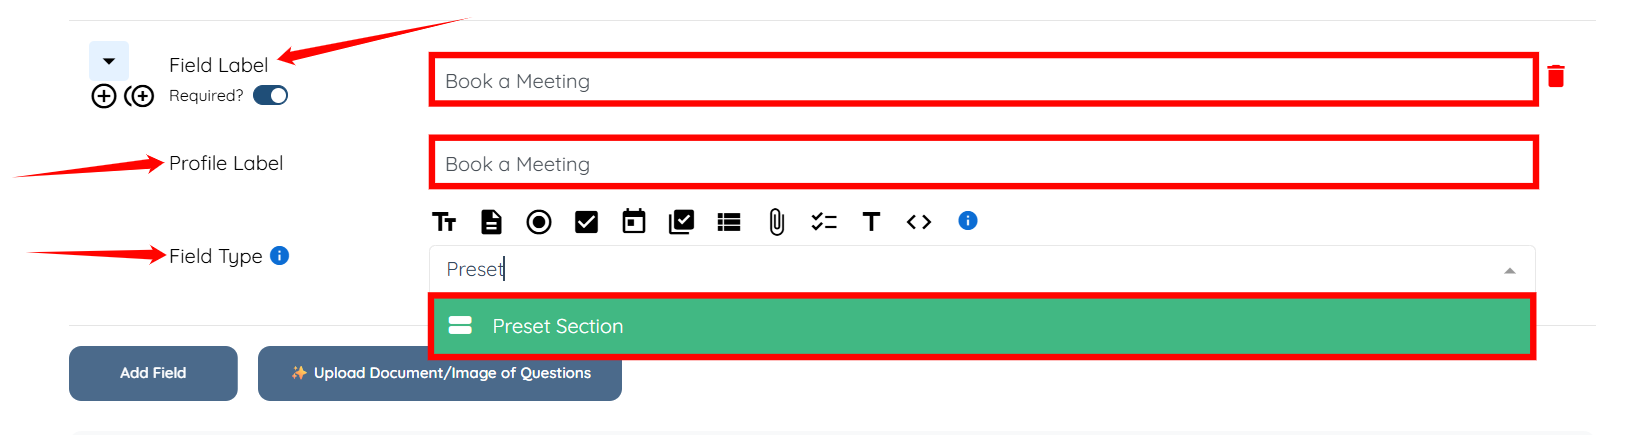
Step 4: Enter the Field Label and Profile Label, then select the Preset Section as the Field Type.
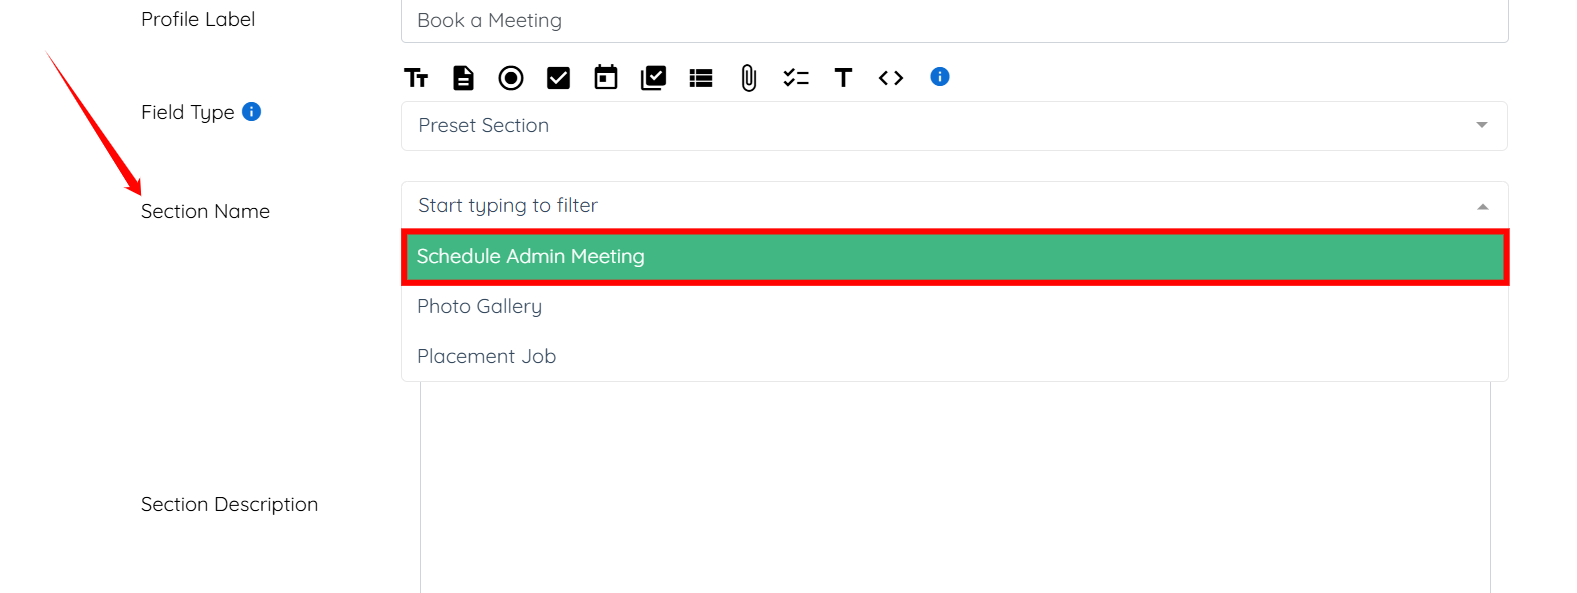
Step 5: In the Section Name field, select Schedule Admin Meeting.
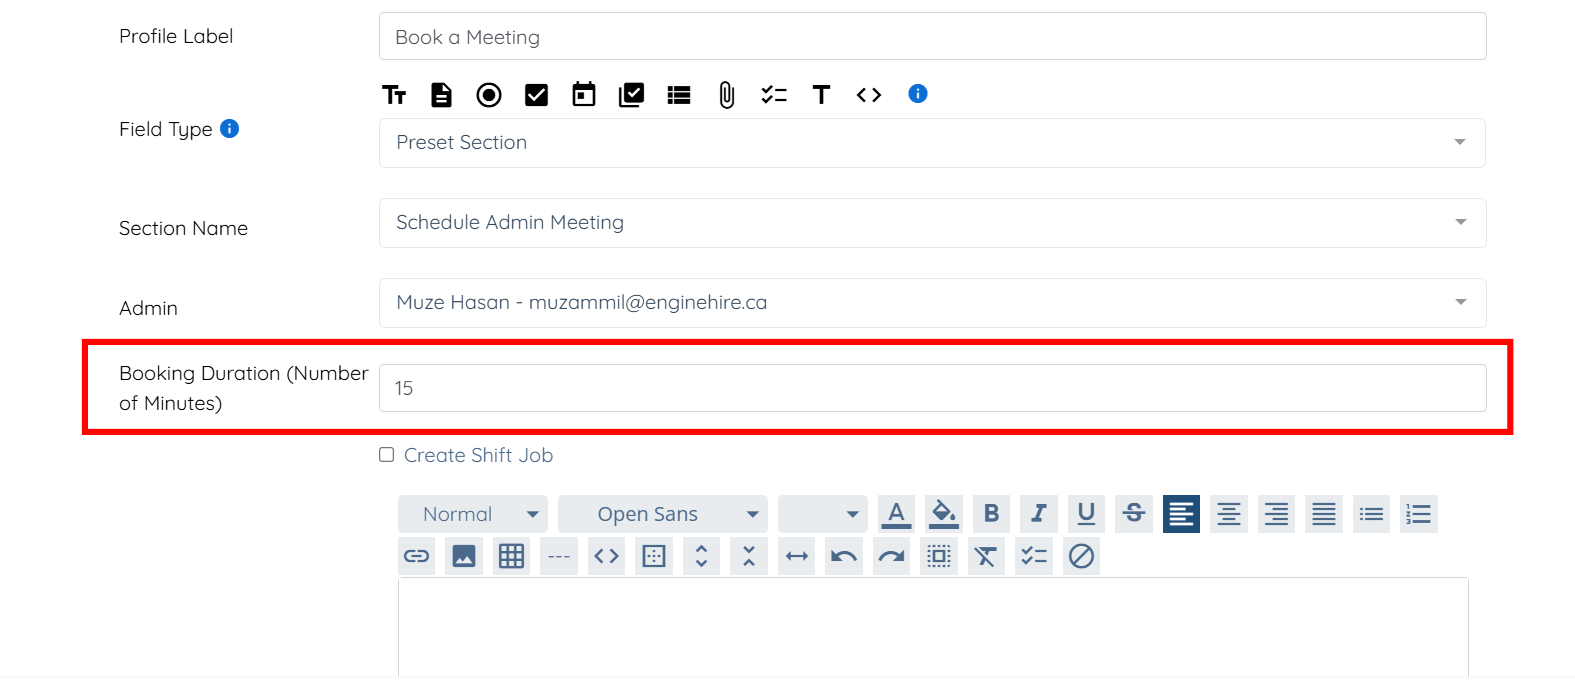
Step 6: Select the admin from the dropdown list for whom you have set availability in the Setting Availability section above.

Step 7: Enter the booking duration (in minutes).
Step 8: Enter the section description if you choose to include one.
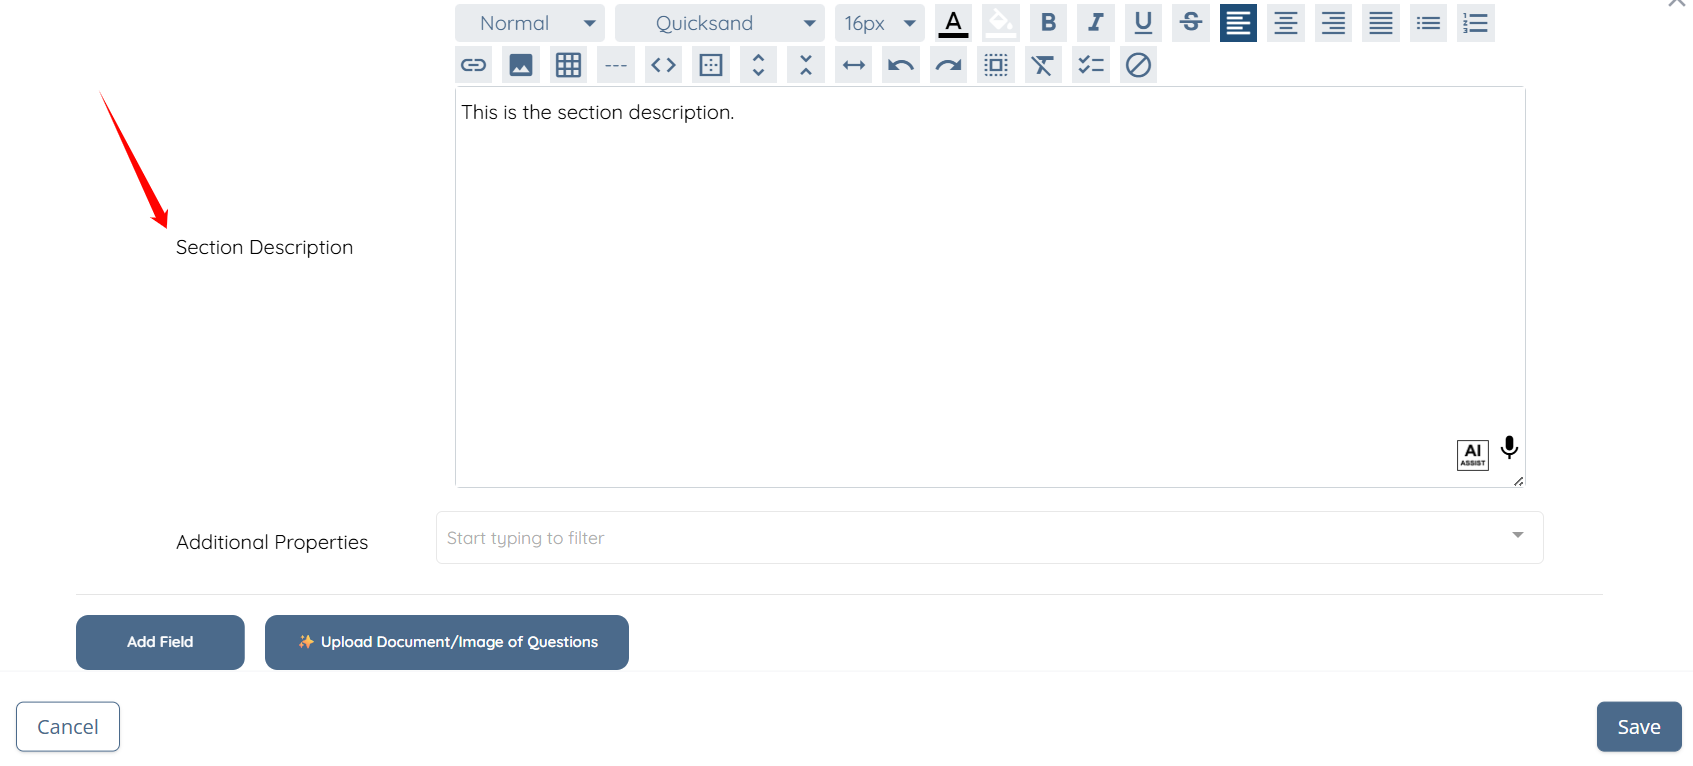
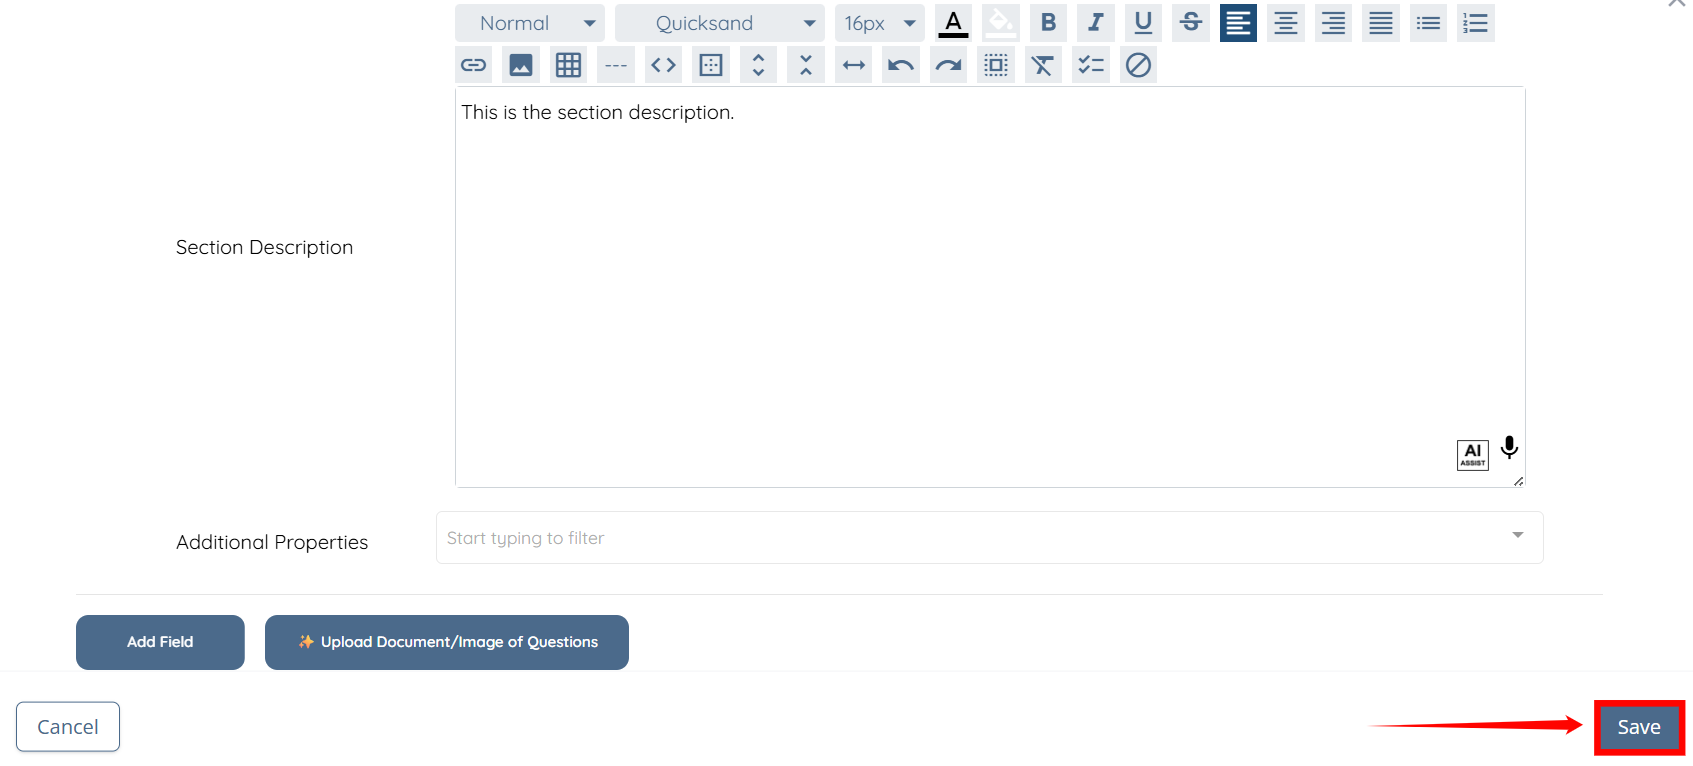
Step 9: Click the Save button to proceed.
Step 10: Click the corresponding View Form button of the Client Application.
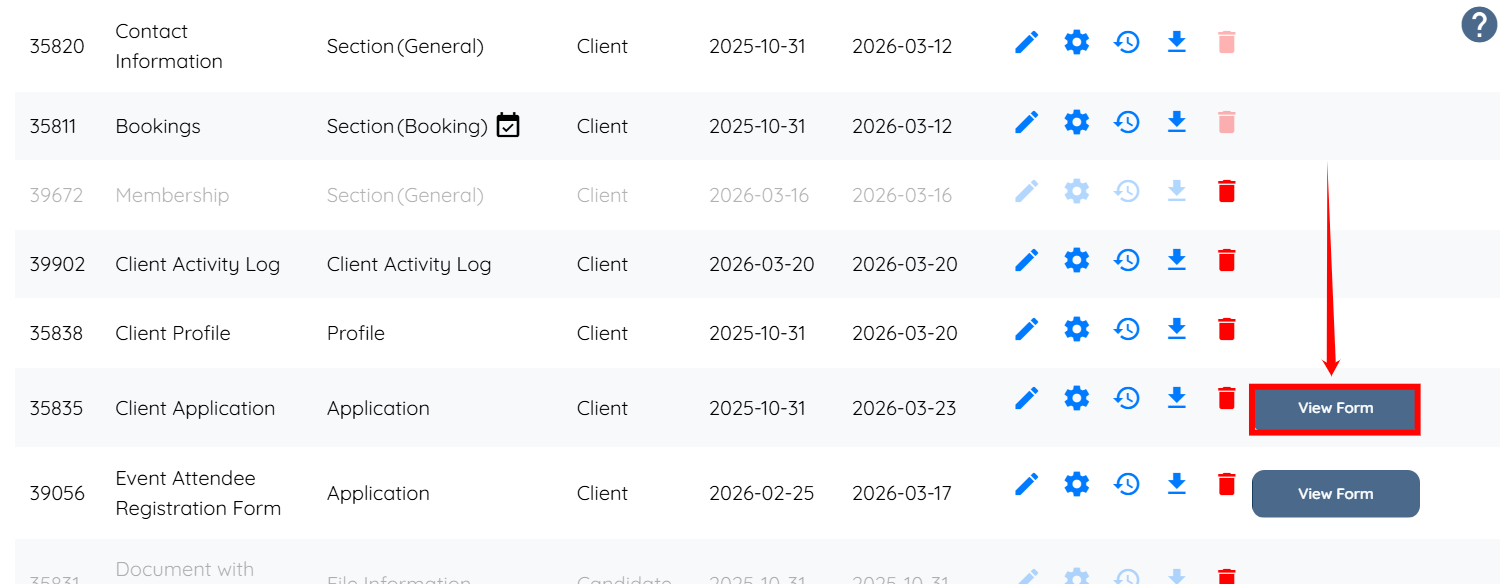
The meeting section will be added successfully to the client profile.
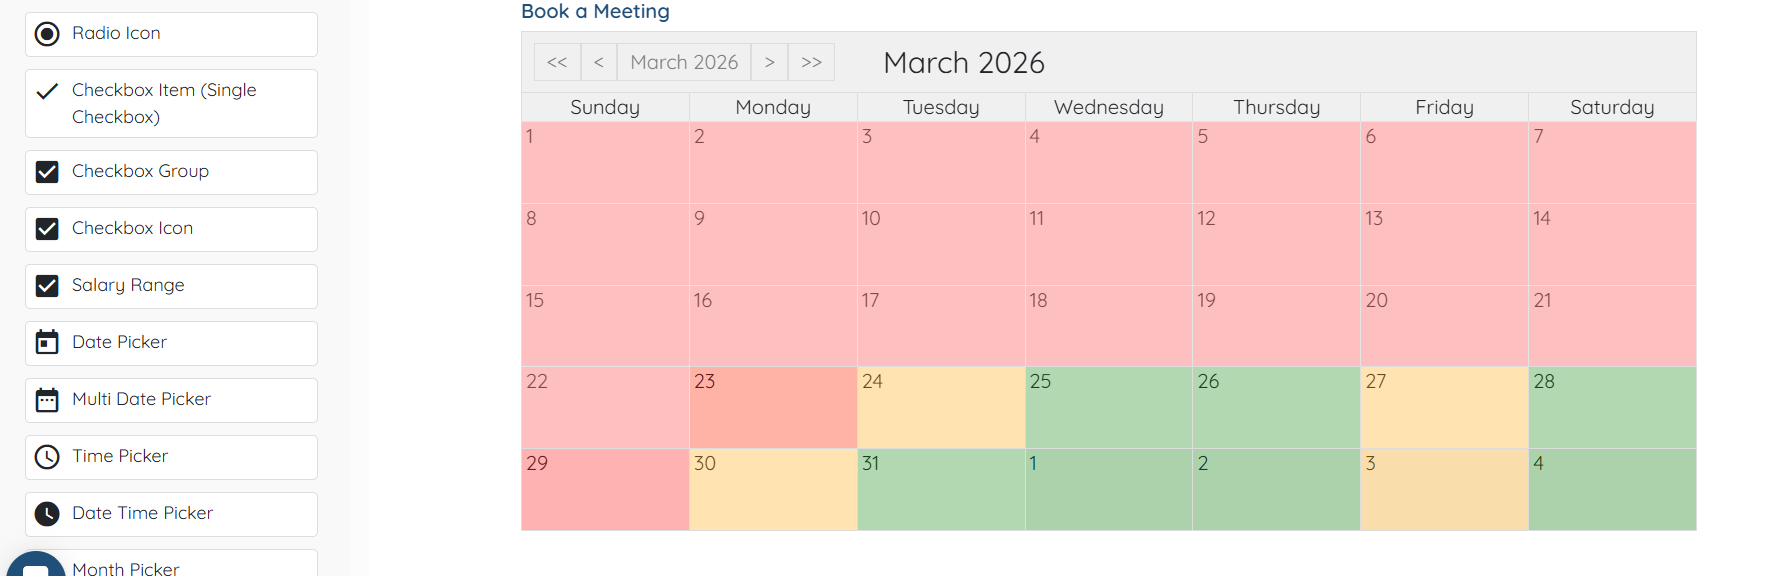
Book a Meeting
Use the scheduling section to book a meeting based on the available time slots.
Step 1: Click on any available date in the calendar.
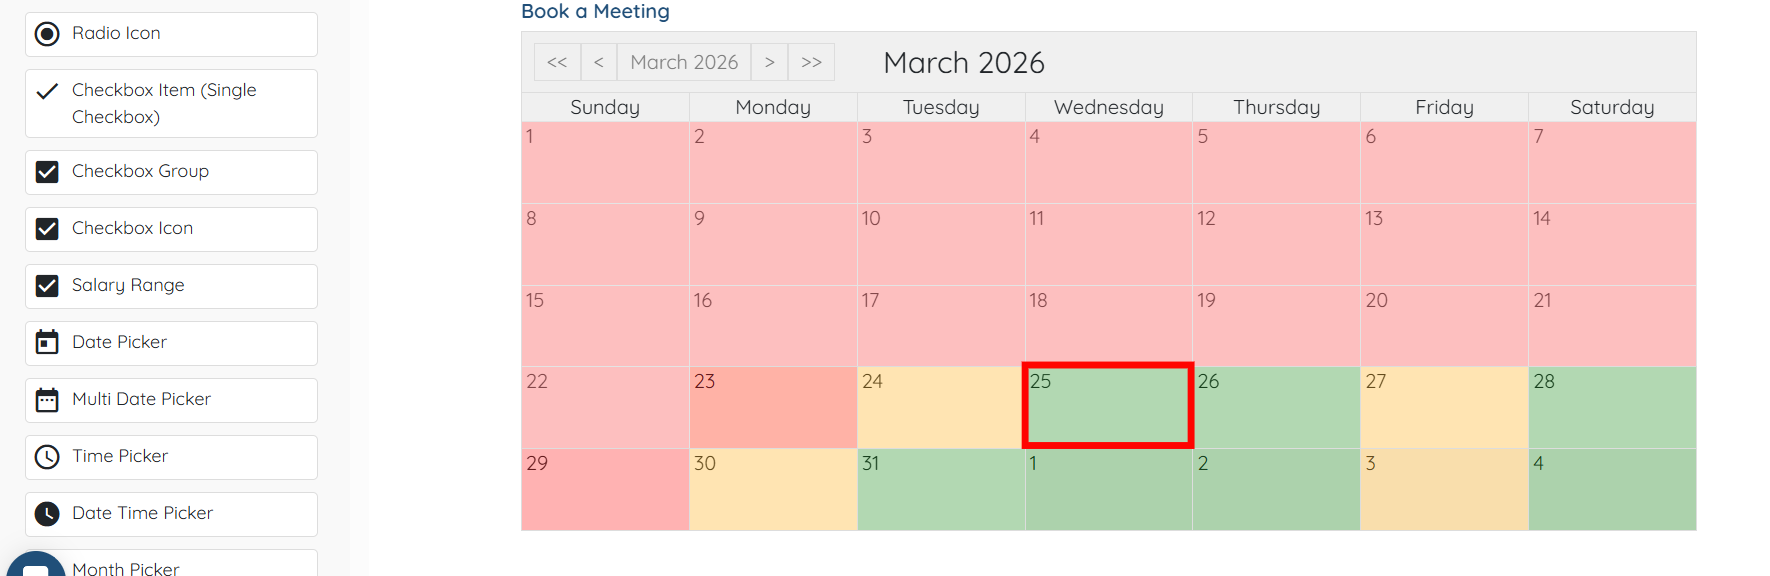
Step 2: Select the meeting’s start time as required.
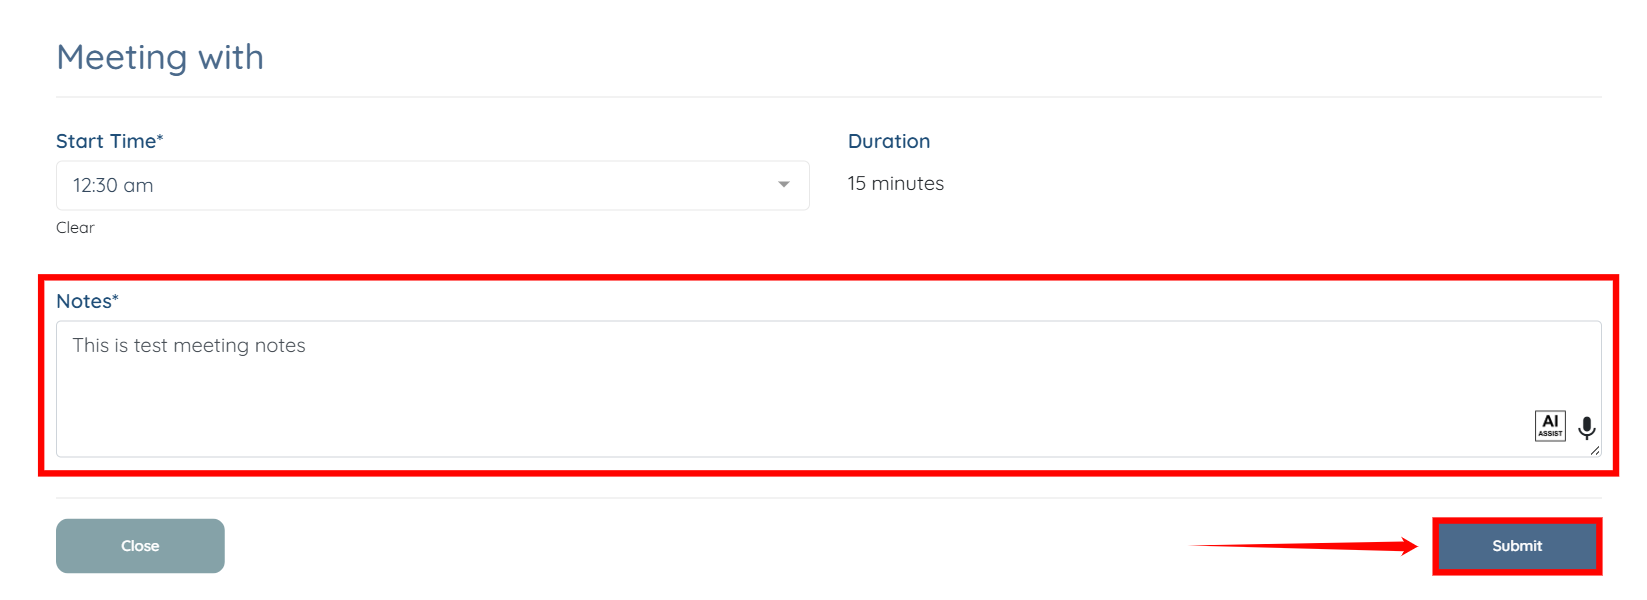
Step 3: Enter the meeting notes, and then click the Submit button to submit the request.
You can create multiple booking calendars and assign different admins for client consultations or candidate interviews.