![enginehire logo thin dark 1.0.png]](https://learn.enginehire.io/hs-fs/hubfs/enginehire%20logo%20thin%20dark%201.0.png?height=40&name=enginehire%20logo%20thin%20dark%201.0.png)
Let’s get started 🚀
Create Sleep Tracker Builder
Set up a sleep tracker by defining the fields required to capture the baby’ sleep.
Step 1: Log in to your agent dashboard and click More > Application & Profile Builder, as shown in the screenshot below. 
Step 2: Click the Add button. 
Step 3: Enter the name for your sleep tracker builder.

Step 4: Select Child Activity Log as the Builder Type and Unspecified as the User Type. 
Step 5: Scroll down and click the Add Field button to add a new field. 
Step 6: Scroll down and enter the Field Label and Profile Label. 
Step 7: Select Textbox from the dropdown list in the Field Type option. 
Step 8: Click the Save button to proceed.
The sleep tracker builder will be created successfully.

Configure the Sleep Tracker Builder
Adjust the tracker settings and enable time tracking to record the baby’s sleep activity.
Step 1: Click the corresponding gear icon for your sleep tracker builder to open the tracker builder settings. 
Step 2: Check the Enable time tracking for this activity checkbox. 
Step 3: Enter all the other required information, and then click the Save button to continue.
To add an icon to the tracker, enter the icon name in the Activity Icon field. Refer to the Add Icon to the Tracker section below for more details.

The sleep tracker will be available for recording the baby’s sleep activity. 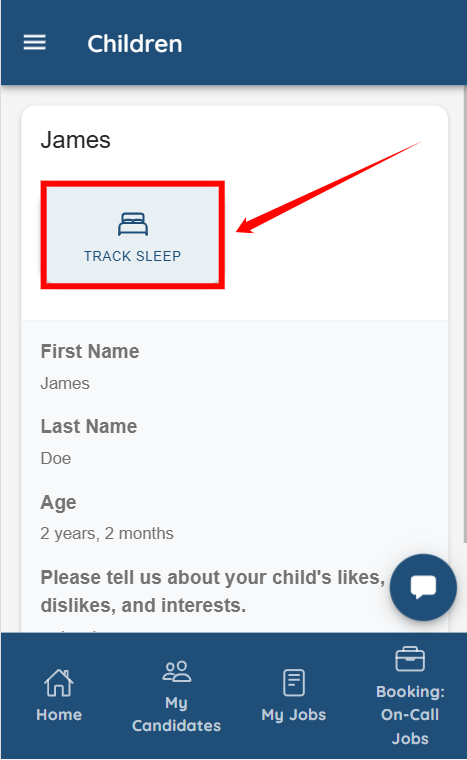
To access and use the tracker in the App, follow the steps below.
Use the Sleep Tracker in the App
Access the sleep tracker from the Children section and use it to record the baby’s sleep activity and duration.
Step 1: Log in to your App, and click the Menu icon to open the navigation bar.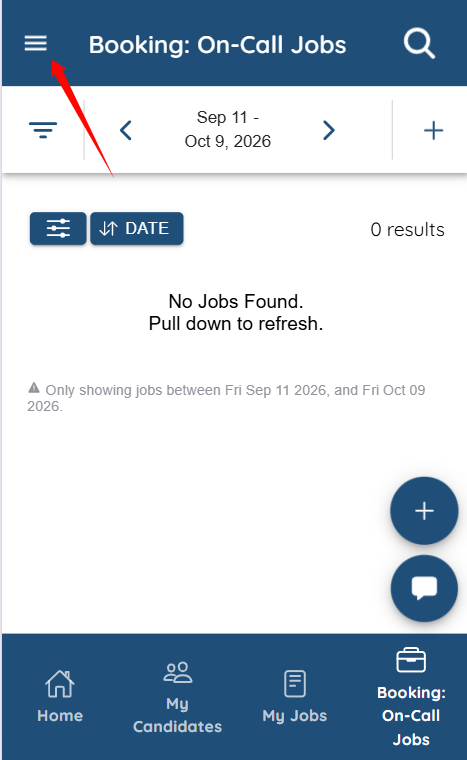
Step 2: Click the Children option.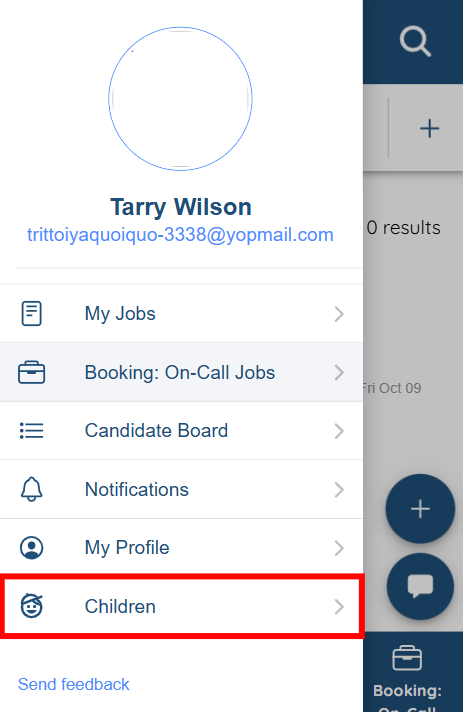
Step 3: Click the Track Sleep button to open the tracker.
The text on the button will vary depending on how you configured the tracker.
Step 4: Click the Start button to start the tracker.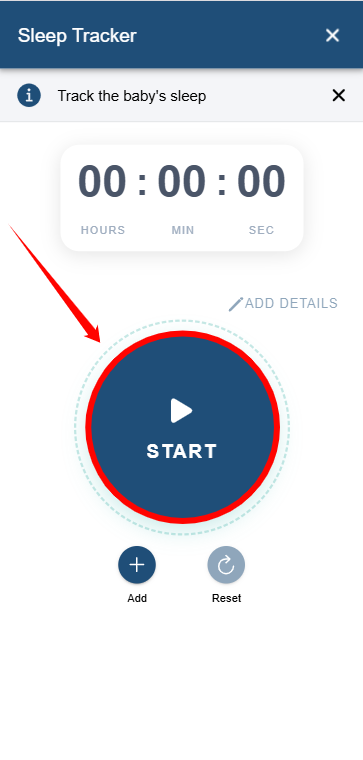
The timer will start and track the duration of the sleep activity.
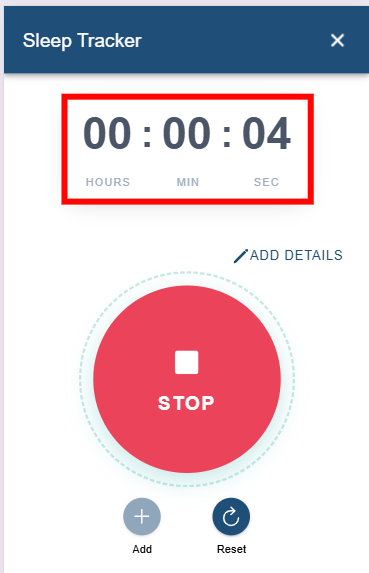
Step 5: To stop the tracker, click the Stop button.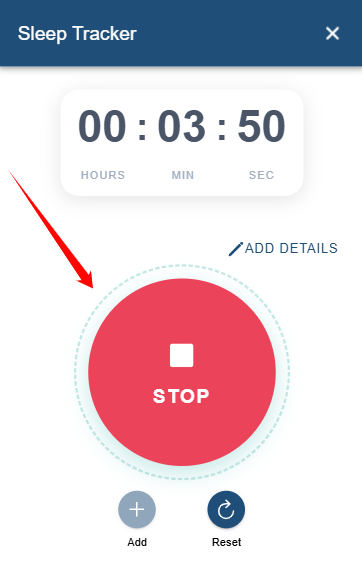
Step 6: Provide the requested information and then click the Submit button.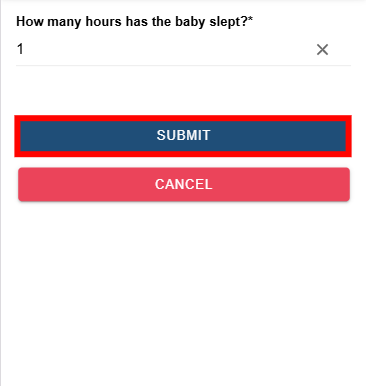
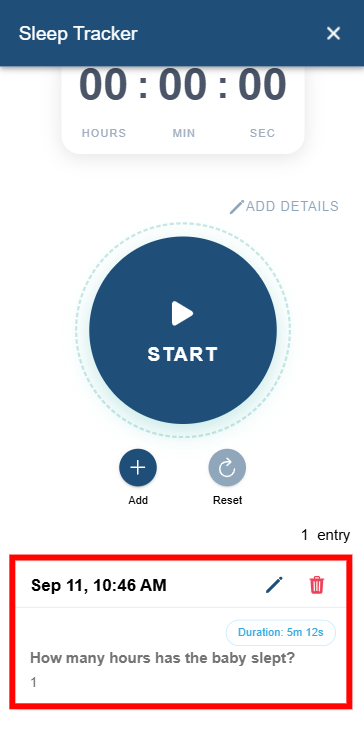
Once you click the Submit button, an entry will be saved with the provided information and the total duration for which the tracker was active.
Add Icon to the Tracker
Select and assign an icon to visually represent the tracker.
Step 1: Go to the Ionicons library at https://ionic.io/ionicons and select the icon you want to use. 
Step 2: Copy the icon name from the WEB COMPONENT CODE. 
Step 3: Paste and convert it into camelCase in the Activity Icon field.
