![enginehire logo thin dark 1.0.png]](https://learn.enginehire.io/hs-fs/hubfs/enginehire%20logo%20thin%20dark%201.0.png?height=40&name=enginehire%20logo%20thin%20dark%201.0.png)
Let’s get started 🚀
Create the Login Page
Start by generating the HTML layout for your login page using AI.
Step 1: Log in to your agent dashboard and click More > Advanced Builders as shown in the screenshot below.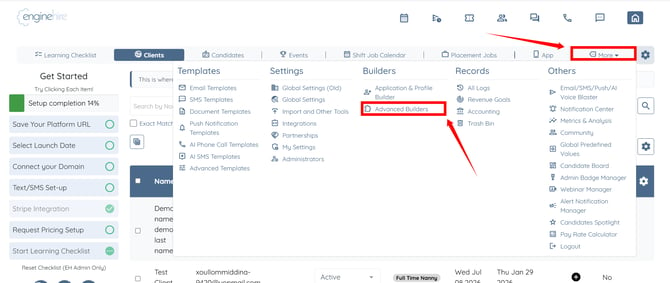
Step 2: Click the Page Builder option.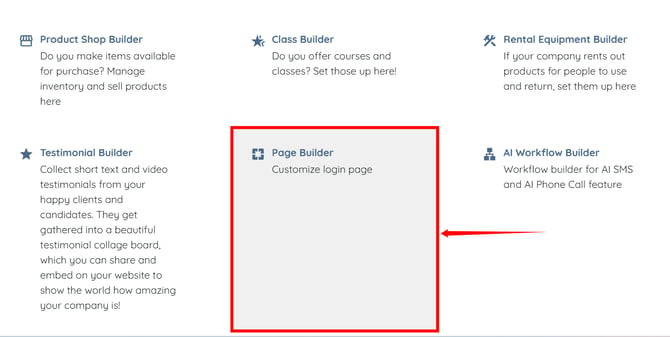
Step 3: Click the Add Page button.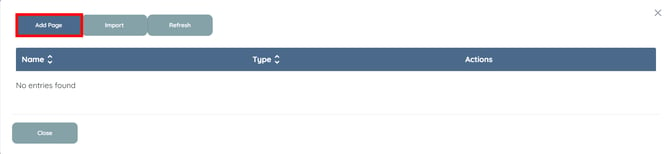
Step 4: Enter a name for your login page.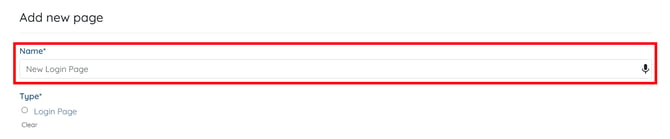
Step 5: Select Login Page as the Type. 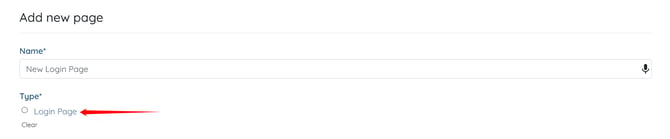
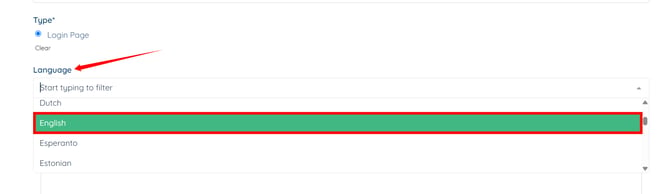
Step 6: Select the Language for your login page.
If the login page needs to support multiple languages, create a separate page for each language. You should also add a language selector so users can choose their preferred language.
Step 7: Click the Generate Login Page with AI button.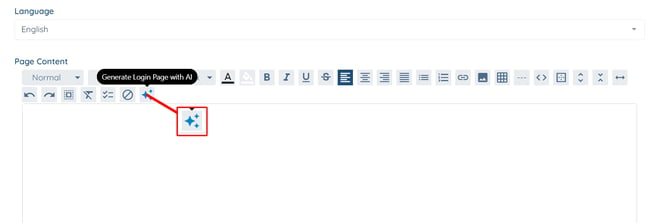
Step 8: Describe your preferred styling (for example, background colors, grids, fonts, and layout), or paste or upload a reference image in the text area to generate your login page. 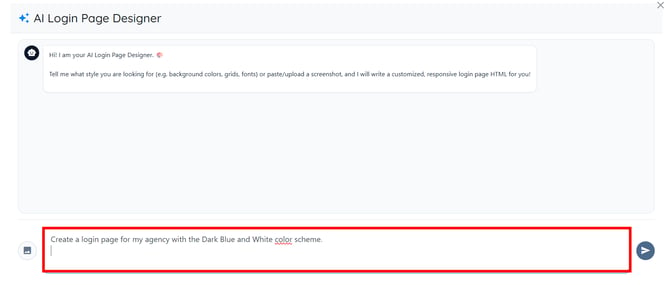
Step 9: Click the Send button.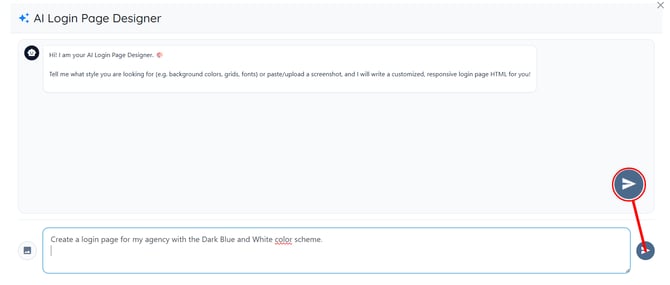
Step 10: The HTML for your login page will be generated successfully. Click the Apply Layout to Editor button to insert the generated HTML into the Page Content field. 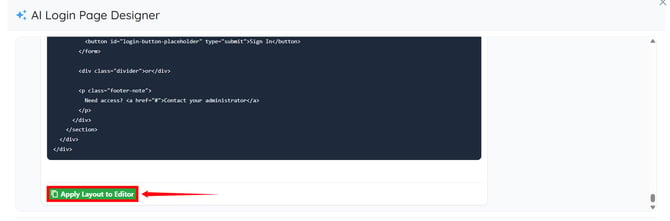
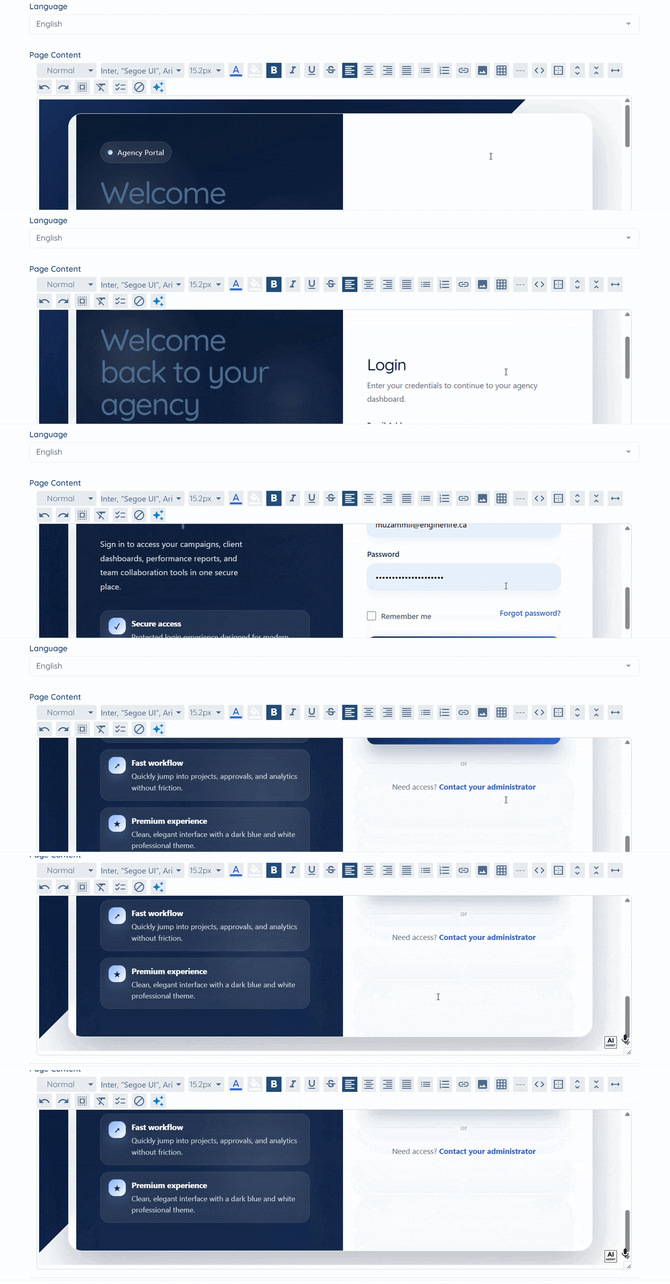
The generated login page layout will appear in the Page Content field.
Map the Login Fields
After generating the layout, map the required login fields so the page functions correctly for users.
Step 1: Right-click on the Email Address field.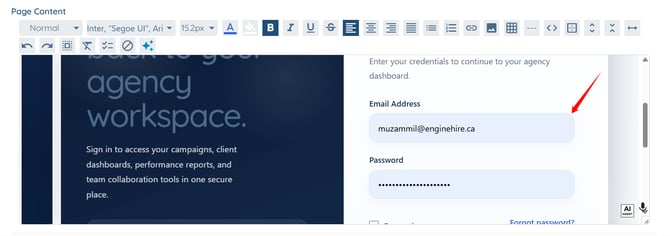
Step 2: Select the Set Email Field button.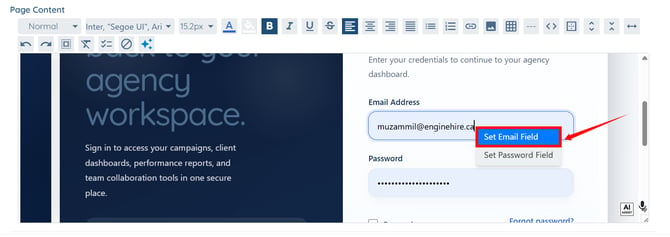
Step 3: Perform the same steps (step 1-2) for the Password field.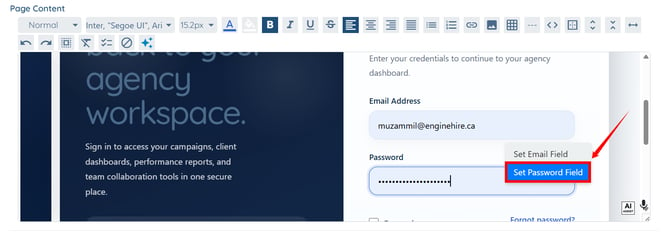
Step 4: Repeat Steps 1–2 for the Login/Sign In button. 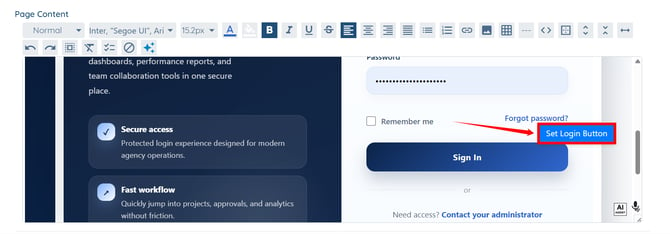
Step 5: Click the Create button to proceed.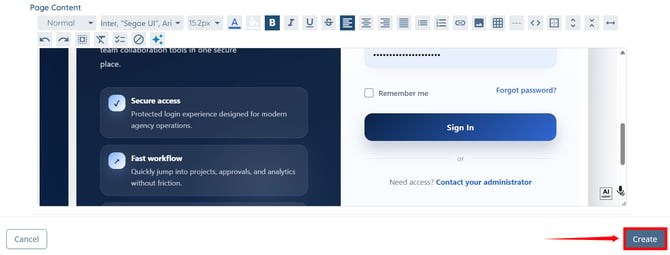
The login page will be created successfully.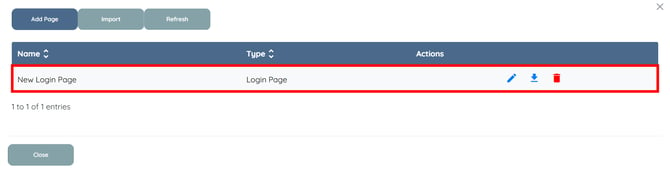
The login interface for your agency will be updated with the newly created login page.