![enginehire logo thin dark 1.0.png]](https://learn.enginehire.io/hs-fs/hubfs/enginehire%20logo%20thin%20dark%201.0.png?height=40&name=enginehire%20logo%20thin%20dark%201.0.png)
Let’s get started 🚀
Create Checklist Change Trigger
Create a checklist change trigger to automatically create tasks when selected checklist items are updated.
Step 1: Log in to your agent dashboard, and click More > Advanced Templates as shown in the screenshot below.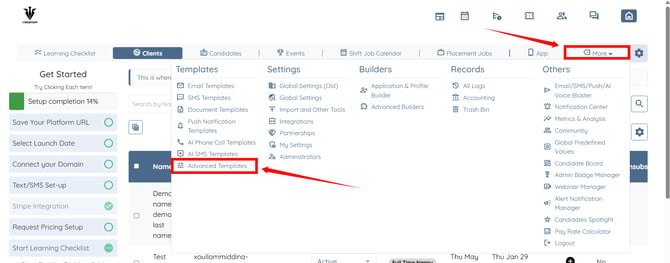
Step 2: Click the Task Templates option.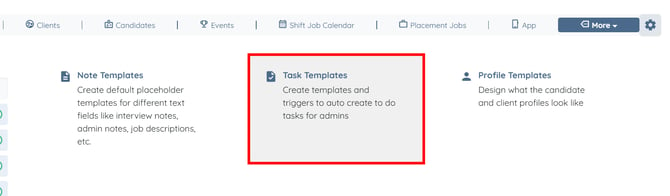
Step 3: Click the Add Template button to create a new template.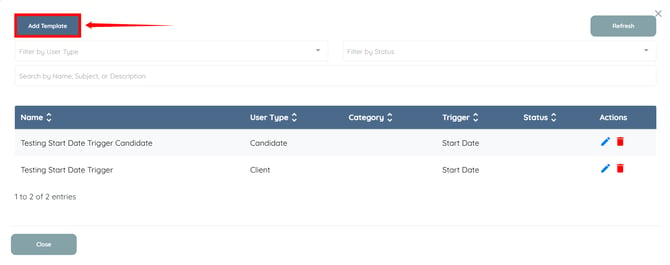
Step 4: Enter the name for your template, and select Candidate as the User Type.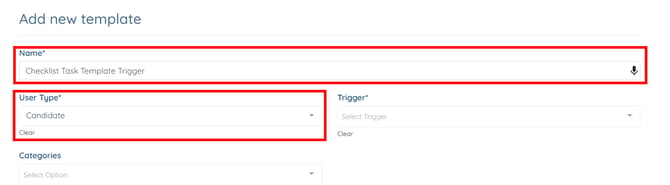
Step 5: Select the Checklist Change option from the Trigger dropdown list. 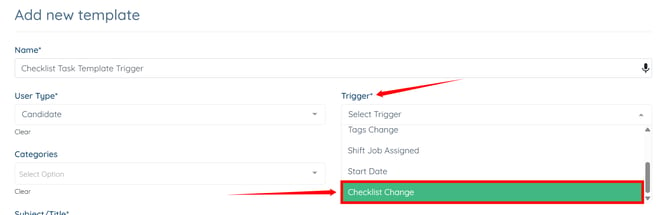
Step 6: Select the checklist item for which you want to create the checklist change trigger.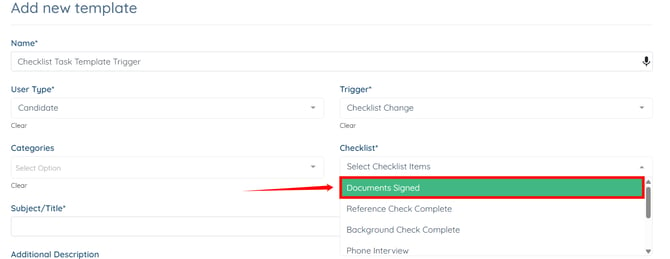
Step 7: Enter the Subject/Title and Description for the automated task. 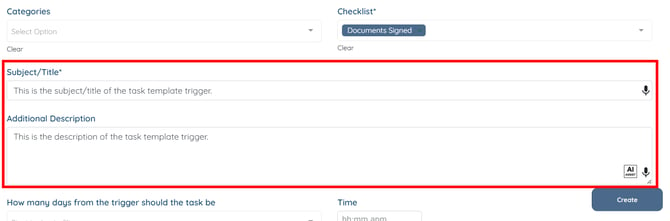
Step 8: Click the Create button.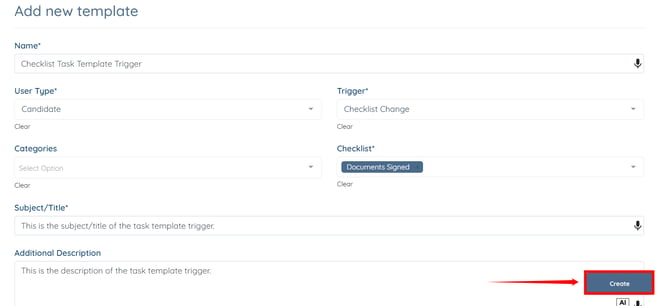
The checklist change task trigger will be created successfully.
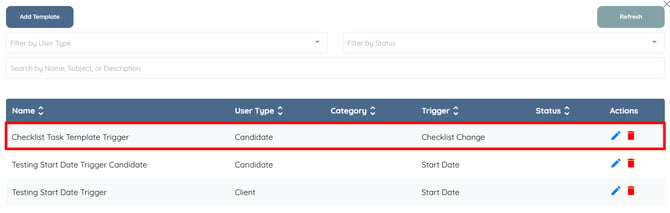
Checklist Change Trigger in Action
Update the configured checklist item to automatically create a task for the selected candidate.
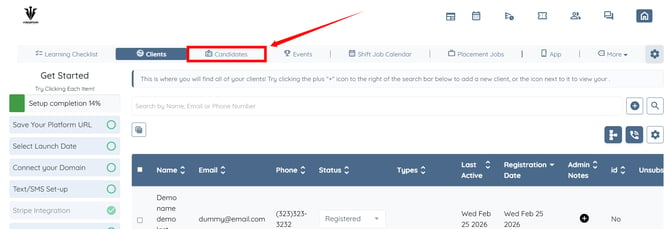
Step 1: On your agent dashboard, click Candidates in the navigation bar.
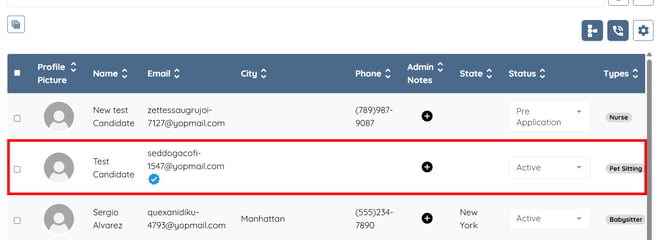
Step 2: Click any candidate for whom you want to trigger an automated task using the configured checklist item.
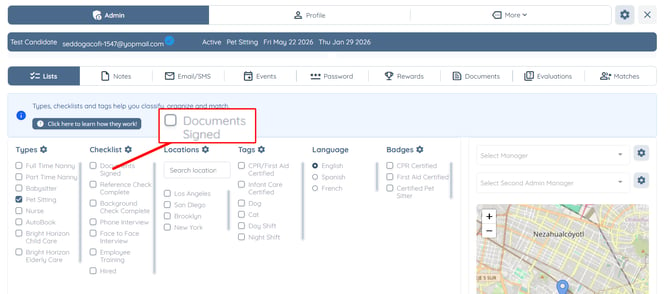
Step 3: Check the checklist item configured in the checklist change trigger.
Reload the page after checking the checklist item to view the automatically created task.
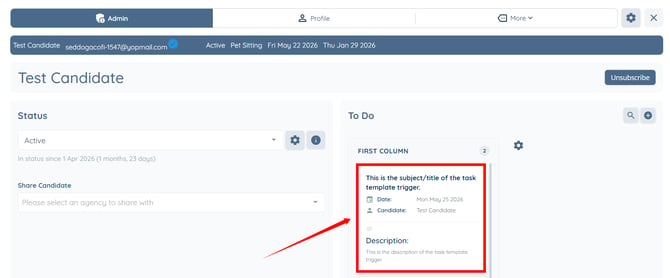
The automated task will appear successfully in the candidate’s To Do section under the Admin tab.