When you enable this setting for the first time, the system will automatically pull all existing sections from the application form into the profile.
For demonstration purposes, this article uses the Client Profile and Client Application to show how auto-sync works. However, the same process applies to the Candidate Profile and Candidate Application as well.
Let’s get started 🚀
Step 1: Log in to your agent dashboard and click More > Application & Profile Builder as shown in the screenshot below.

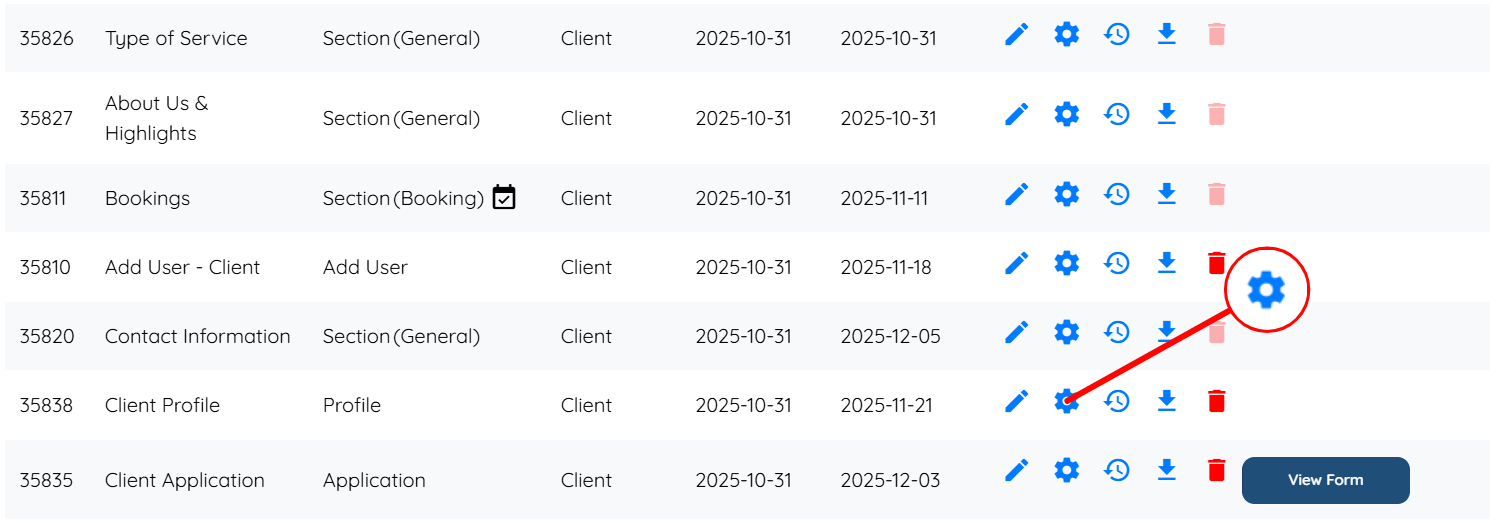
Step 2: Locate the Client Profile and click the Gear icon as shown in the screenshot.
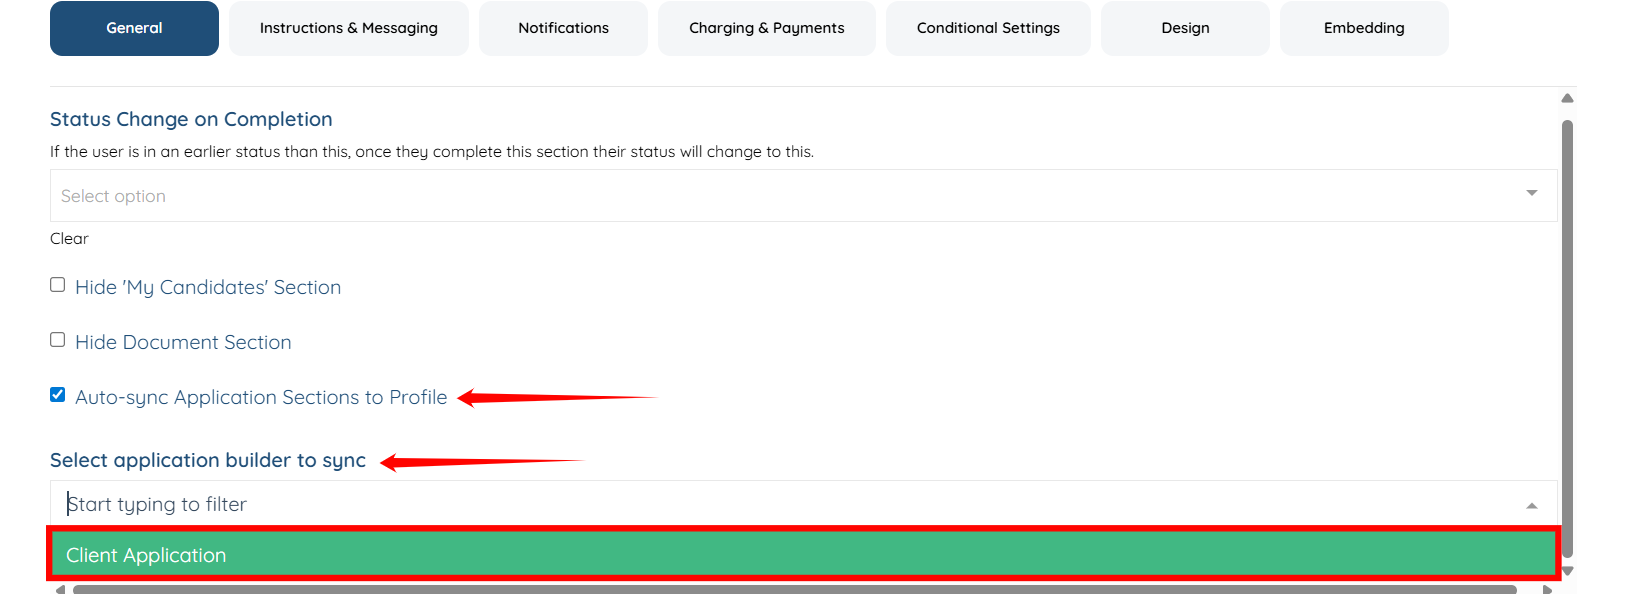
Step 3: Check the Auto-sync Application Sections to Profile checkbox, and select Client Application from the Select application builder to sync dropdown.
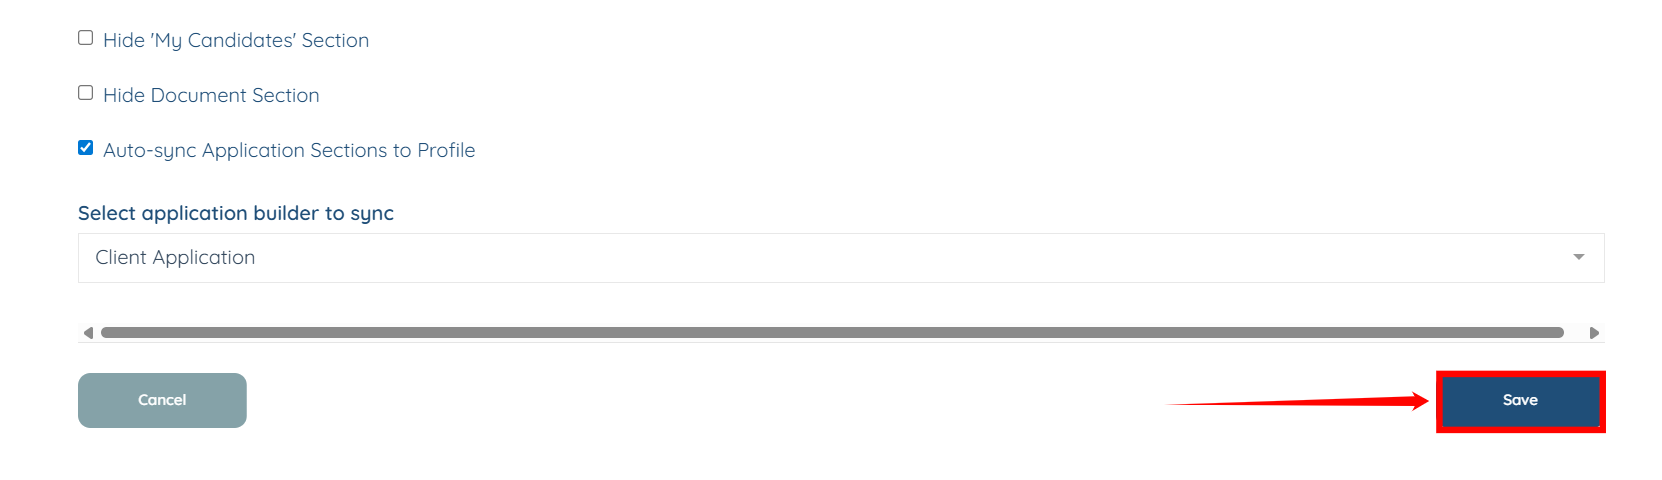
Step 4: Click the Save button to confirm the changes.
Step 5: Click the pencil icon corresponding to the Client Application to add a new section to it.

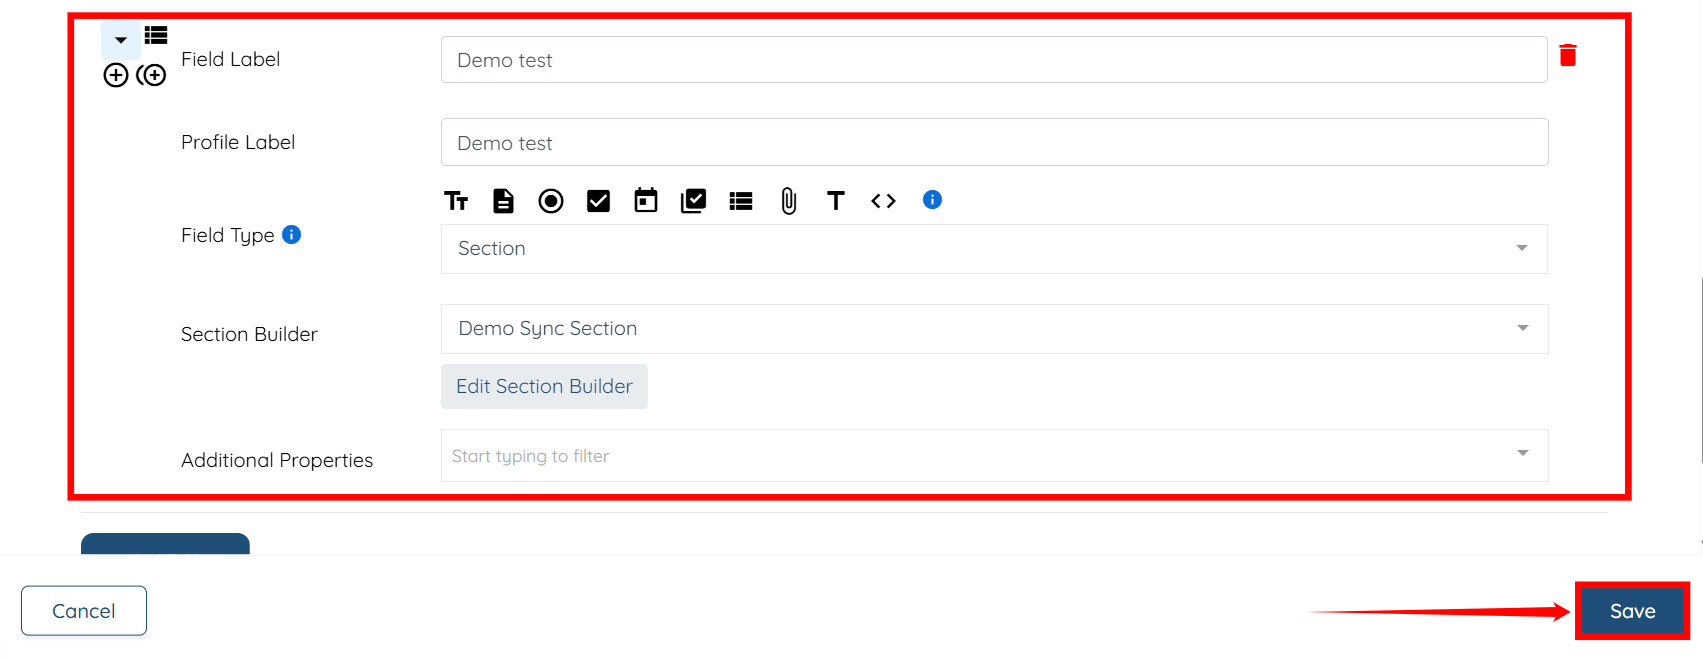
Step 6: Add a new section in the application. For demonstration purposes, we have created a section named Demo test. After you add the section, click the Save button to proceed.
To learn more about how to add a new section to the application, please refer to the Adding a New Section to the Profile and/or Application document.
Step 7: From your agent dashboard, click any client listed in the client list.

Step 8: Click the Profile tab.
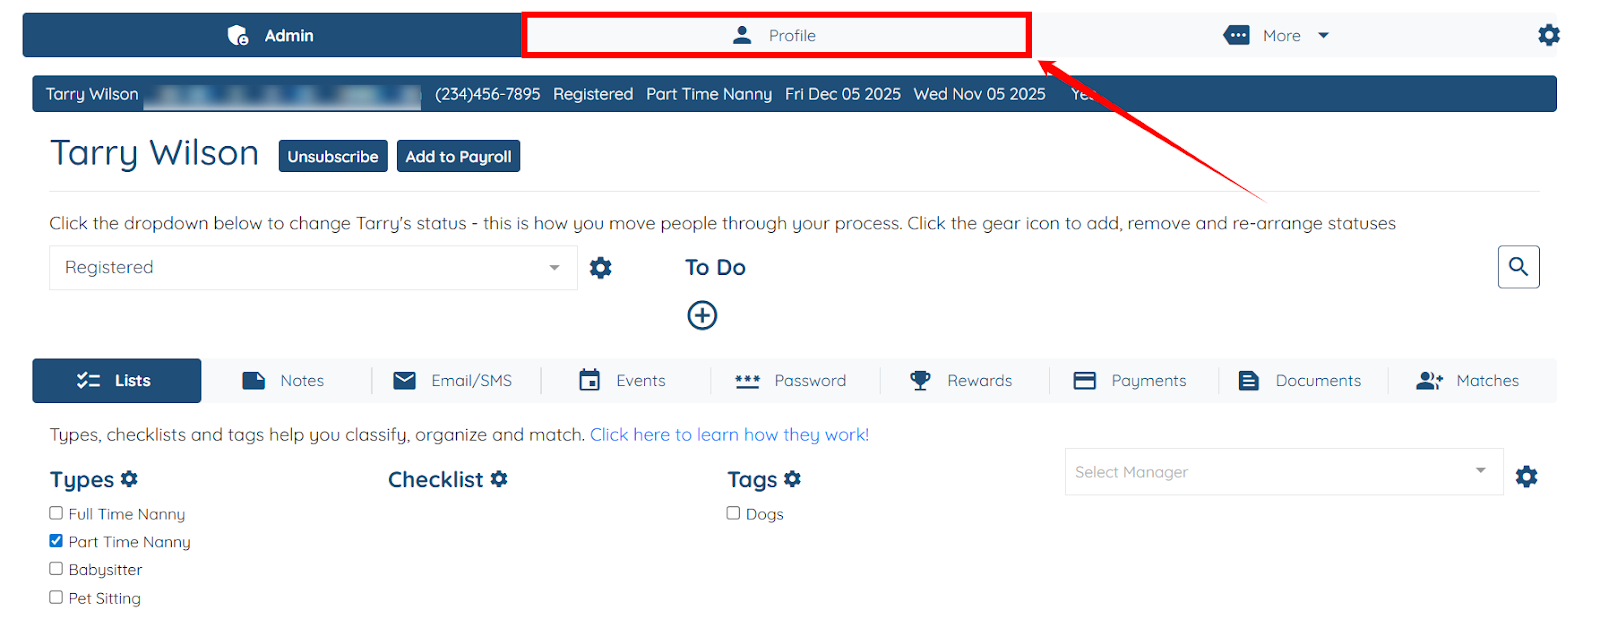
The newly added section will be automatically synced to the profile from the application.
