Let’s get started 🚀
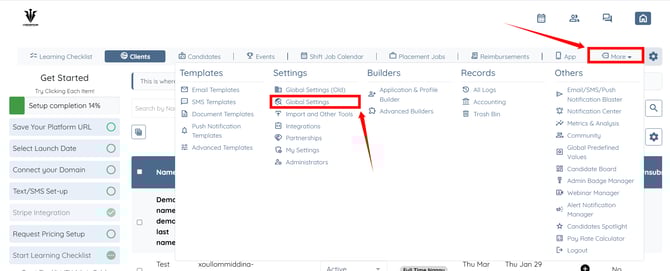
Step 1: Log in to your agent dashboard and click More > Global Settings as shown in the screenshot below.
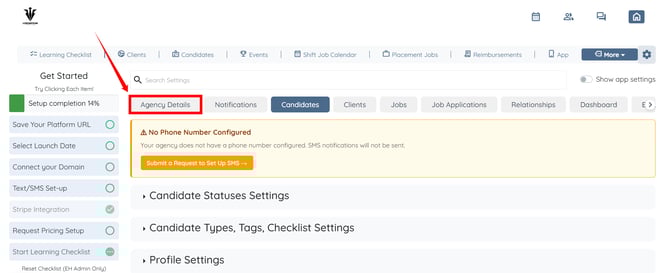
Step 2: Click the Agency Details tab from the available tabs.
Step 3: Click the Language & Locations option to expand its details.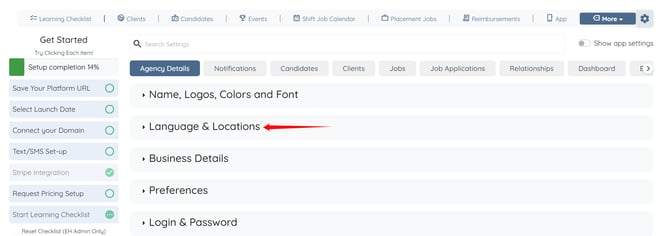
Step 4: Click the “+” button shown in the screenshot below to add a new location.
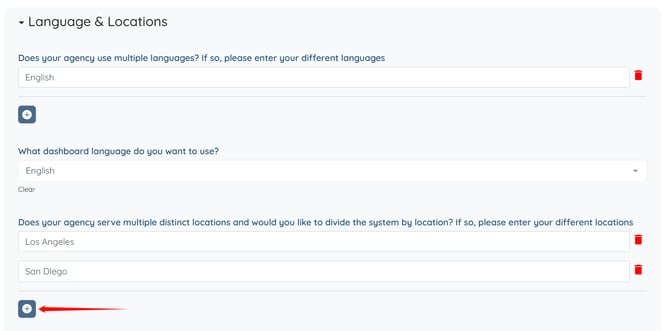
Step 5: Enter the name for the new location as required. The system automatically saves the settings.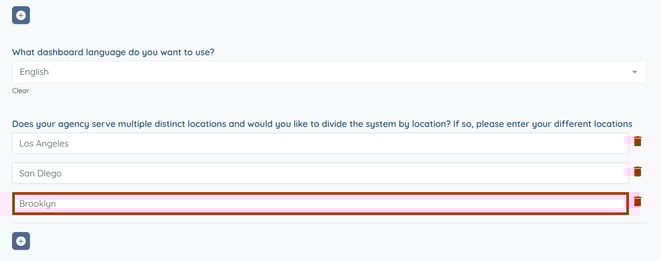
Place Locations In Your Application
Place locations in your application to ensure users can select the appropriate location when completing the form.
Step 1: On your agent dashboard, click More > Application & Profile Builder as shown in the screenshot below.
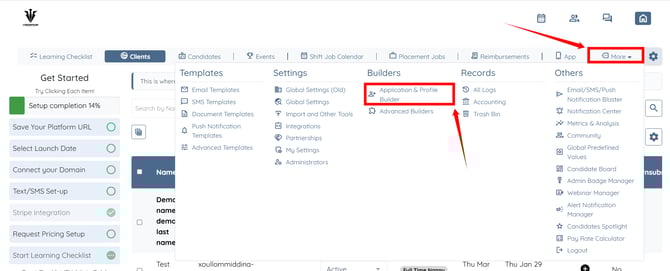
Step 2: Click the Gear icon next to the application where you want to place the locations.

Step 3: Scroll down to the Select locations field and click the box below it to open the dropdown list.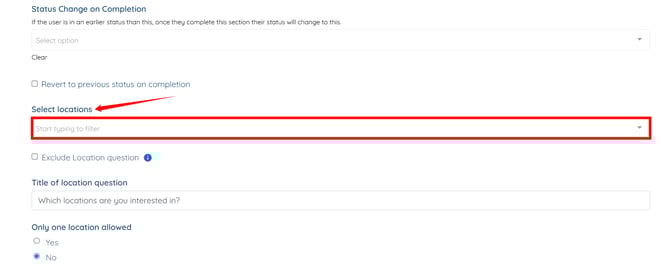
Step 4: Select the location from the drop-down list that you want to add to the selected application.
You can also add more than one location if needed.

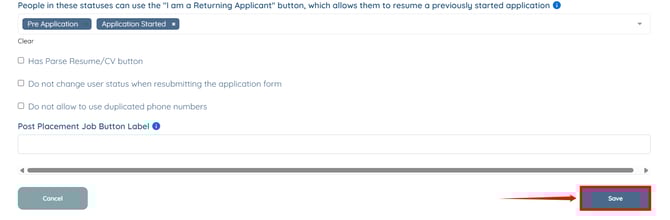
Step 6: (Optional) You can also select the Exclude Location Question checkbox to move it from the top of your application.
To learn more about the Exclude Location Question setting, refer to the Exclude the Location Question from the Application Builder article.

Step 7: Scroll down and click the Save button to apply the changes.
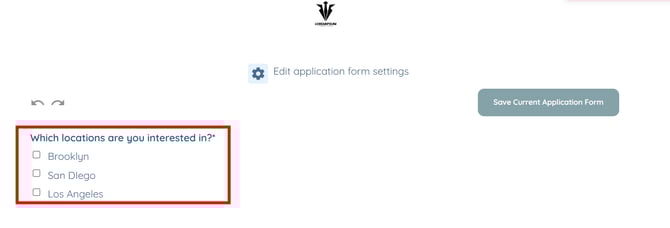
Step 8: Click the View Form button corresponding to your application.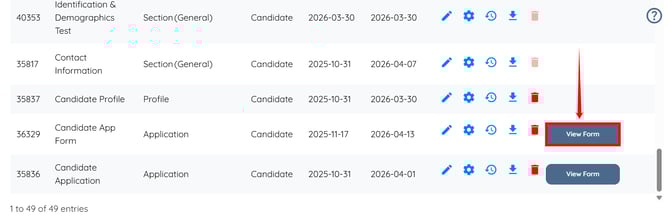
Here, you will see all the selected locations successfully displayed in your application.