For demonstration purposes, this guide uses the Application Status Change Candidate Notification template.
However, you can add the same placement job tags to the Application Status Change Client Notification template as well.
Let’s get started 🚀
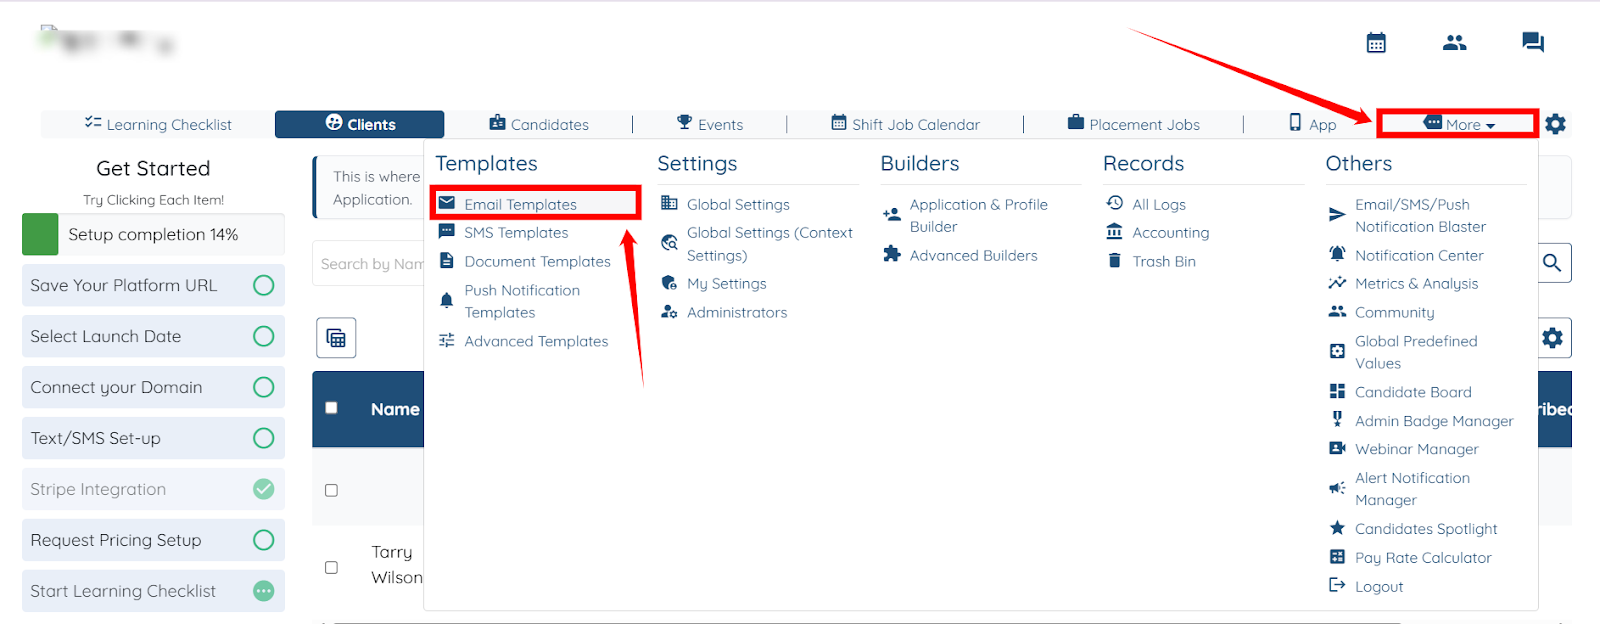
Step 1: Log in to your agent dashboard, and click More > Email Templates as shown in the screenshot.
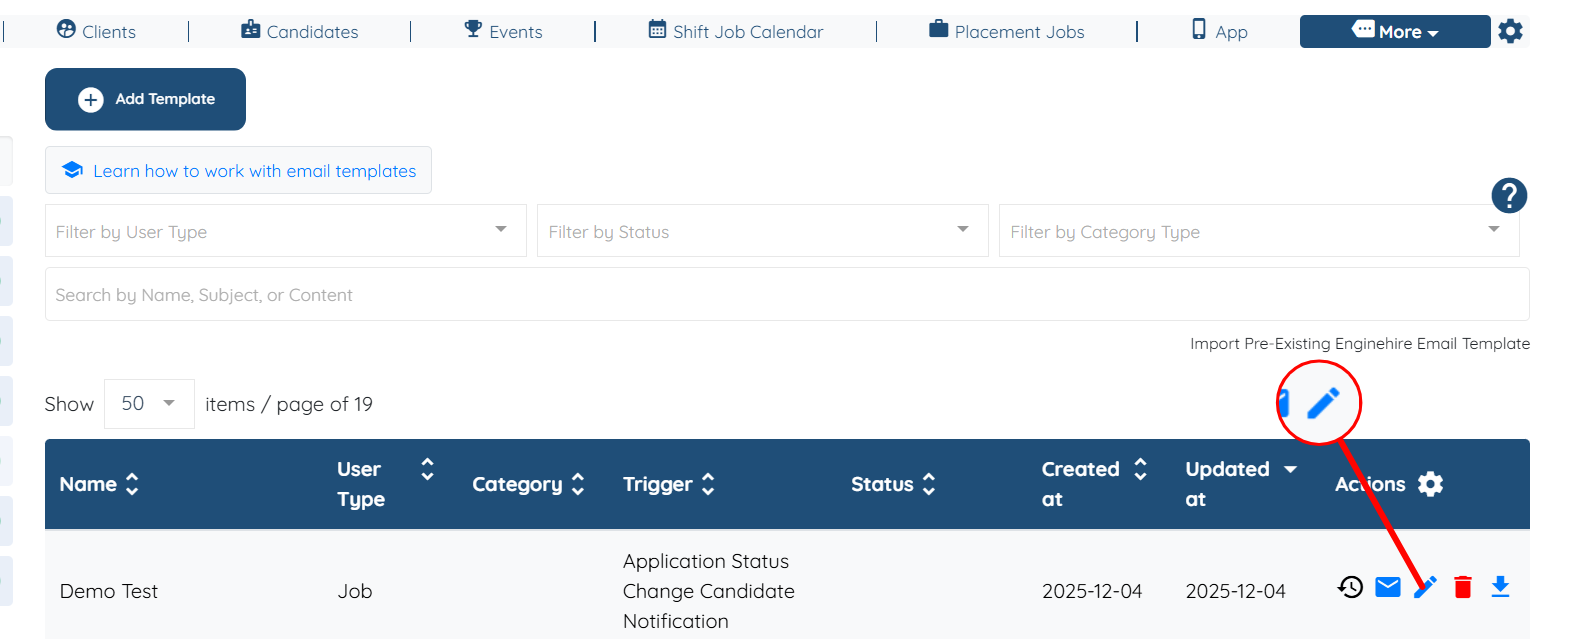
Step 2: Locate the Application Status Candidate Notification Template where you want to add the placement job tags, and click the corresponding pencil icon in the Actions column to edit it.
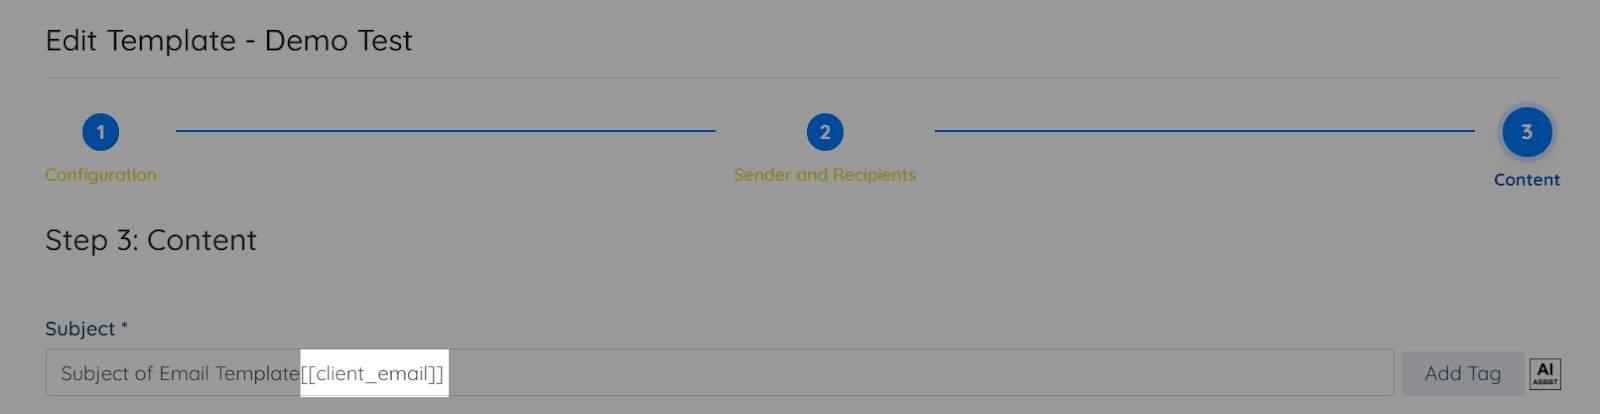
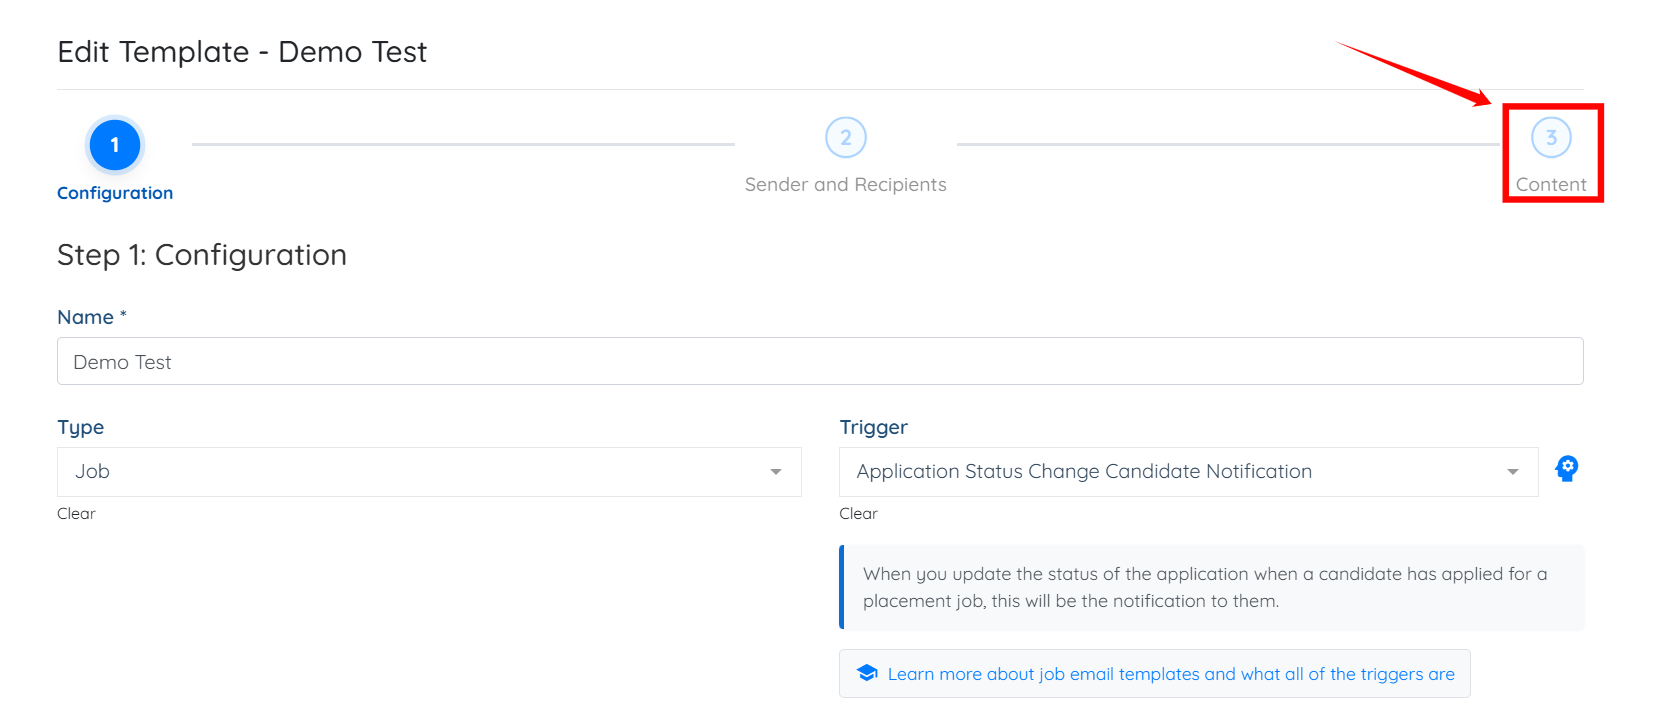
Step 3: Click the Content option in the email template to open it.
Step 4: Click the Add Tag button to add a new tag.

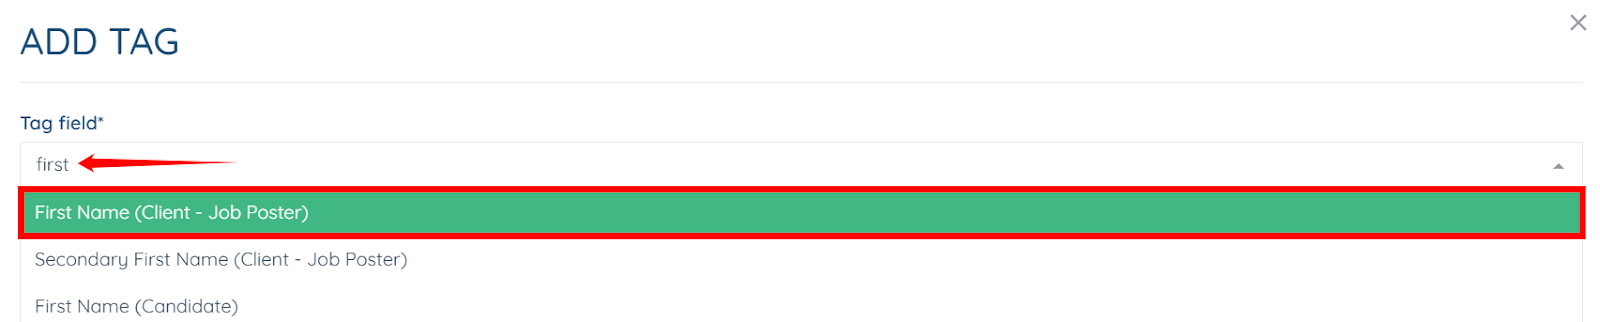
Step 5: Start typing and then select the suggested placement job tags you want to add from the dropdown.
You may add other placement job tags as needed.

Step 6: Click the Submit button to add the tag.

The selected placement job tag will be added successfully.