For demonstration purposes, this article uses clients as an example. However, you can follow the same steps for candidates as well.
Let’s get started 🚀
Step 1: Log in to your agent dashboard and click More > Application & Profile Builder as shown in the screenshot below.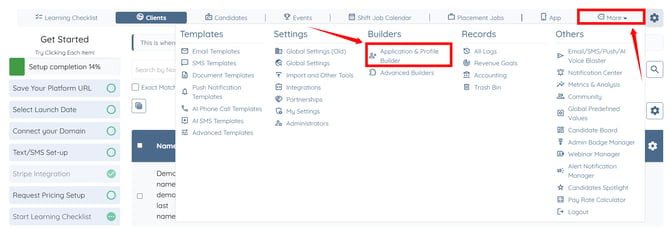
Step 2: Locate the client profile builder and click on it to open it.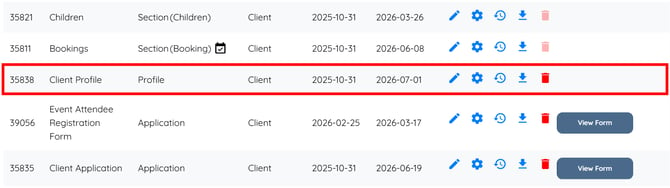
Step 3: Scroll to the bottom, and click the Add Field button.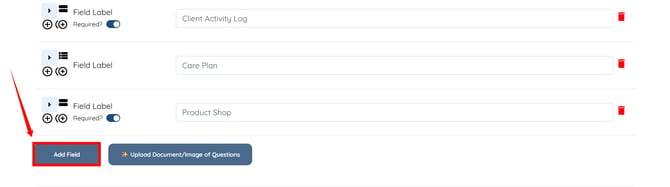
Step 4: Enter the Field Label and Profile Label.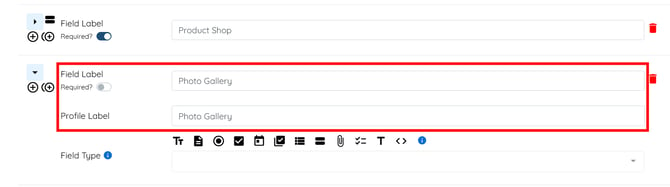
Step 5: Select Preset Section from the Field Type dropdown list. 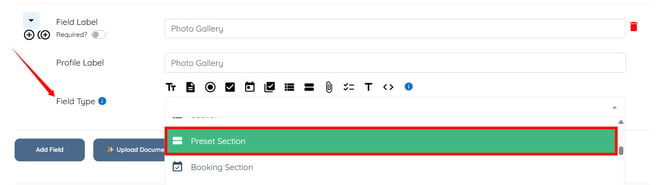
Step 6: Select the Photo Gallery option in the Section Name field.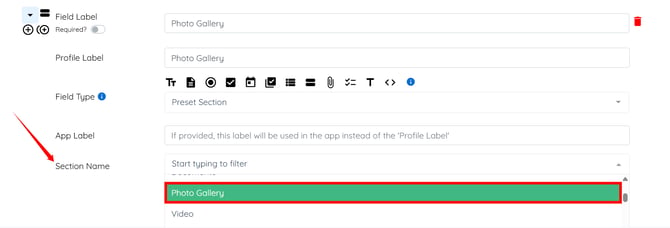
Step 7: Click the Save button to proceed.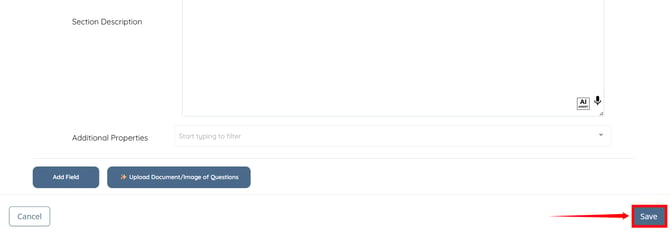
A Photo Gallery section will appear in the client profile.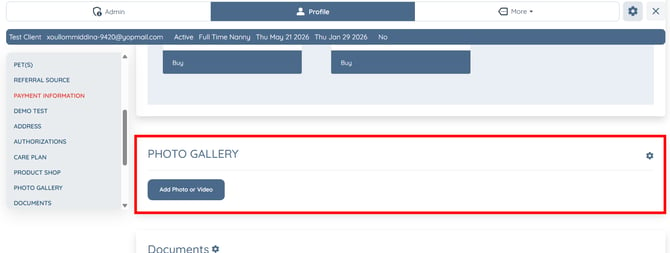
Clients can upload photos or videos to this section by clicking on the Add Photo or Video button.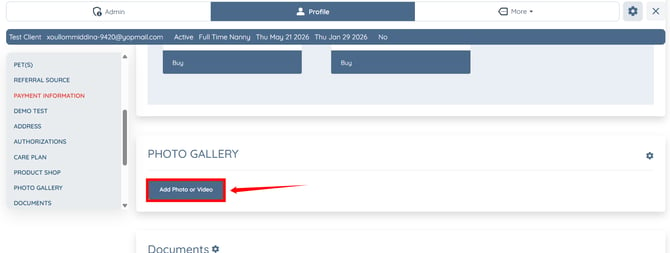
The Photo Gallery section will display the uploaded photos and videos. 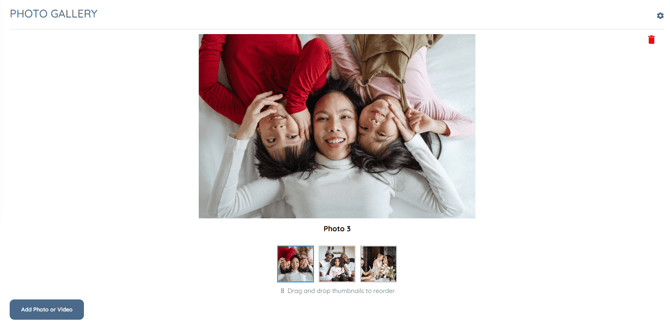
You can also reorder the uploaded photos within the gallery to control how they appear on the profile.